 Most people who start building banjo necks have a difficult time fitting the heel of a banjo neck properly to a banjo pot. The most difficult cut of the more common neck heel profiles is that of the Gibson one-piece flange. It has two different contact points that are stepped plus a cut on the inside of the steps that makes room for the flange bead.
Some companies offer a service of making this cut for you on a banjo neck that you are building or as a service to a neck blank that you order from them. The resulting shipping to and from that company for that service plus the fee for the service is well worth it if you don’t have much in the way of equipment in your shop or the experience to make this cut yourself. That being said, you also should realize that a one piece heel nut will most often result in a different angle, and therefore a different string action, on different banjo pots. It is almost always necessary to do fine adjustments the heel cut even after the heel profile has been professionally machine cut.

Banjo Neck Reseting and Pitch Correcting Jig
Corrections will likely be made for the angular differences occurring as a result of even tiny differences in wood rim and or tone ring thicknesses or from fitting a new banjo neck to an older banjo pot that sometimes have a wood rim and tone ring that are not perfectly round caused by previous attempts at correcting the banjo’s action from pushing the limits of what coordinator rods should be asked to do. You may need to correct the angle of a taller or shorter bride also. So, even if you call up someone as order a neck blank with a one-piece flange heel cut for a 5/8″ bridge, you can still expect to make some adjustments for it to perfectly match your pot. For that, I use my banjo neck fitting and resetting jig.
For those of you who are tool poor but have a tone of time and curiosity on your hands, the following will detailed description, complete with photographs, will get the job done. It isn’t the easiest way to make this cut, but it will work. You should work slowly and carefully. There is no substitution for experience and being off, even a little bit, while making the heel cut this way will cause you a ton of grief.
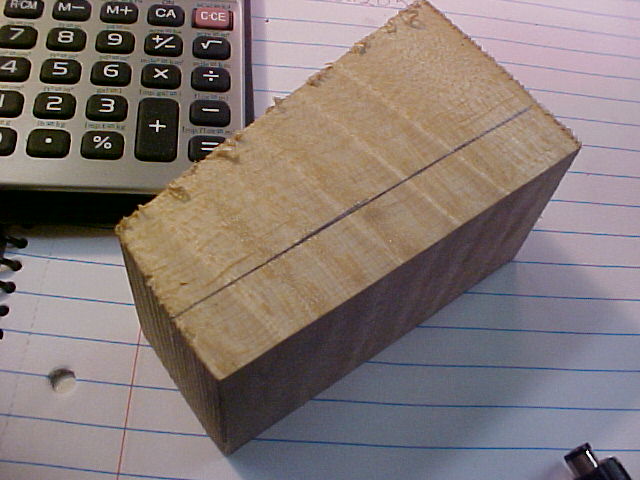
The banjo neck used in this example was already shaped and the heel wasn’t cut at all. In fact, this banjo neck was made by me in my shop and the heel was hand cut by me specifically for this article.
Click on the pictures for larger view


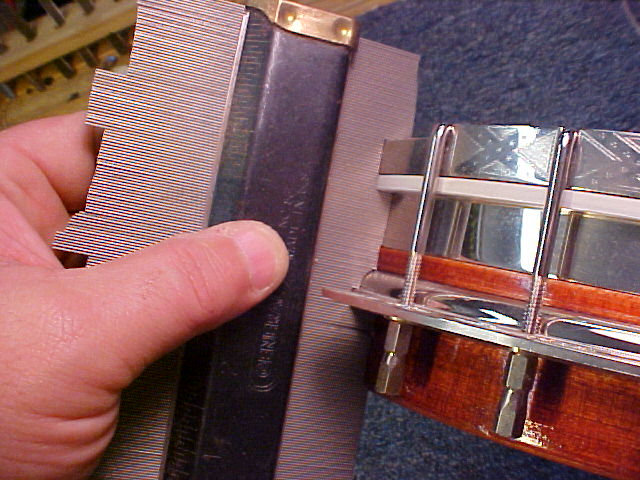
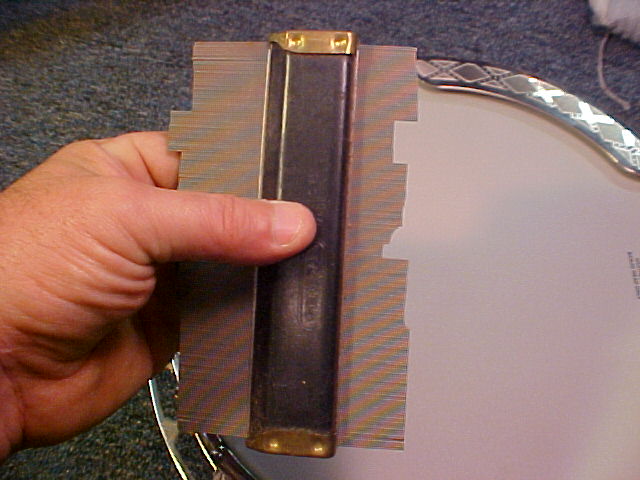
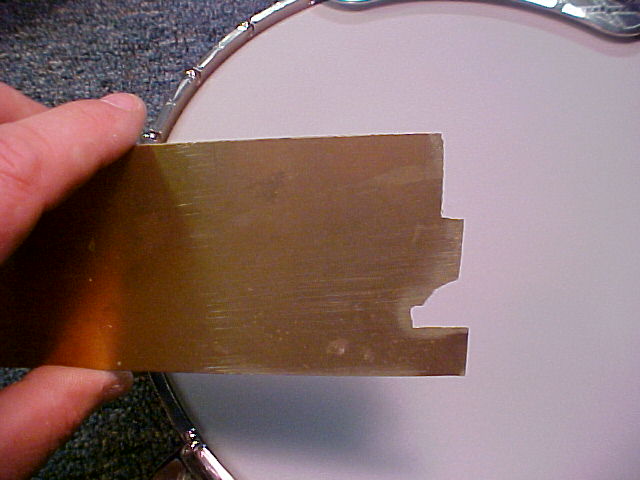
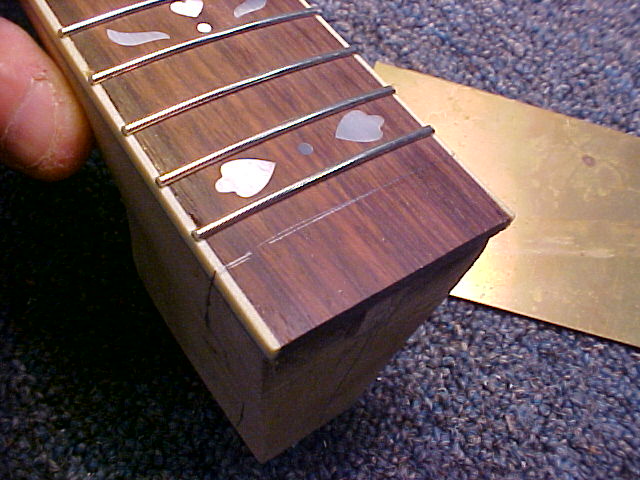
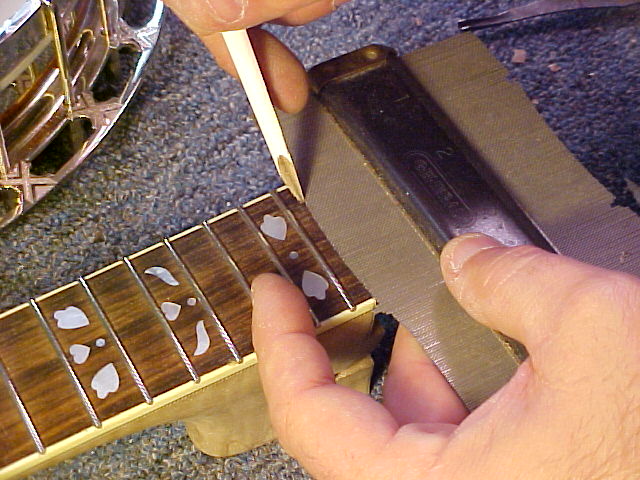
A completely blank neck is pretty intimidating. Even if the rest of the neck is executed perfectly, this cut can make or break an otherwise great banjo. I start this cut by using a 6″ profile contour gauge in order to record the profile of the pot on which the neck will be mounted. I transfer that shape to a piece of brass and cut the flange bead shape slightly over sized then use the more permanent brass template to transfer that shape to the side of the neck. I have to take into consideration where the last fret is located, how much fingerboard I want extending past the last fret and get the markings of the heel cut aligned the same on both the bass and treble sides of the new neck.
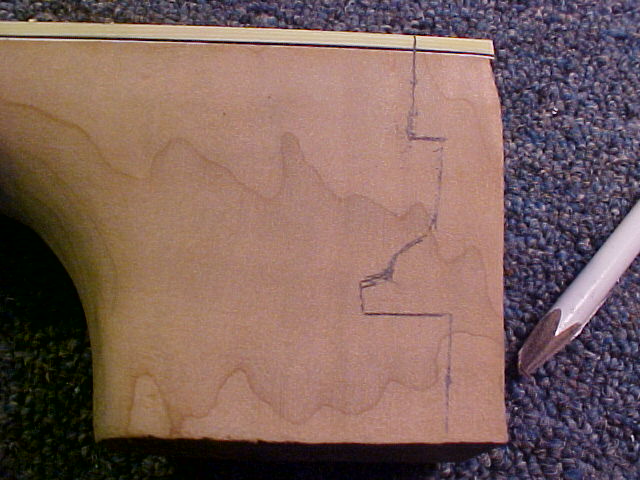
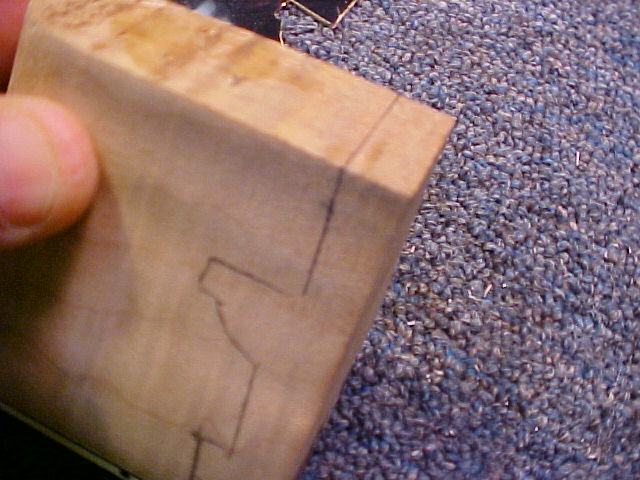
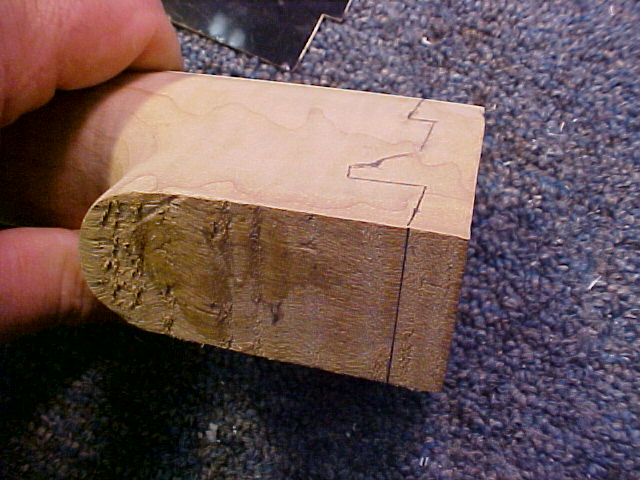
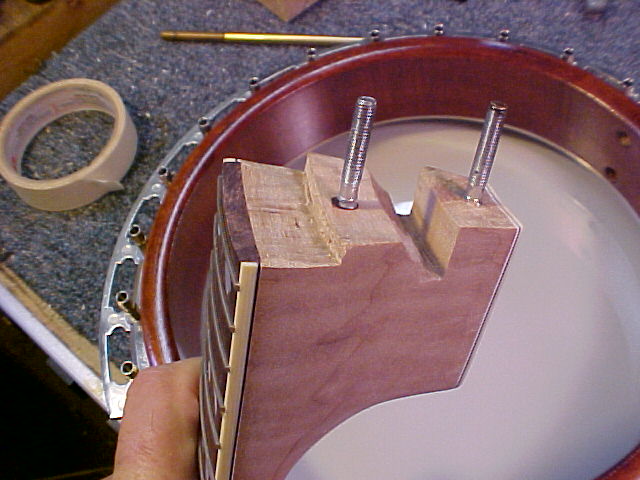
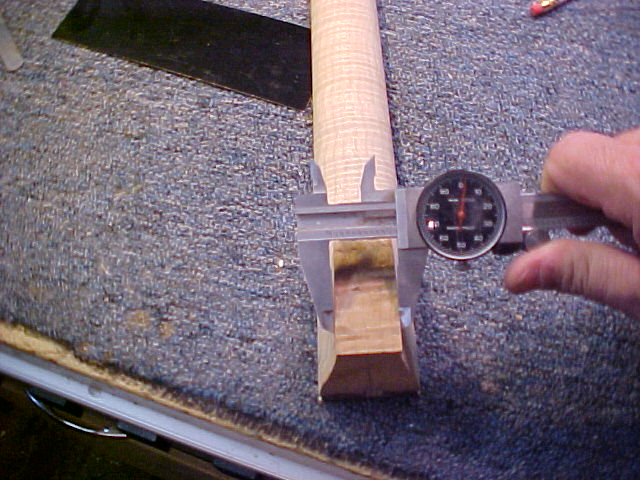
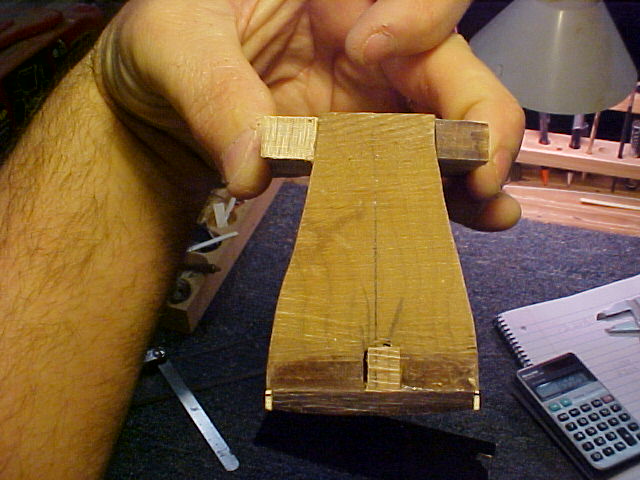
Note that the heel is too tall at this point. That will be taken care of near the end of the process. Don’t worry yet about the radius on the top of the fingerboard or the bottom of the heel yet. Just make sure that the lines connecting both sides of the neck are perpendicular to the centerline of the fingerboard. Because the shoulders of the heel were already profiled, I need to make the narrow area of the heel the same width as the fingerboard in that area by adding a shim block to either side of the heel so I can cut it on the band saw without compromising the symmetry of the cuts. I use masking tape to attach them to the sides and even though I measured before I cut the spacers, I always double-check my measurements before I make the first cut.
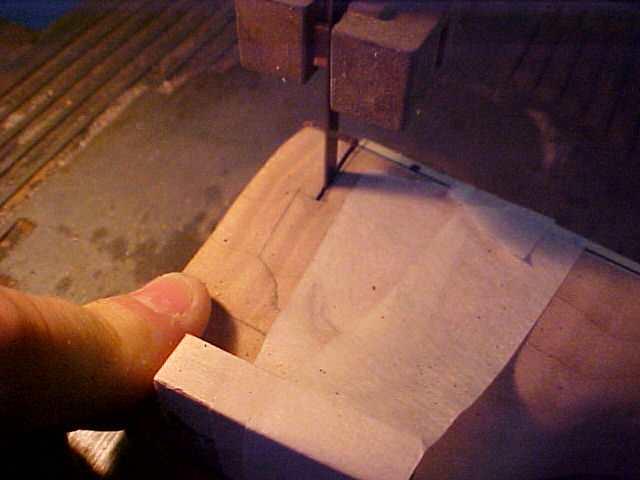
I can then start my cutting with a band saw being as careful and observant as possible. Work carefully into each cut’s corner from the outside and don’t attempt to make tight cuts with the band saw. If you have a table top band saw with a blade on it that came from a box store like Lowe’s or Home Depot you will need to extra slow and careful. Those tools and blades are great on small pieces of pine, but not so good on chunky pieces of maple, mahogany or walnut.
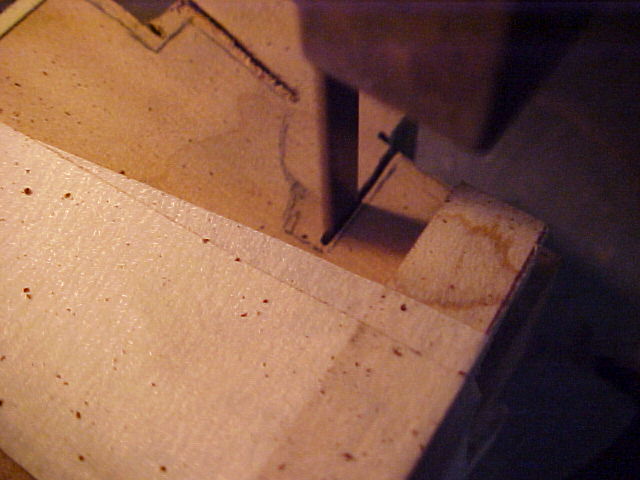
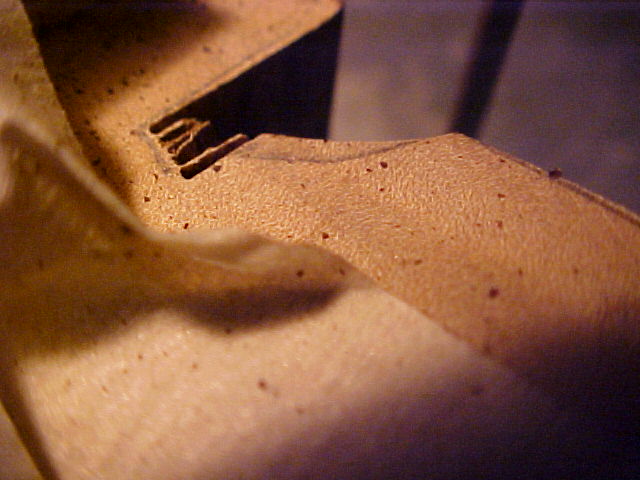


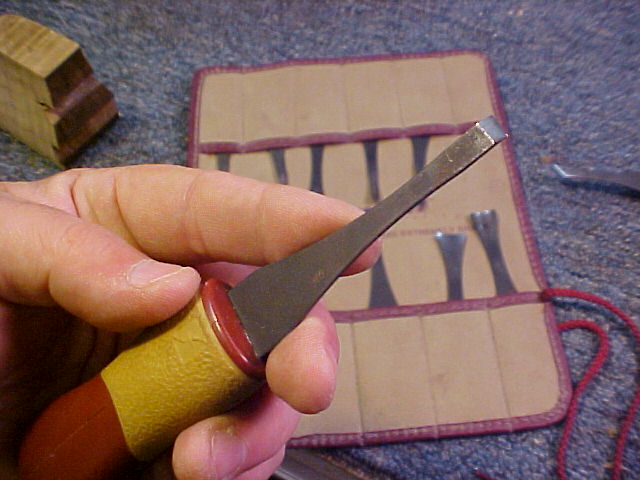
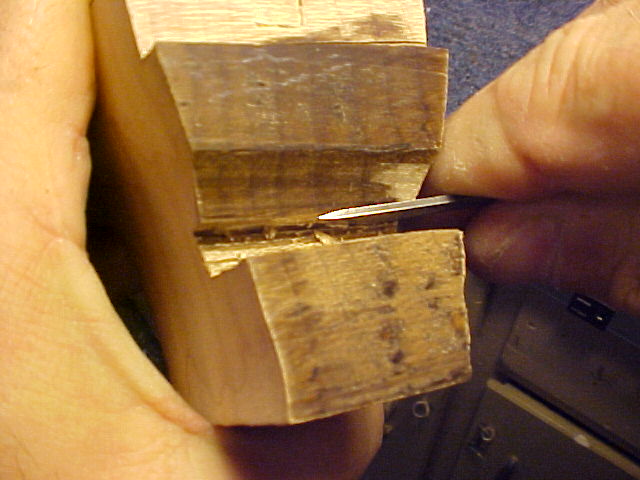
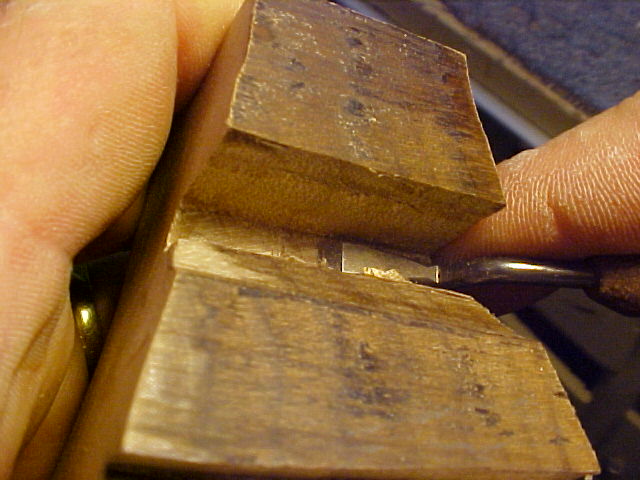
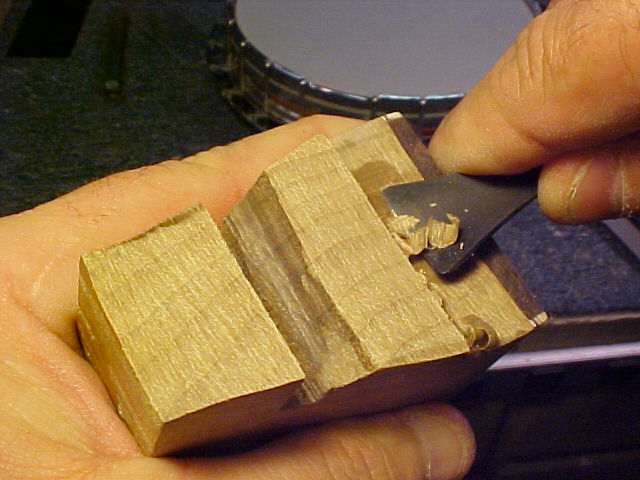
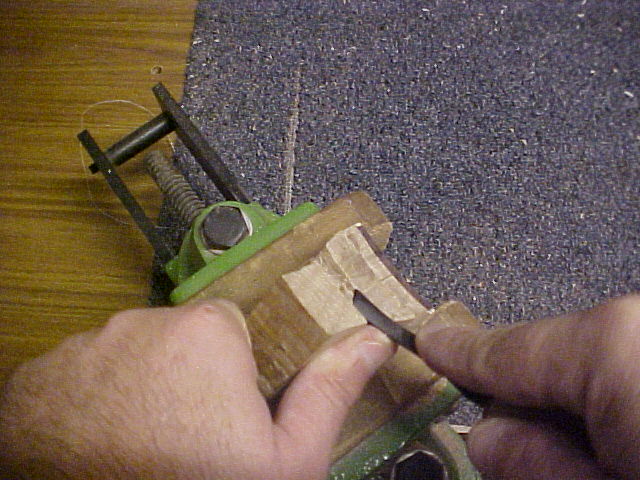
I make several cuts from the outside to the deepest part of the flange beed cut and take care of cleaning that cuts up with a chisel. I have a Flex Cut gouge set that is razor sharp that I use for this. I also use various dog-leg chisels, nut setting files and sandpaper to further refine the profile as perfectly as I can before tentatively testing the fit against the banjo pot just before cutting the radius into the profile, which is the trickiest part of this operation.
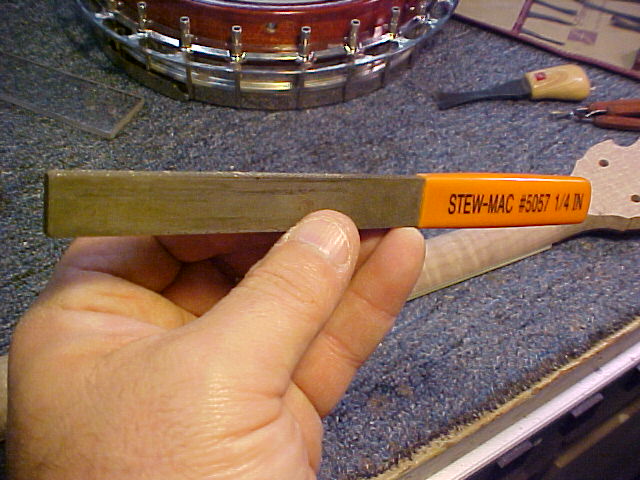
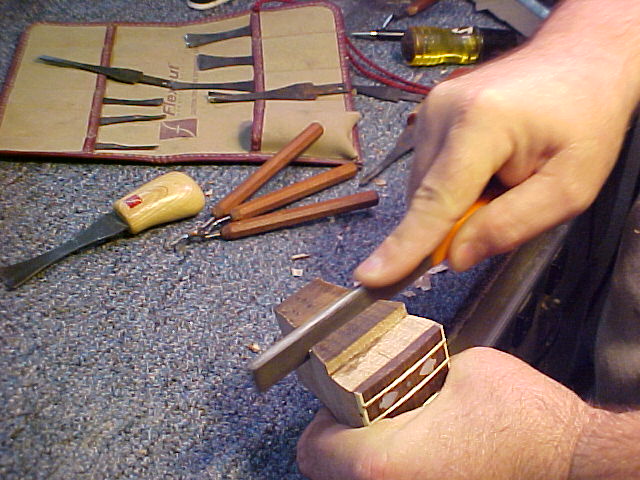
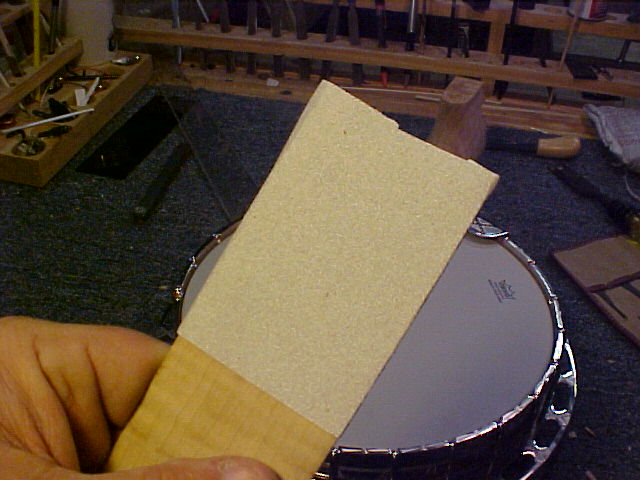
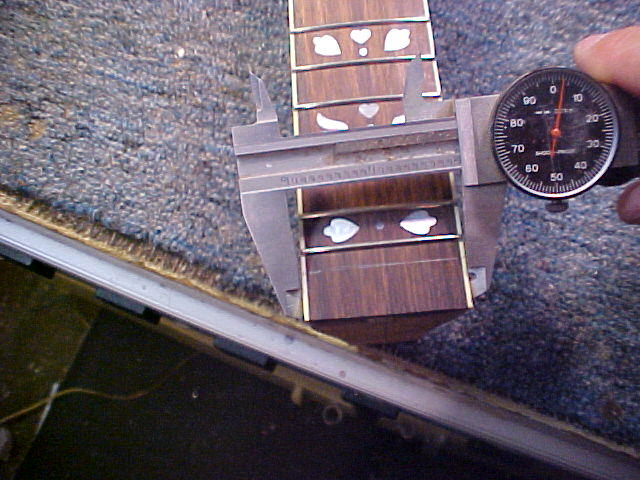
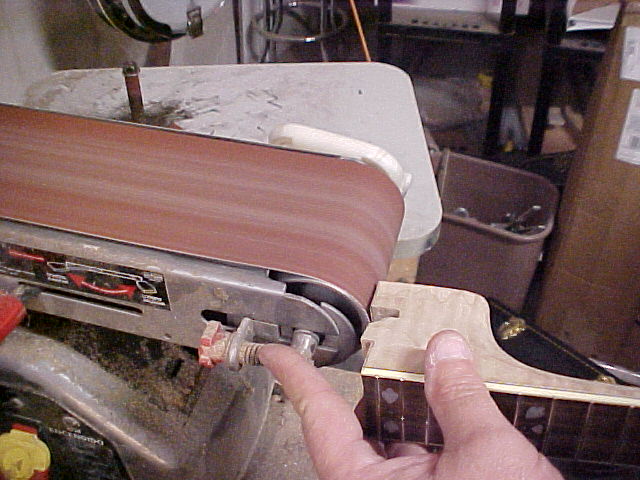
This neck is constructed from curly maple. This is a very hard wood to work with, especially when dealing with the end grain as we are in this case. Be patient and allow your sharp tools and fresh sandpaper do most of the work for you. Once you get the profile as clean and as perfect as you can, you are ready to begin cutting the radius into the butt of the heel. Using the profile contour gauge I carefully transfer that mark to the top and the bottom of the neck and then, using a common bench sander, I start very carefully working my way to the line.


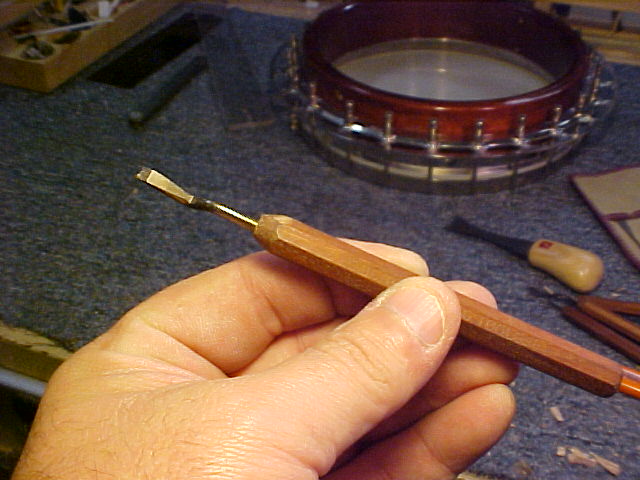
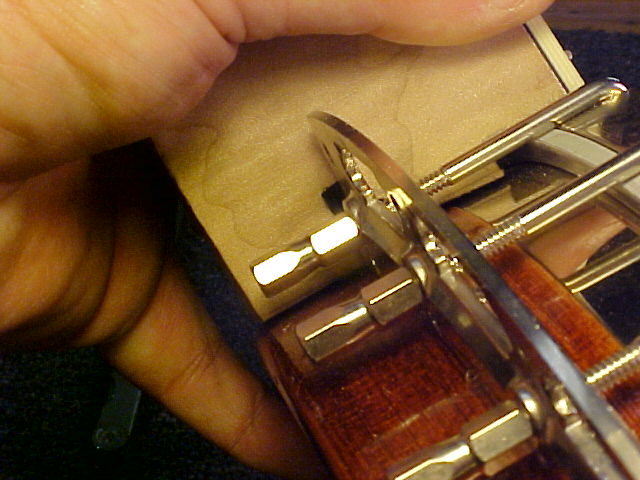
Using a Dremal with a flex shaft attached to it and more very sharp gouges and chisels to cleanly refine the shape. You must watch your angle as you go and even after you think you are done, you’ll need to install the lag bolts and attach the neck and sacrifice at least one set of strings while you double-check all the lines and to make sure the centerline is where it needs to be as well as the angle that you need to accommodate the bridge height you need for your banjo. You should count on removing the lag bolts more than once while making the final adjustment. You will probably need at least two sets of strings if you make the attempt at hand cutting one of these one piece flange banjo heel cuts.

Good luck with your banjo project.
Richie Dotson
Acoustic Box LLC
Chesterfield, Virginia