
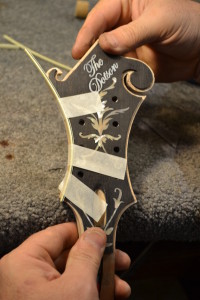
Binding and Inlaying a Mandolin Headstock
by Luthier, Richie Dotson
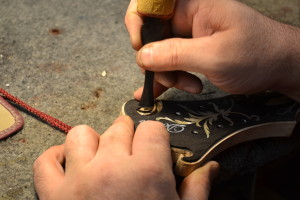
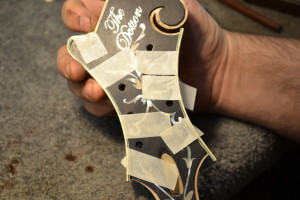
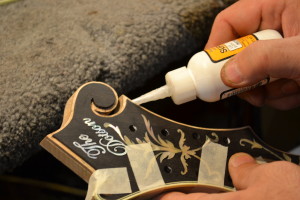
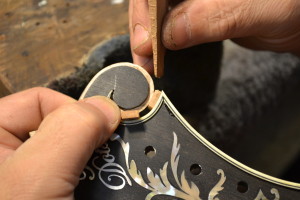
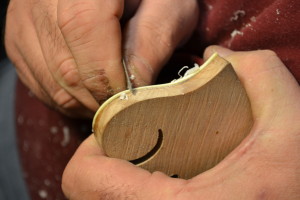
I have to work on the bee-sting on the large scroll now. It will need to be completed and look nice and crisp. The material I use is celluloid binding. A lot of modern binding is soft and will melt and distort, but the celluloid will catch fire and burn vigorously. I use a great deal of care when heating up the binding with a heat gun in order to bend the binding around the route in the headstock. An ordinary hair dryer will not get hot enough for this operation.
 |
 |
 |
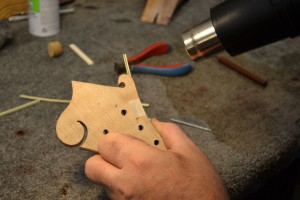
Getting the binding to the proper shape and allowing it to cool and set is the primary goal. This will take a lot of time to pull off properly and you will need to heat the binding slowly and wait for it to heat up without pushing it.
 |
 |
 |
 |
 |
 |
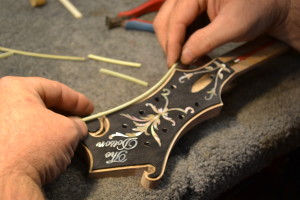
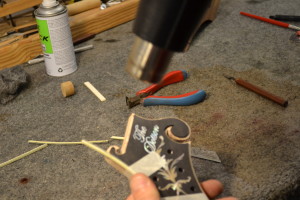
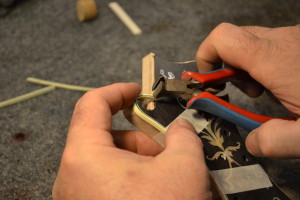
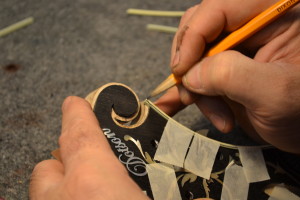
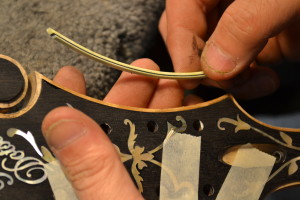
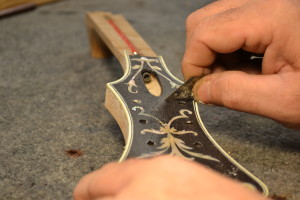
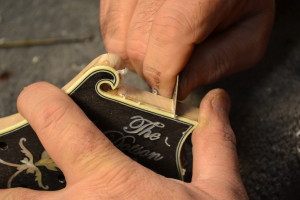
After the first pieces are in place (not glued in yet) but held in place with masking tape, the points where the layered binding will come together need to be cut so that the binding tips come together and the layers of binding line up perfectly. Nothing looks better even up close than a properly executed binding corner on a mandolin. This takes time and patience and a little practice. Have extra binding on hand and sharp chisels.
 |
 |
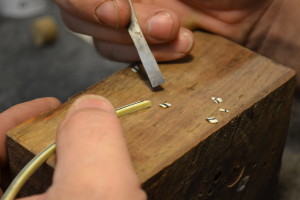 |
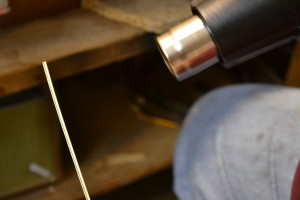
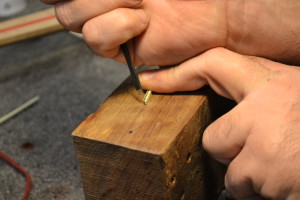
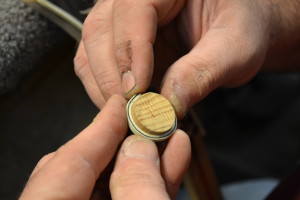
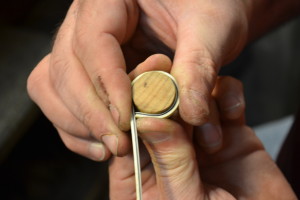
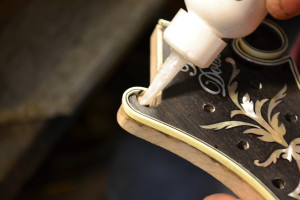
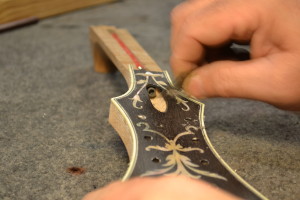
I use different sizes of dowels to pre bend the binding around the two scrolls. The trickiest part of this procedure by far is the area in the inside point of large scroll. Take your time. After everything fits perfectly I use medium viscosity cyanoacrylate to secure the pieces in place. Alignment is even more important at this point.
 |
 |
 |
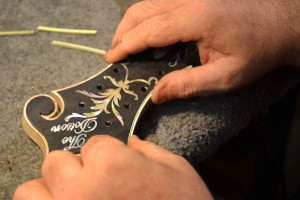
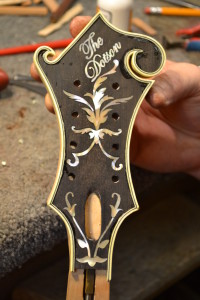
Taking the time to make everything fit as perfectly as you can is what will make this project either a work of art or an average looking homemade mandolin. Take the time to fit the pieces perfectly and you will have a mandolin that you can be proud of.
 |
 |
 |
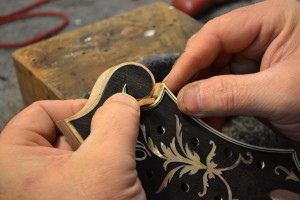
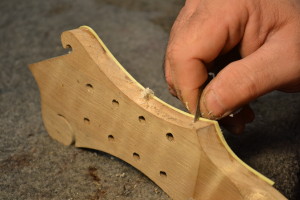
Once everything is in place it will be standing above the headstock overlay and you will need to sand and scrape it neatly to level it with the overlay.
 |
 |
 |
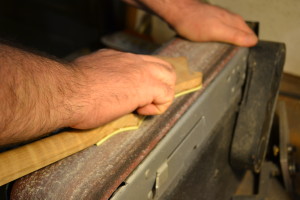
I use the bench sander, but I don’t turn it on as the friction from the running belt would easily set the binding on fire that I have worked very hard to make as perfect as I could. With my left hand I am holding the belt still and with my right hand I am rubbing the face of the headstock against the belt to get the binding trimmed down to the face of the headstock. The rest of the job comes down to 220 and 320 sandpaper after carefully scraping the bind down to clean up the marks from the belt sander.
 |
 |
 |
 |
 |
 |
Good luck with your binding project and don’t settle for “good enough”.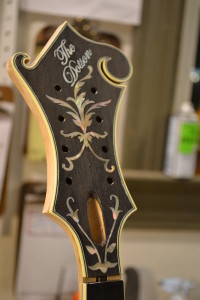 |