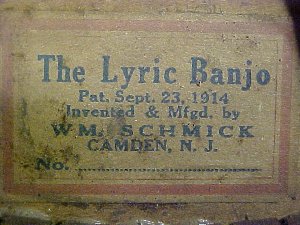
This old Lyric banjo was sent to me from Alabama. It is an unusual old banjo in its construction but sounds great! It had minimal problems but posed a couple of challenges to me. I’ll go through the process of restoring this fine old southern lady to a playable condition.
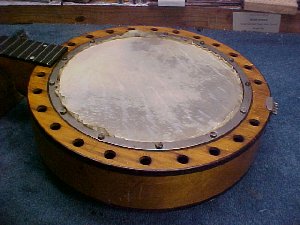
The head had been recently been replaced but the tension on the real skin head wasn’t up to par. The skin hadn’t been trimmed properly while the head was wet, either. This further added to my decision to replace it. Sometimes starting afresh is better.
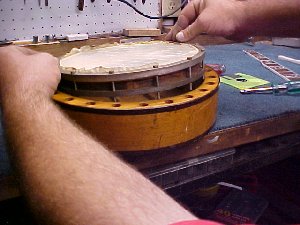
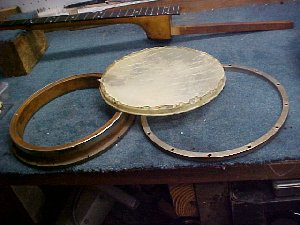
The resonator on this banjo is a bit unusual, too. It is deep and adds lots of great character to the timbre of the banjo. I love it!


A little bit of cleaning up and this banjo will be pretty and functional again. All the tuners are here (one has been removed) and all appear to be in proper working order. Lets get started.

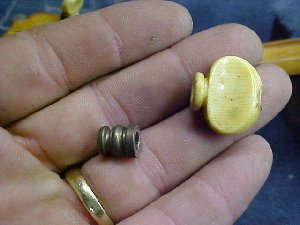
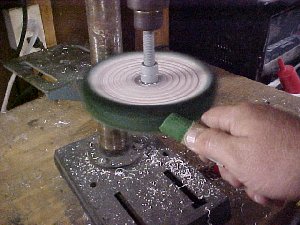
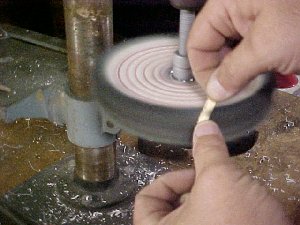
A great deal of what will make this banjo spring back to life it cleaning. As I remove the tuners I clean them up on a buffing wheel running at a low speed with a light polishing compound added to the wheel. This provides very little in the way of abrasion, yet cleans years of oxide and age from the surface in minutes. This method should not be used on a regular basis. It is only due to the age of the banjo and years of build up that I have chosen this particular method of cleaning.
Care must be taken not to “burn” or damage these old parts. Common sense should be exercised when working with power tools and chemicals. Personal protective equipment (PPE) should be used whenever applicable.

Removing and polishing the tailpiece makes a big difference.
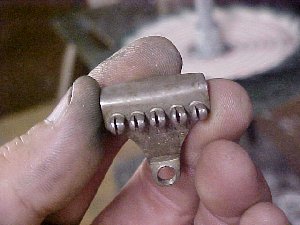
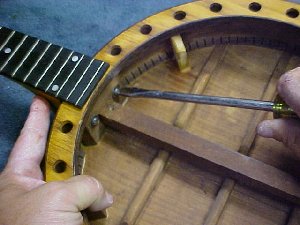
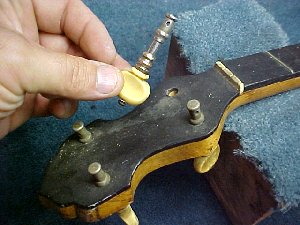
Now the challenge is getting the rest of the banjo apart and figuring out how to change this banjo head. This is an unusual construction method for a banjo. Here is how these banjos are disassembled:
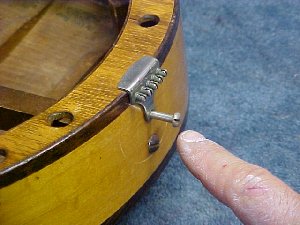
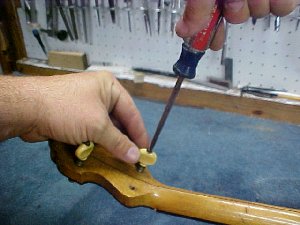
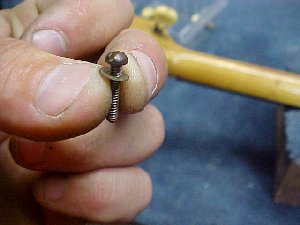
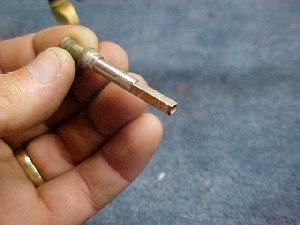
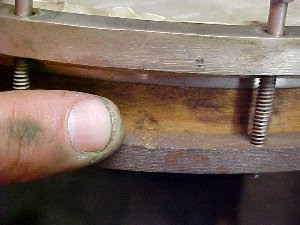
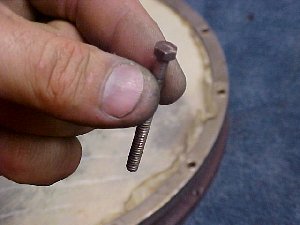
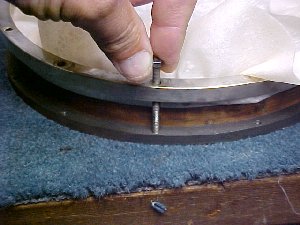
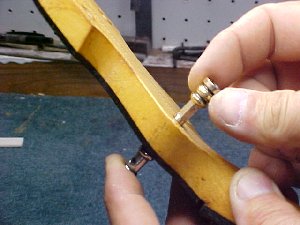
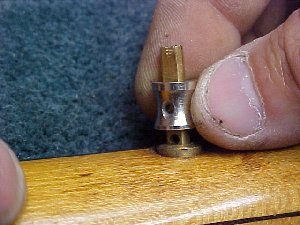
The flat head screw under the tailpiece fastener is removed. This fastener goes into an unseen (as of jet) dowel stick. The next step is to remove the one tension hoop fastener about 3/8″ above the tension hoop.
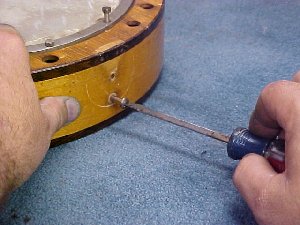
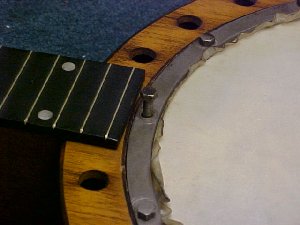
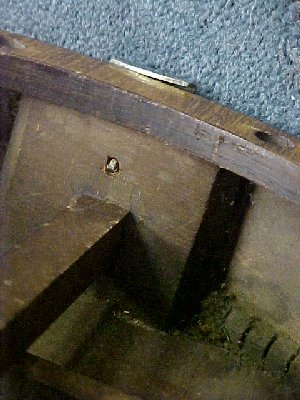
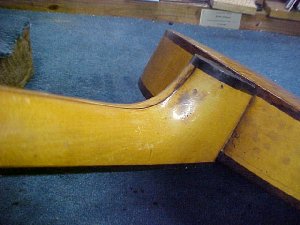
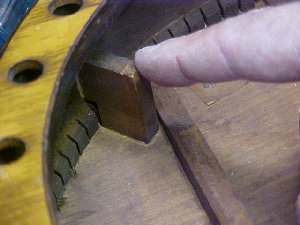
Now that all that has been done the pot assemble can be lifted out of the resonator and the neck can be pulled out of place and placed aside after removing the wood screws that hold the neck to a neck block. You can see from the first picture to the left that the fastener under the tailpiece had placed a dent into the wood rim (as it was supposed to do) and this aided in holding the heavy steel, maple and brass configuration into the spruce resonator.

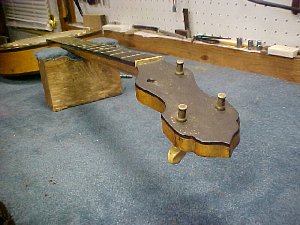
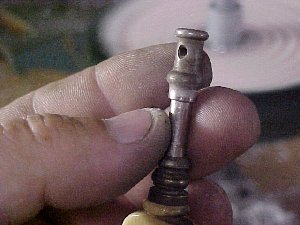
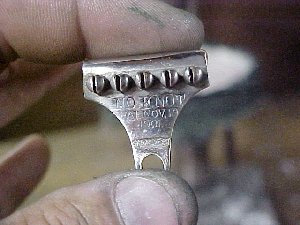
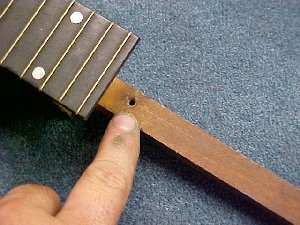
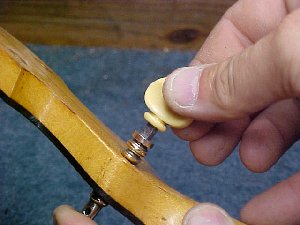
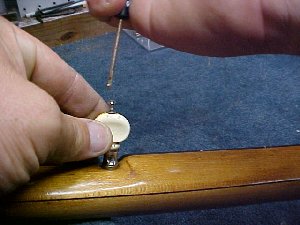
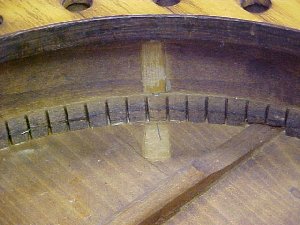
The next photograph shoes the hole in the top of the dowel stick that the top tension hoop fastener went into. Now, you can see the label inside the old banjo.
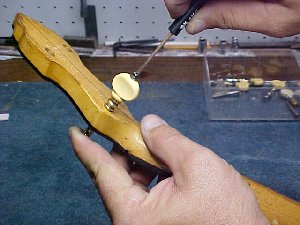
Remove the tension hoop fasteners slowly and evenly, just as any other banjo. I make sure to slack off the tension about 1/4 turn at a time, working my way in one direction until they are all completely slack before I attempt to completely remove any of them.
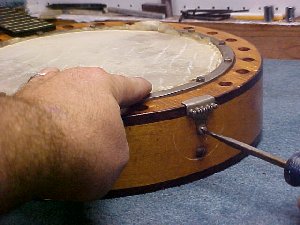
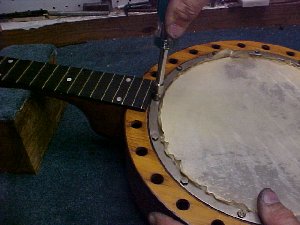
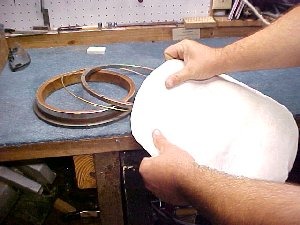
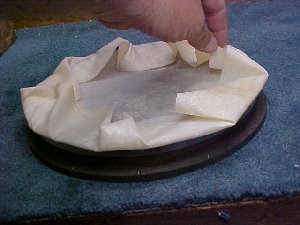
At this point I start replacing the old skin head with a new one. I start by cutting out the old flesh hoop and picking out a head from the dozen or so I keep in stock. I soak the head for the proper amount of time and begin the mounting process. The parts fit tightly and the operation needs to be done correctly but not too slowly as the head may start to dry out if you move too slowly.

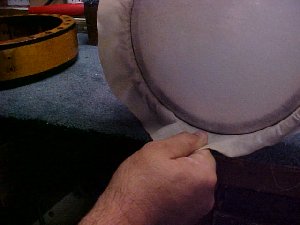
I reassemble the banjo accordingly and stretch the head before I replace all the fasteners. After having replaced all the head bolts, I trim the head before I set it aside to dry.


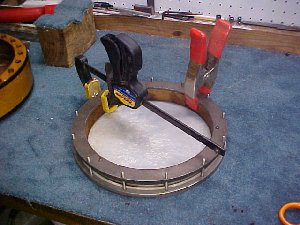
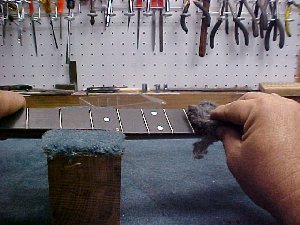
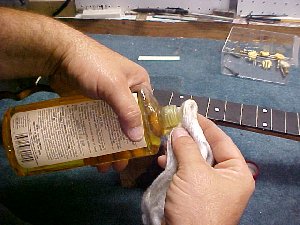
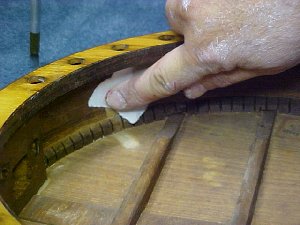
This wood rim has a couple of laminations that are loose so I will glue and clamp them before I start cleaning and repairing the rest of the banjo. 0000 steel wool works great for cleaning and polishing the fingerboard and frets.
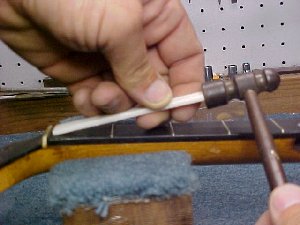
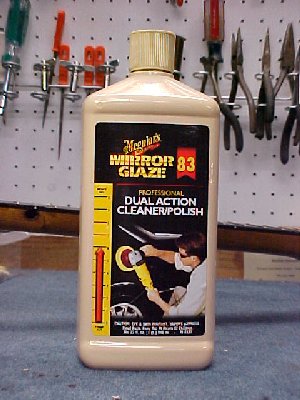
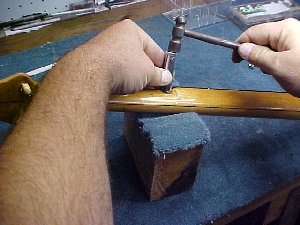
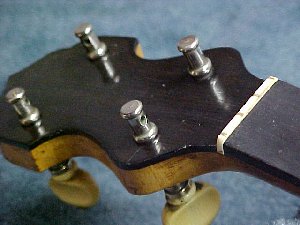
Using my small hammer and a piece of scrap bone (hardwood works well, too) I can loosen the old nut with a couple of gentle taps then slide it out of place. I am ready to move on. The nut is polished on the wheel and the fingerboard is treated to a little lemon oil. The headstock and back of the neck are gently polished by hand using a mild polish and the nut and tuners are installed.
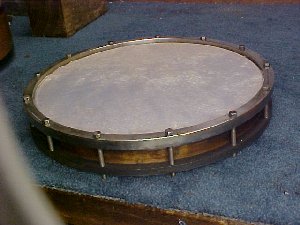
The banjo is starting to look much better. We still have a couple of challenges ahead, though.
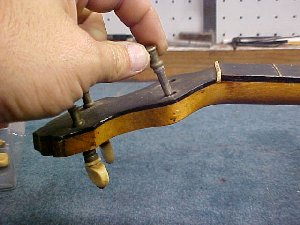
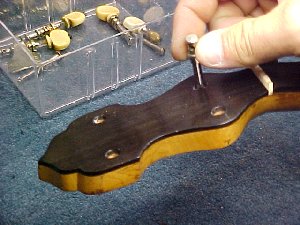
The 5th string tuning peg was missing so I obtained a vintage reproduction and installed it in the originals stead. It matched beautifully and installed without any alteration to the banjo neck.
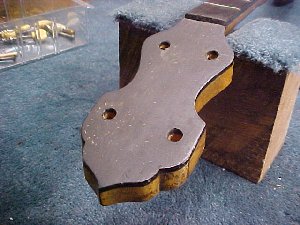
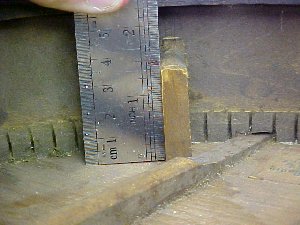
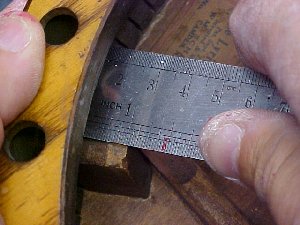
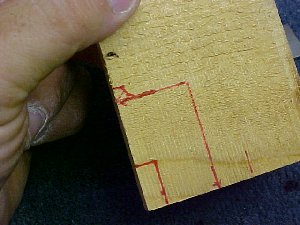
I used white glue to re-cement the old nut. It is old bone that is still in great shape. This hybrid of its time was designed partly like a guitar. It even had back braces of quarter sawn spruce like a guitar. The heavy pot rests on 4 spruce rest blocks and one is missing altogether. I will have to make one, so I take measurements and study the shape of the original in order to reproduce it.
I take my measuring pretty seriously as I believe in the old adage “twice measured, once cut”. I NEVER use a tape measure as they are inaccurate. I prefer these stainless steel, precision ground rulers instead.
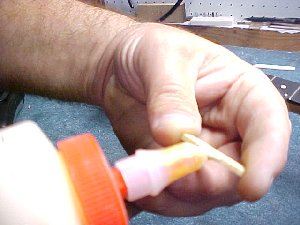
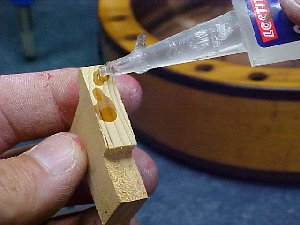
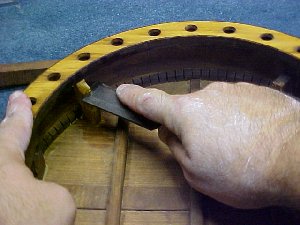
I use quarter sawn spruce, the same as the others, to reproduce the rest. I sand the area where the block will be reinstalled and I use super glue. Due to the odd shape clamping job I use crazy glue and accelerator after sanding the area and making sure everything fits together very well.
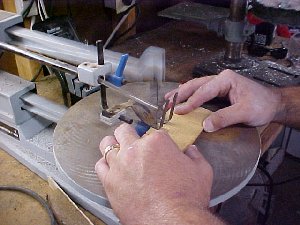
The fine tuning is done with a sharp wood chisel and I check that the pot will sit level on the new surface before I am satisfied.

All that is left is to reassemble the banjo and string it. It playes beautifully and sounds great!