Changing Autoharp Strings can look very intimidating at first glance, but if you take your time … quite a bit of it if you are inexperienced, you can do the job yourself.
Strings can run you (including shipping in Jan. 2011) between $80.00 and about $135.00 depending on where you shop and what you are looking for. I am sure you could spend a lot more. I had a really bad experience attempting to shop with Instrument Alley – so even though they have the best price, their customer service is non existent!
I now purchase all of these strings from Strings By Mail. They answer the phone or call you back and they return e-mail and even back your purchase completely! Find them on the web at: http://www.stringsbymail.com/store/ and tell them Richie Dotson sent you.
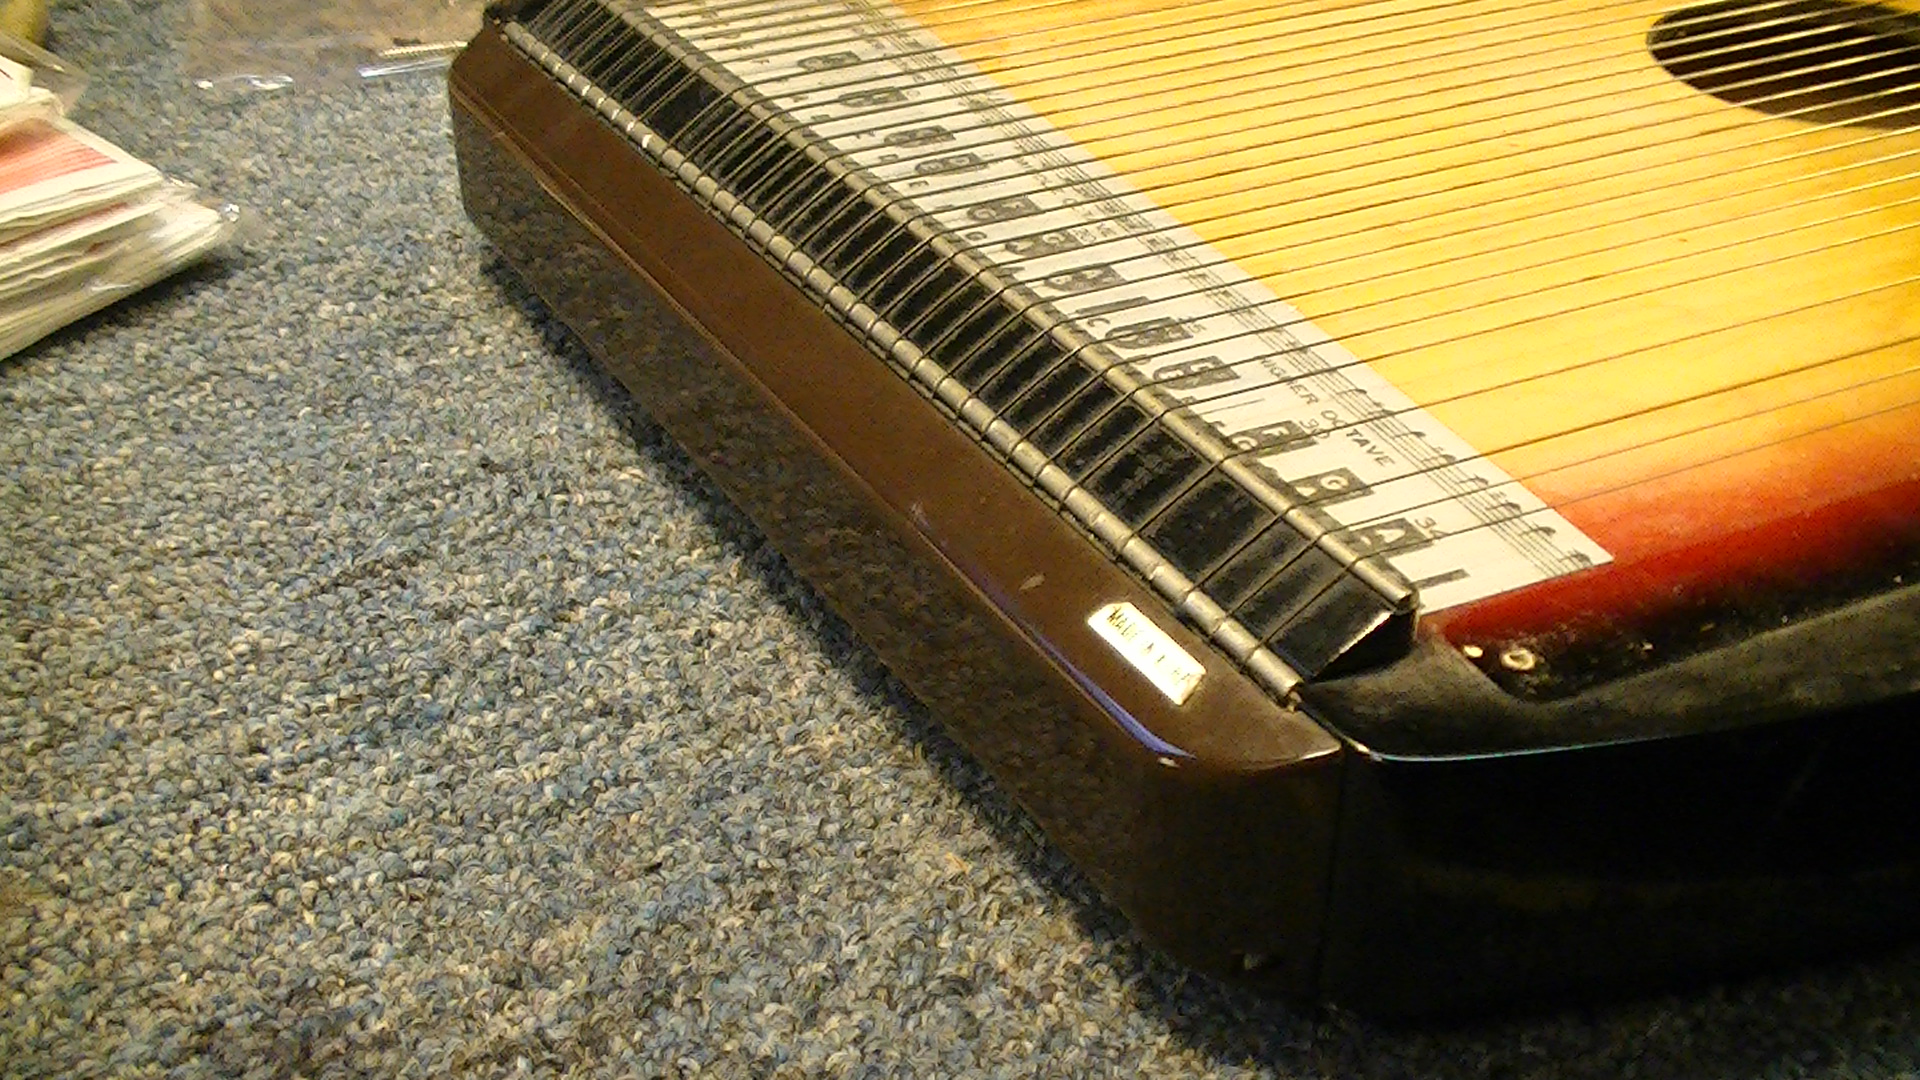
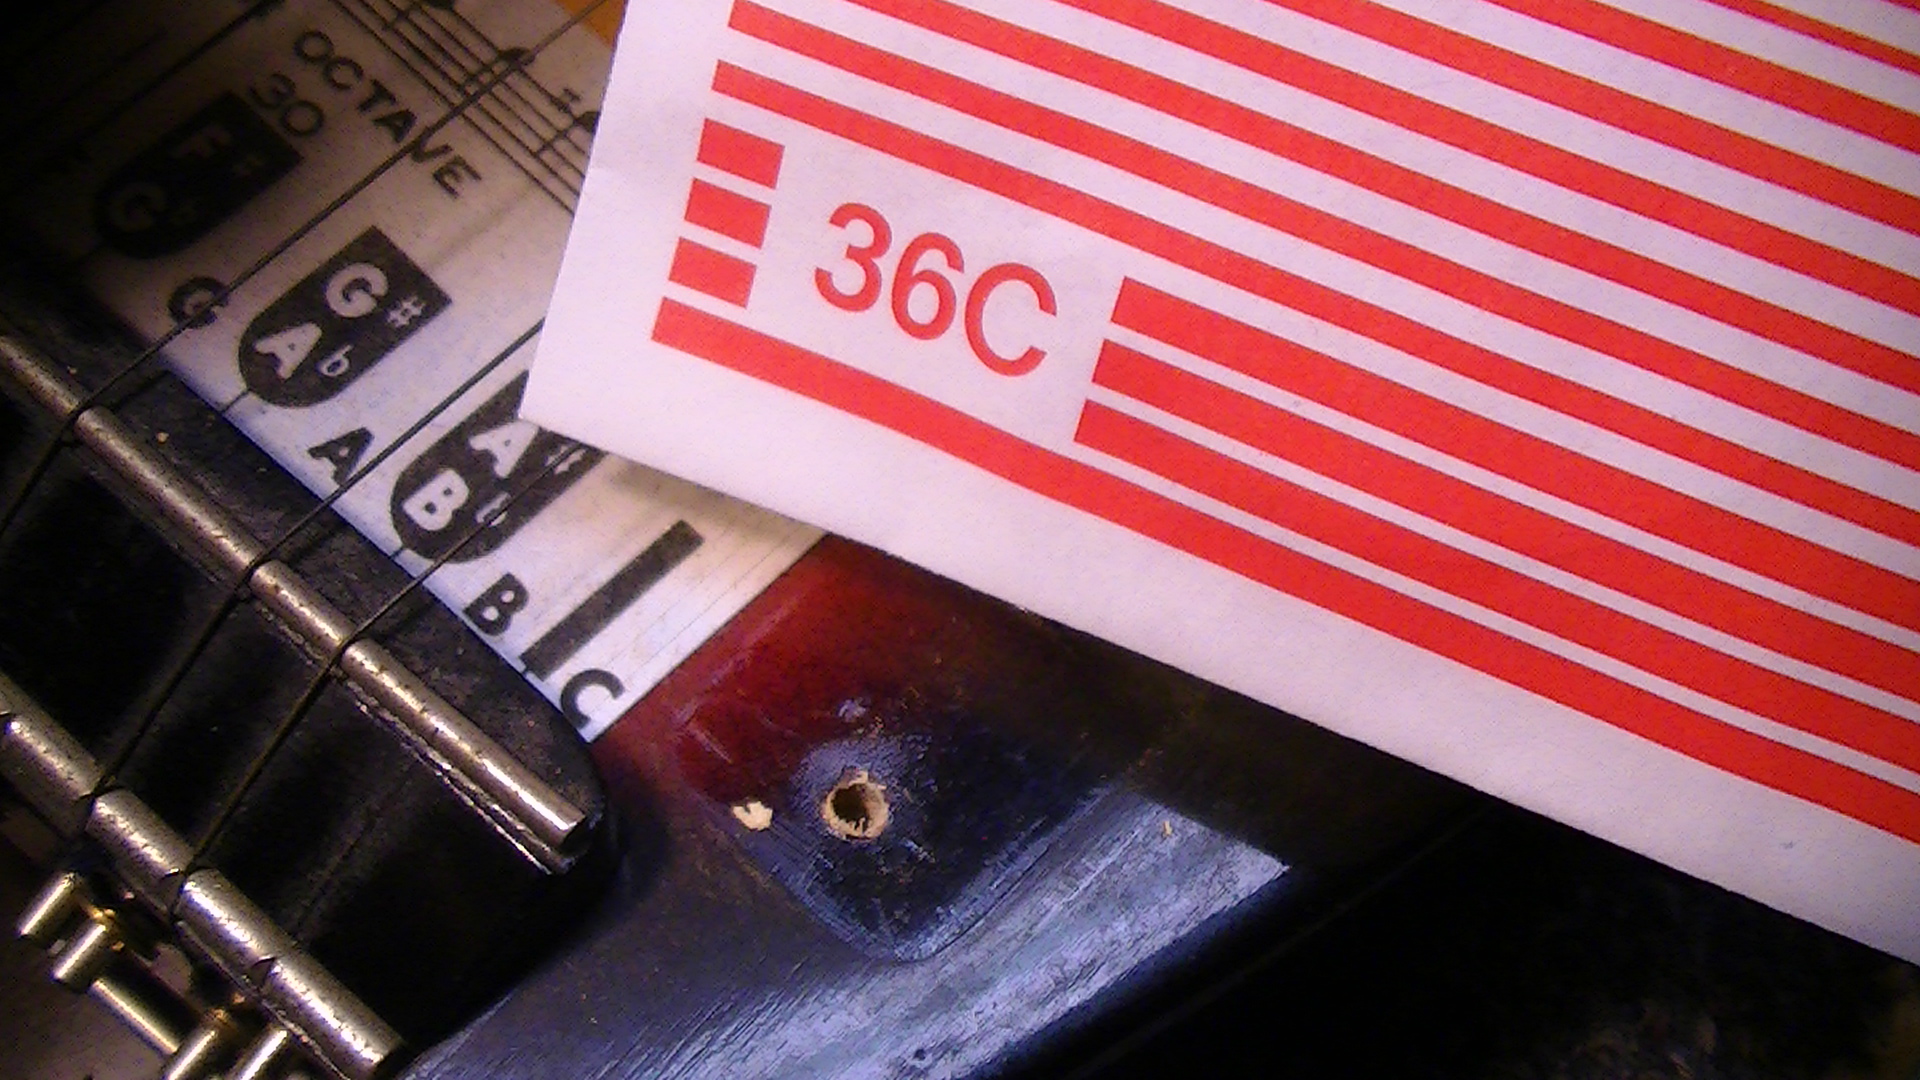
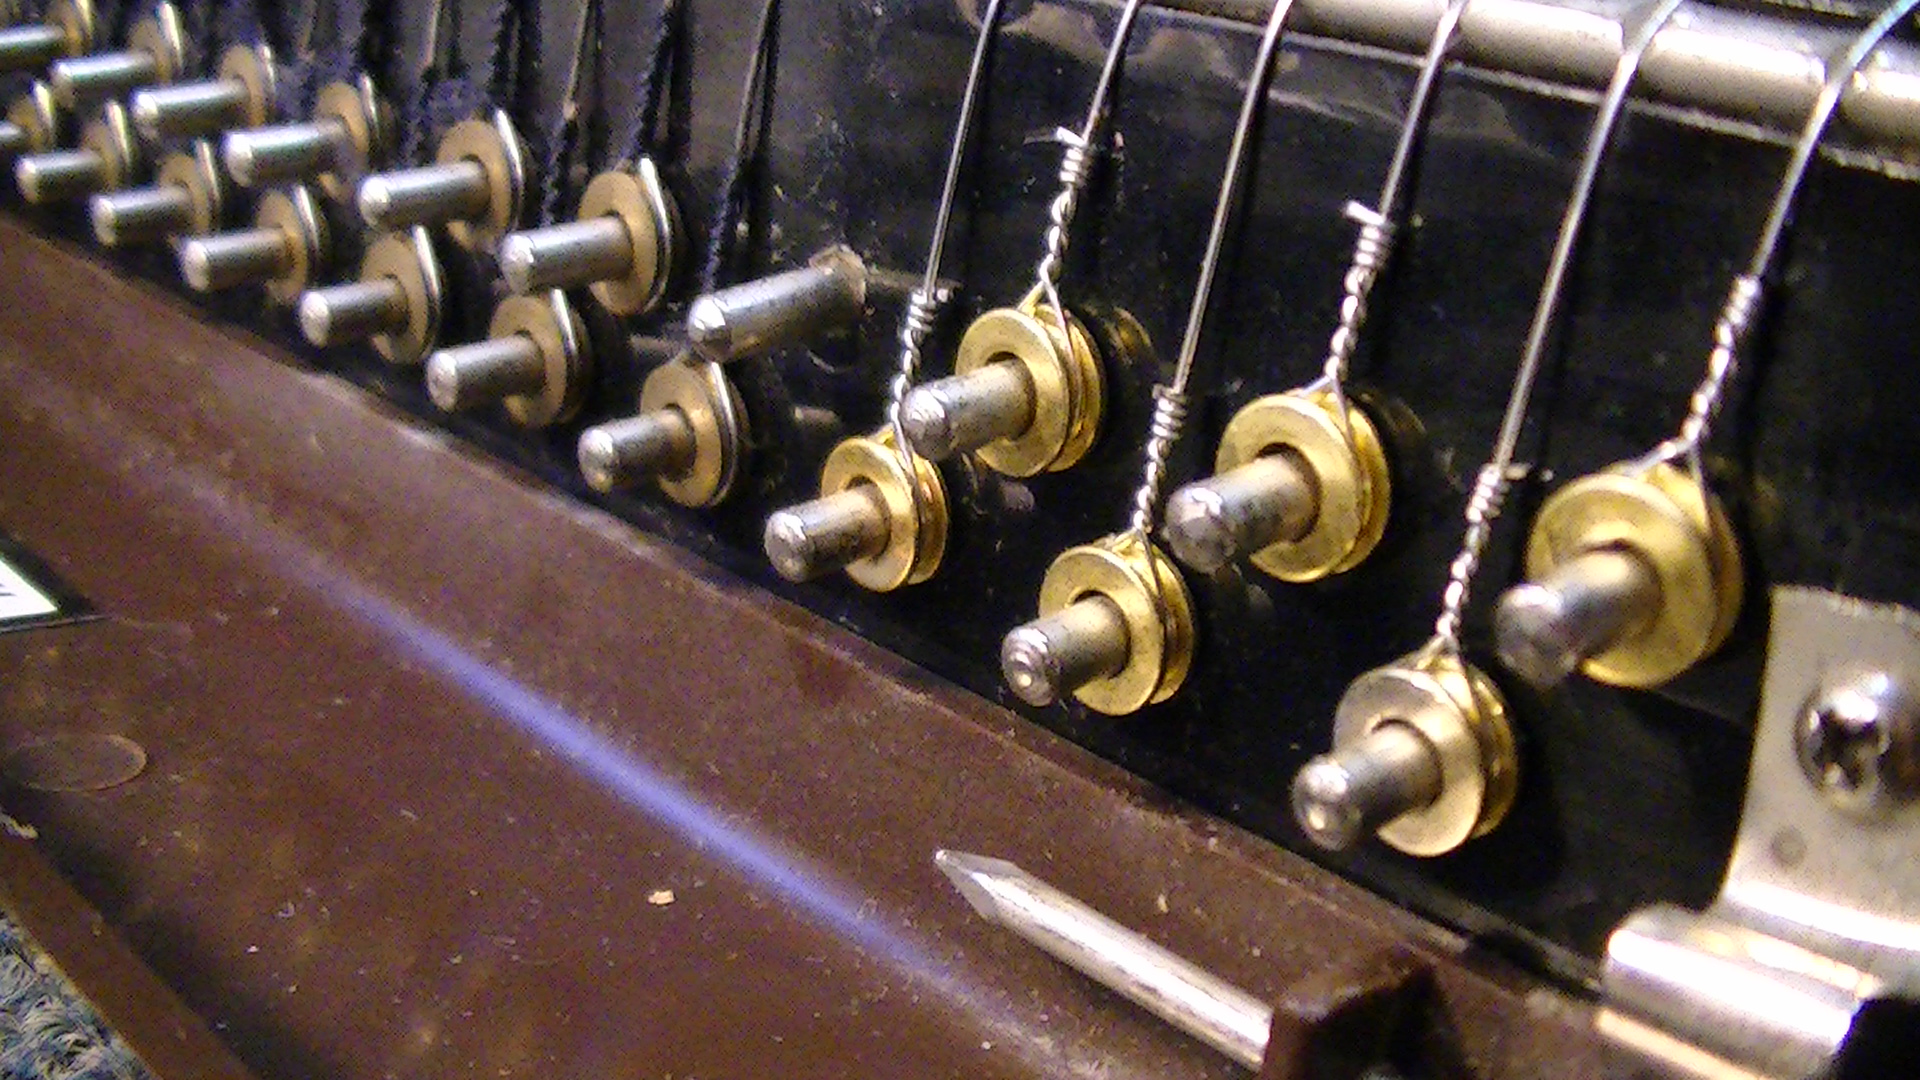
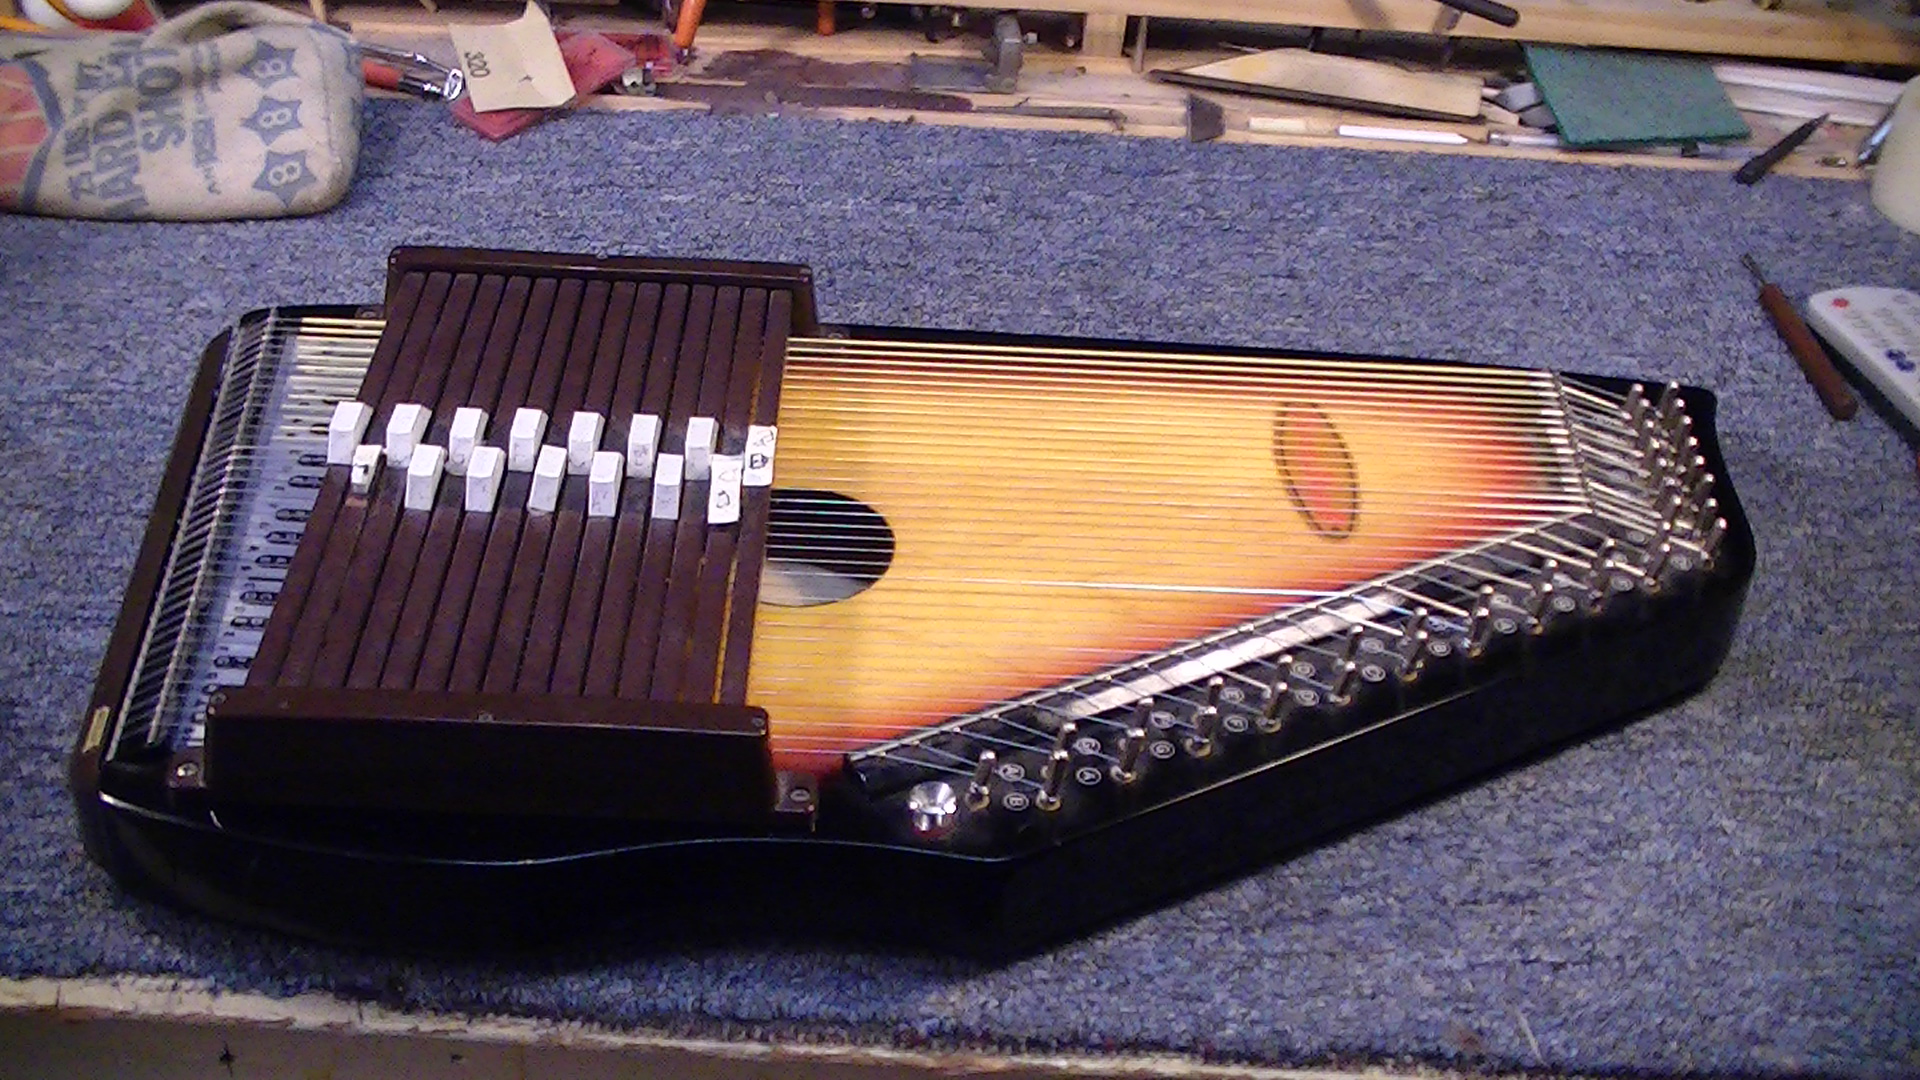
This autoharp, as others, has 36 strings. There are two types of strings for autoharps – loop end and ball end. This autoharp needs the loop-end strings. The loops are actually protected, in this case, by brass inserts. Before we can get to that part, the autoharp needs to be partially disassembled. You will also need a good, electronic tuner for this job. I also like the isolation clip. A strobe tuner is really great for this job, but some of the el-cheapo clip-on tuners may not perform so well for this task. You will also need a tuning “hammer” that fits your autoharp. I needed two sizes of Phillips screwdrivers for this job as well.
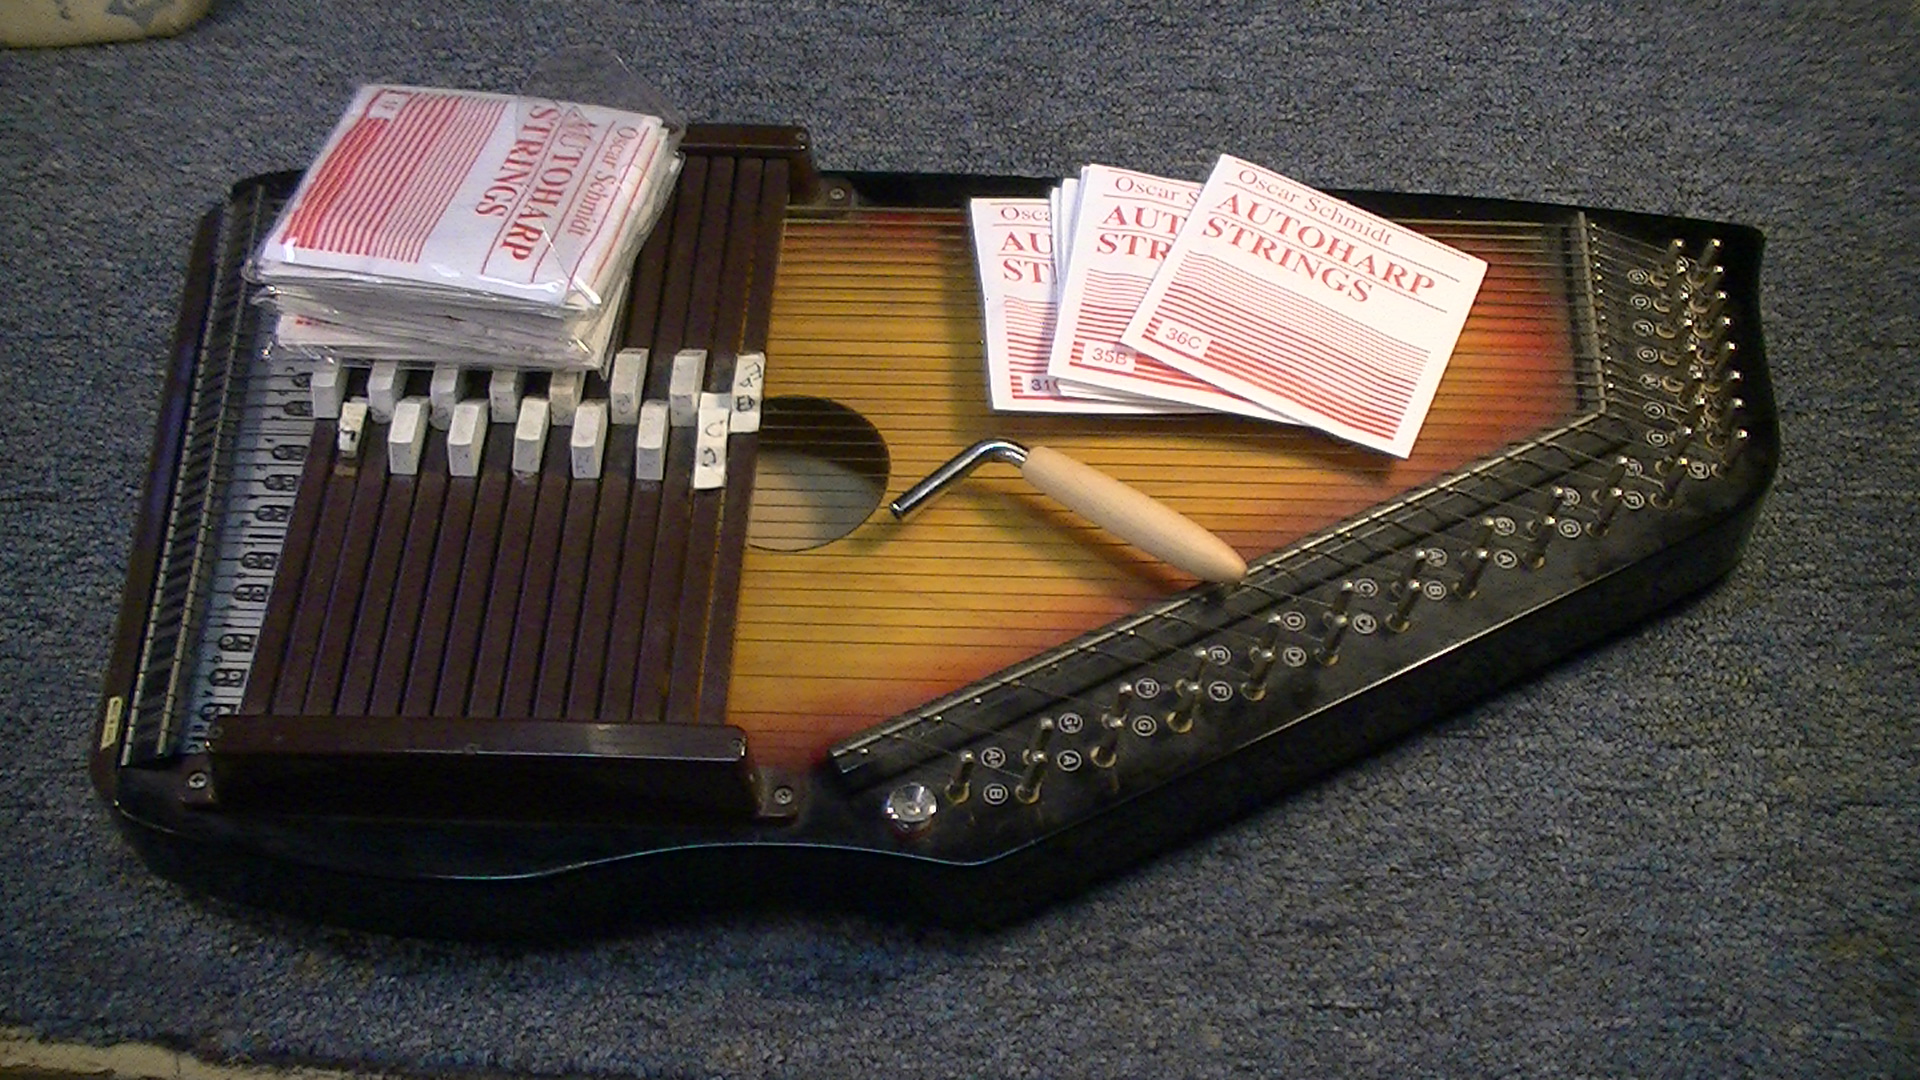
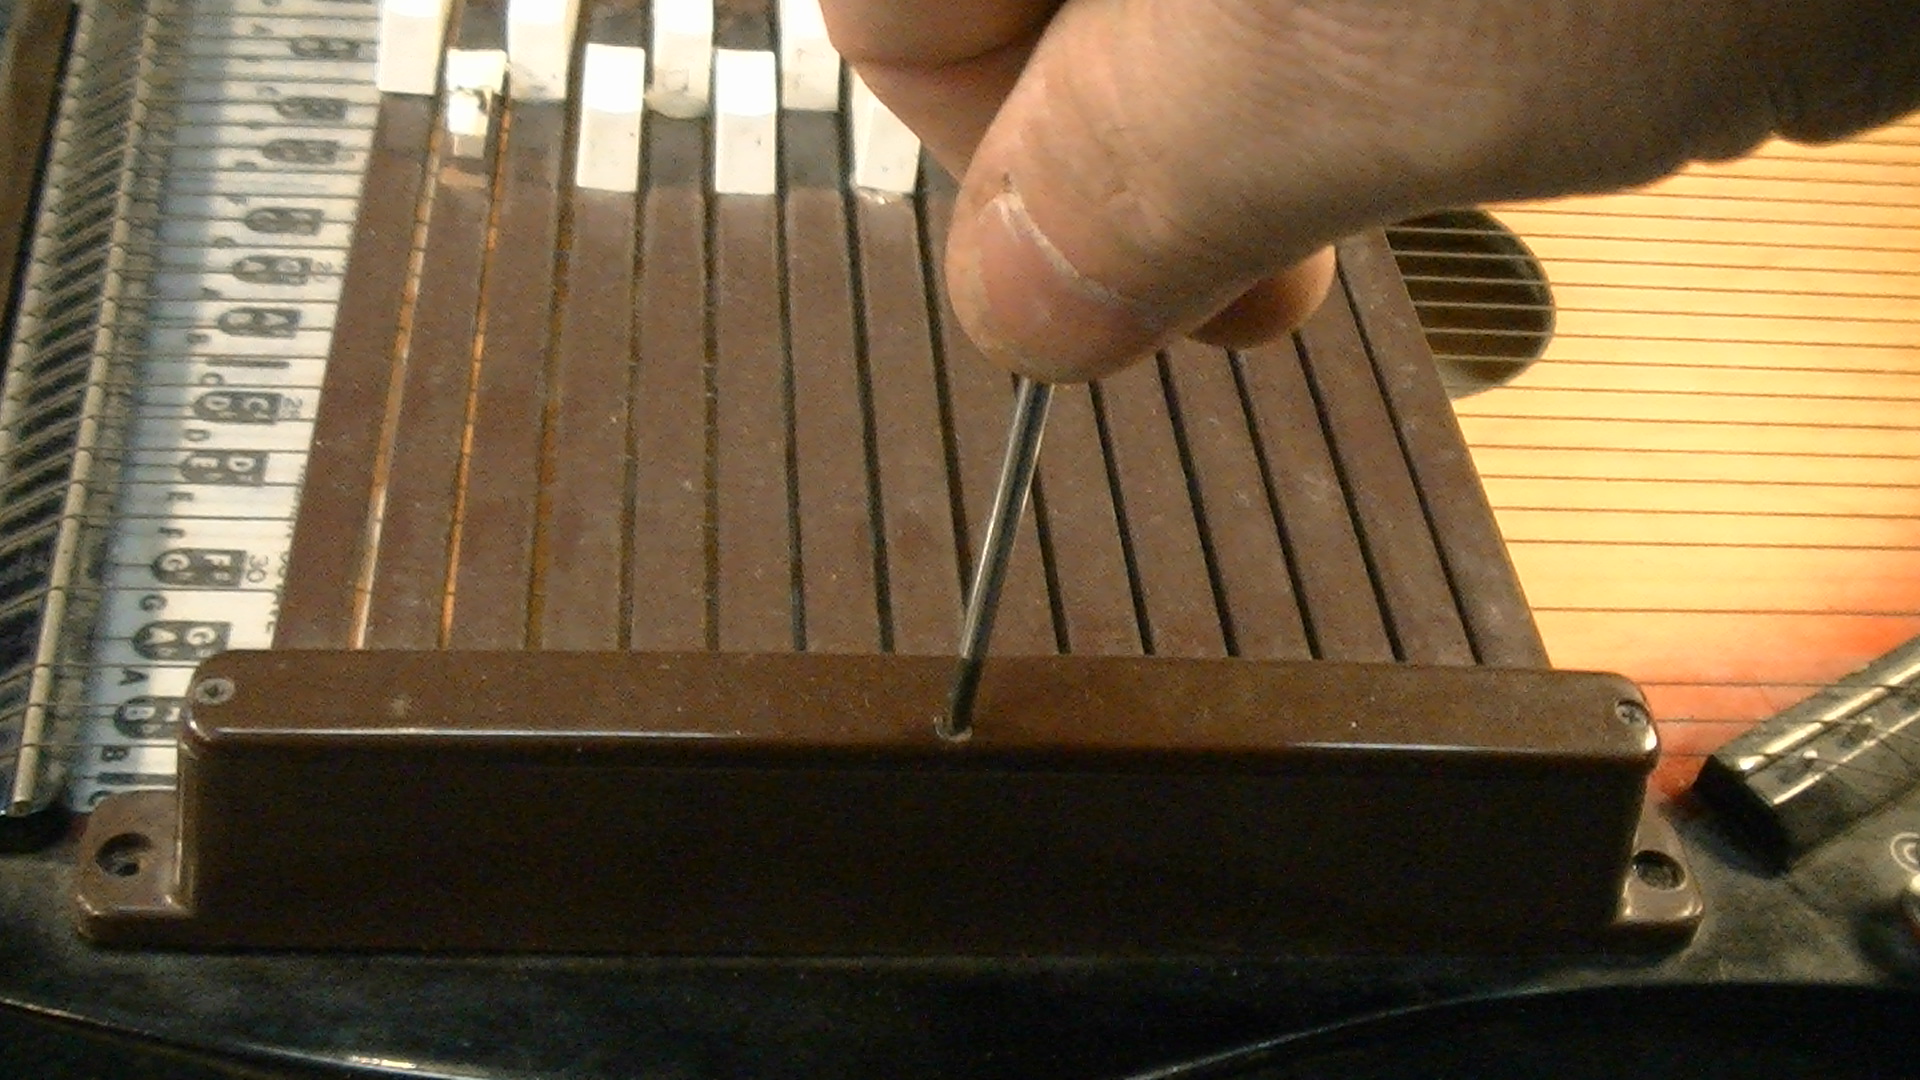
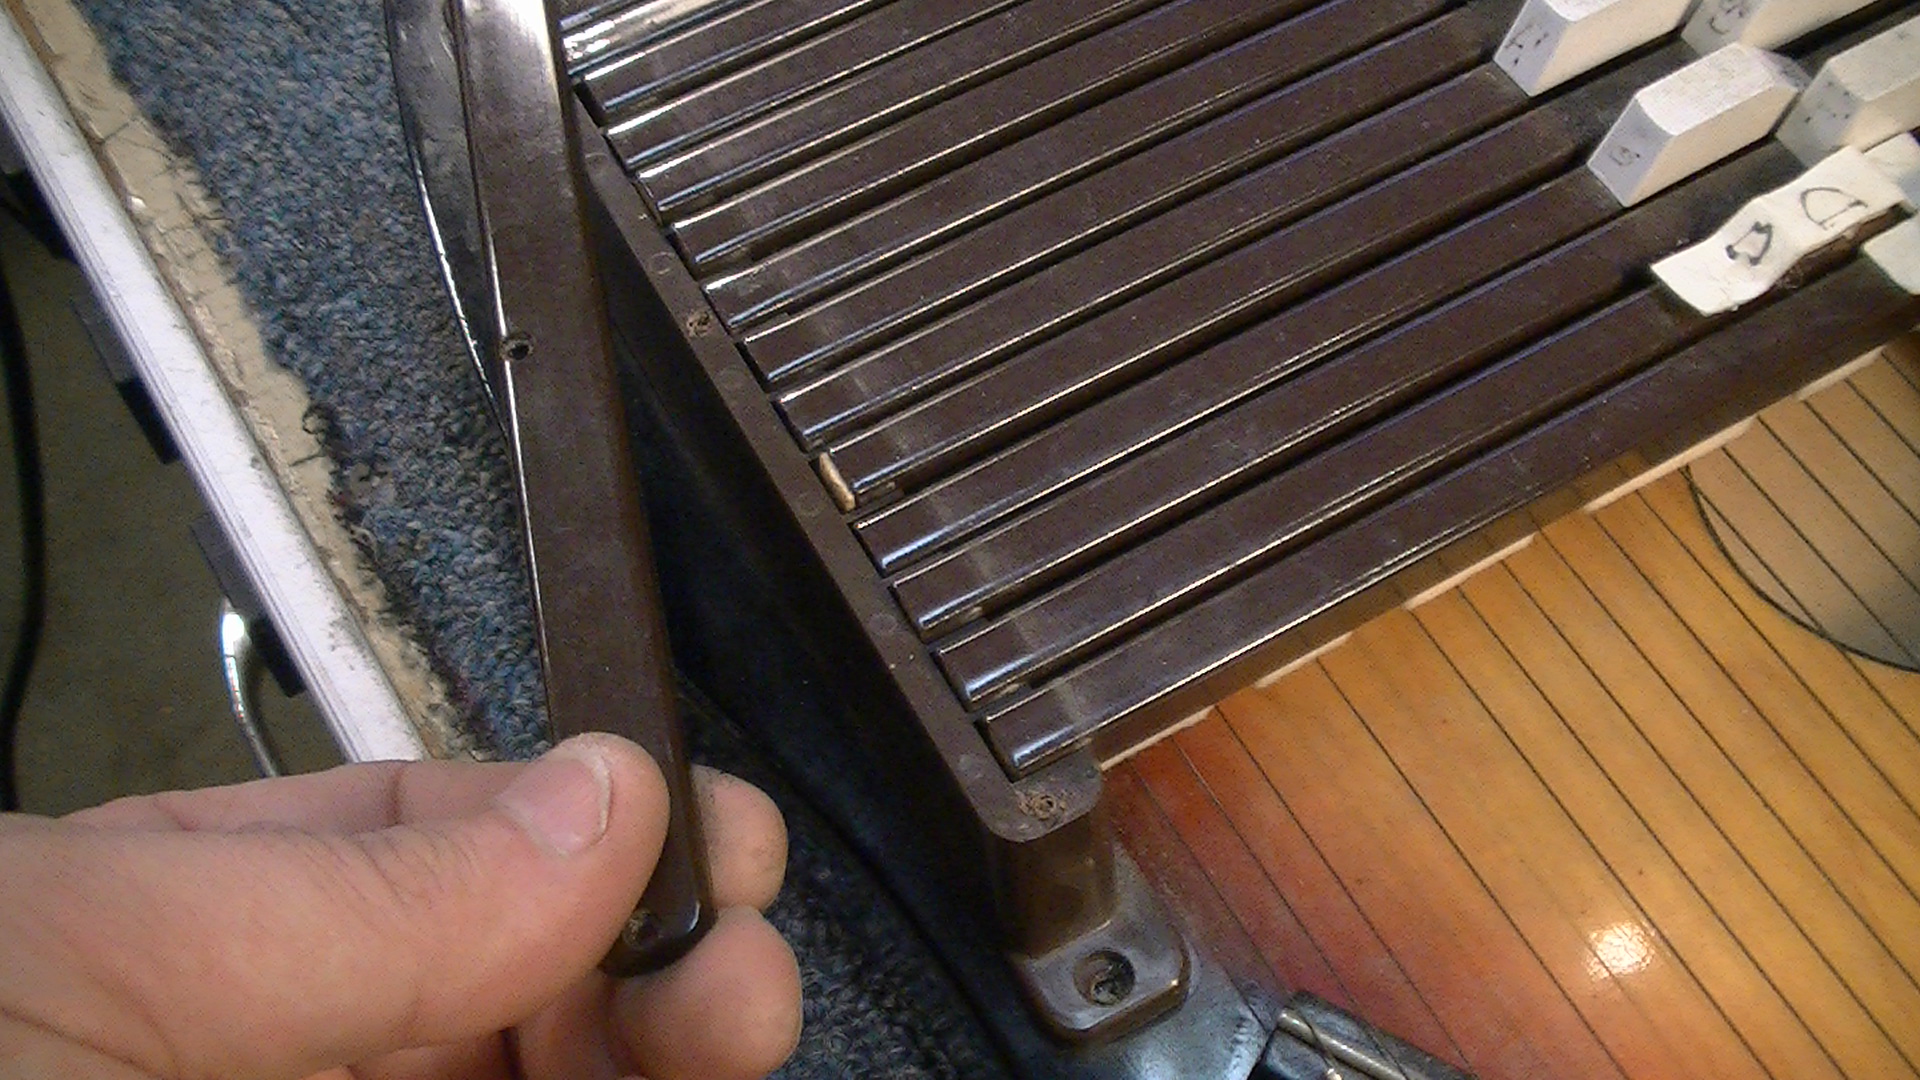
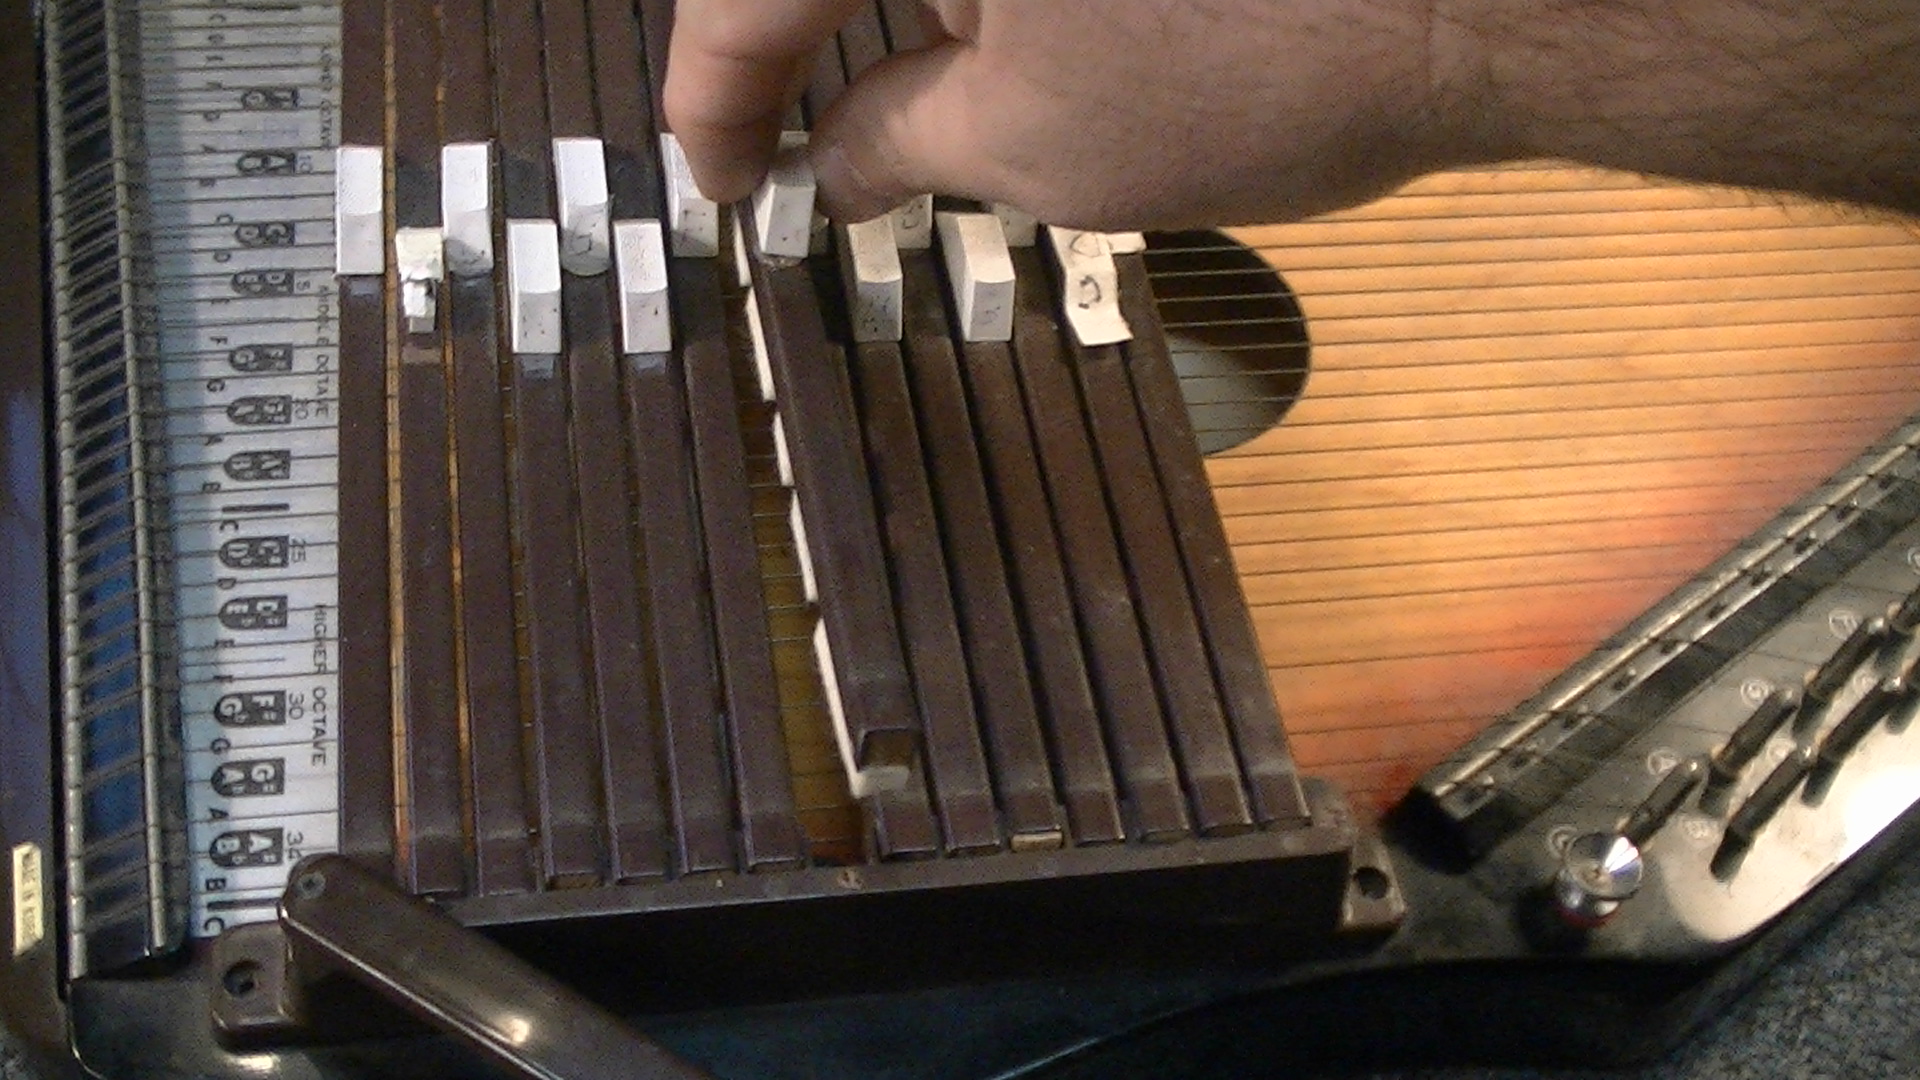
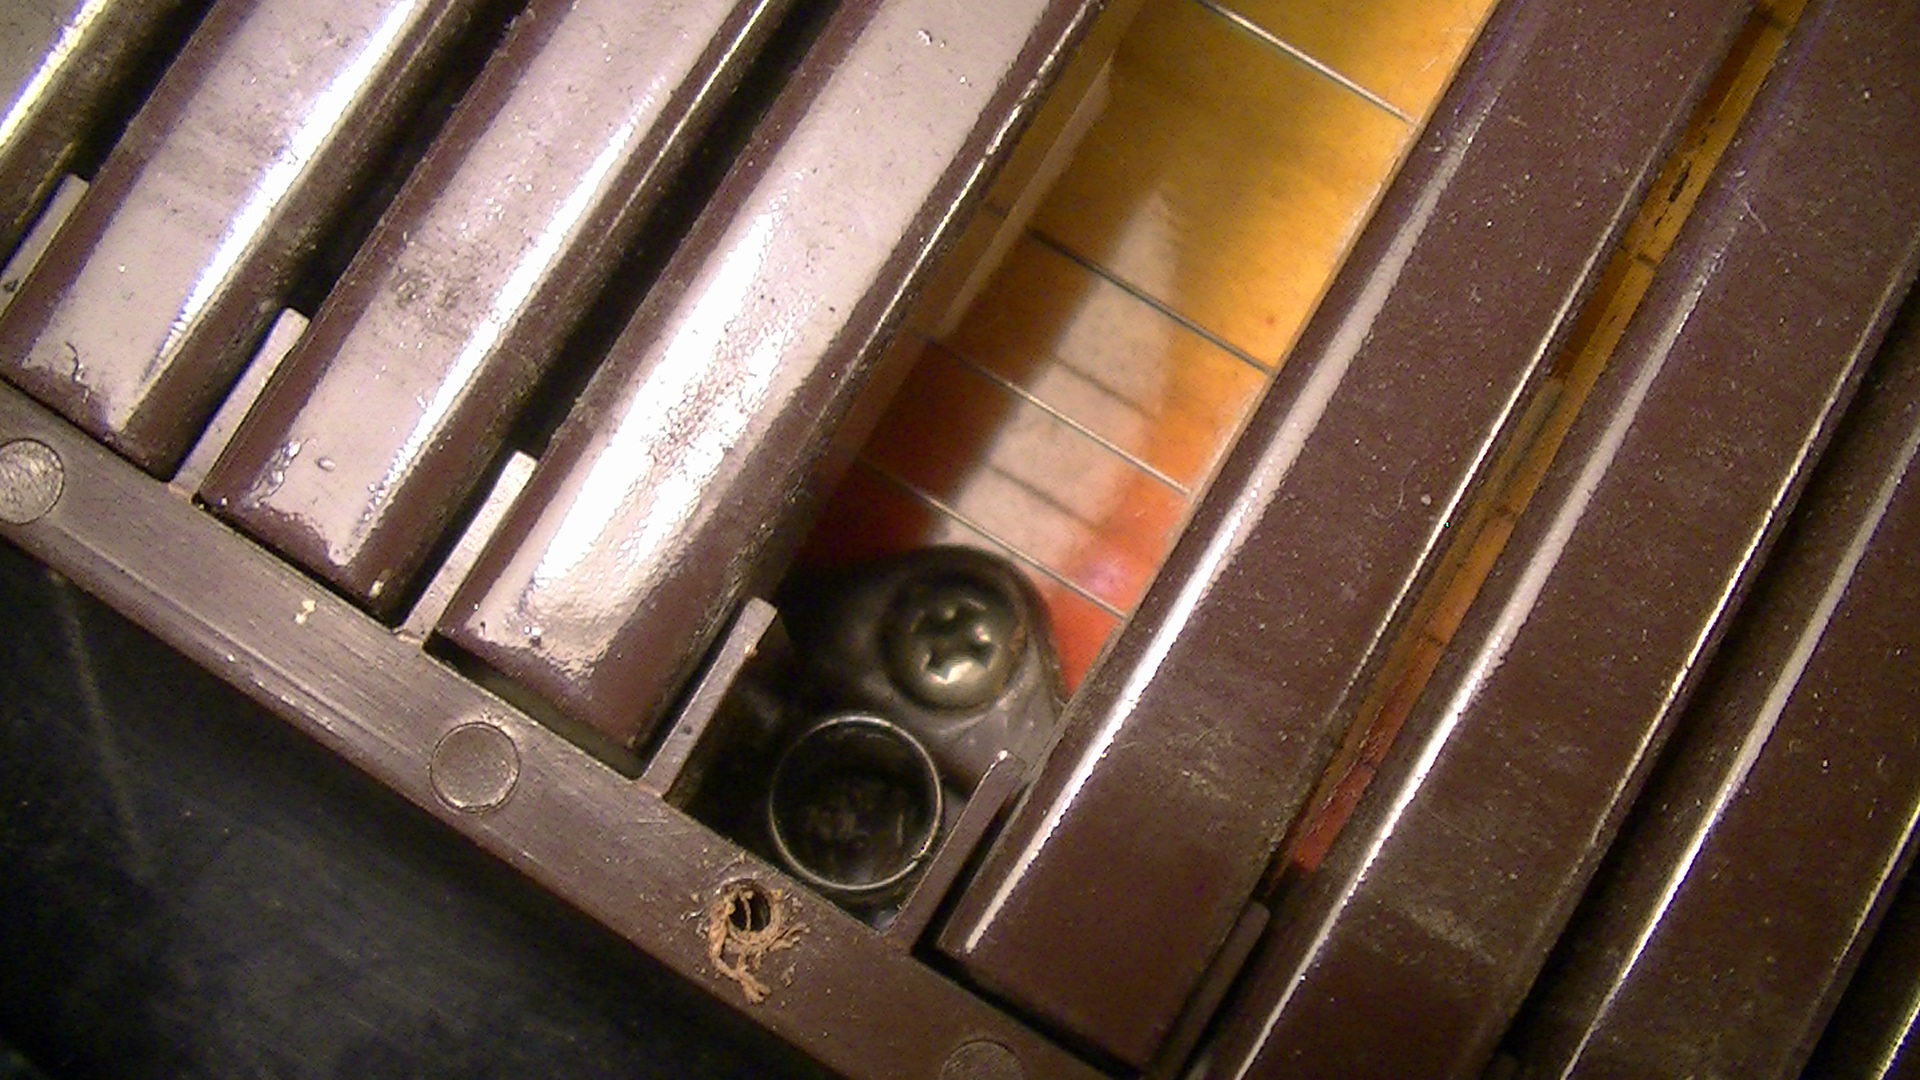
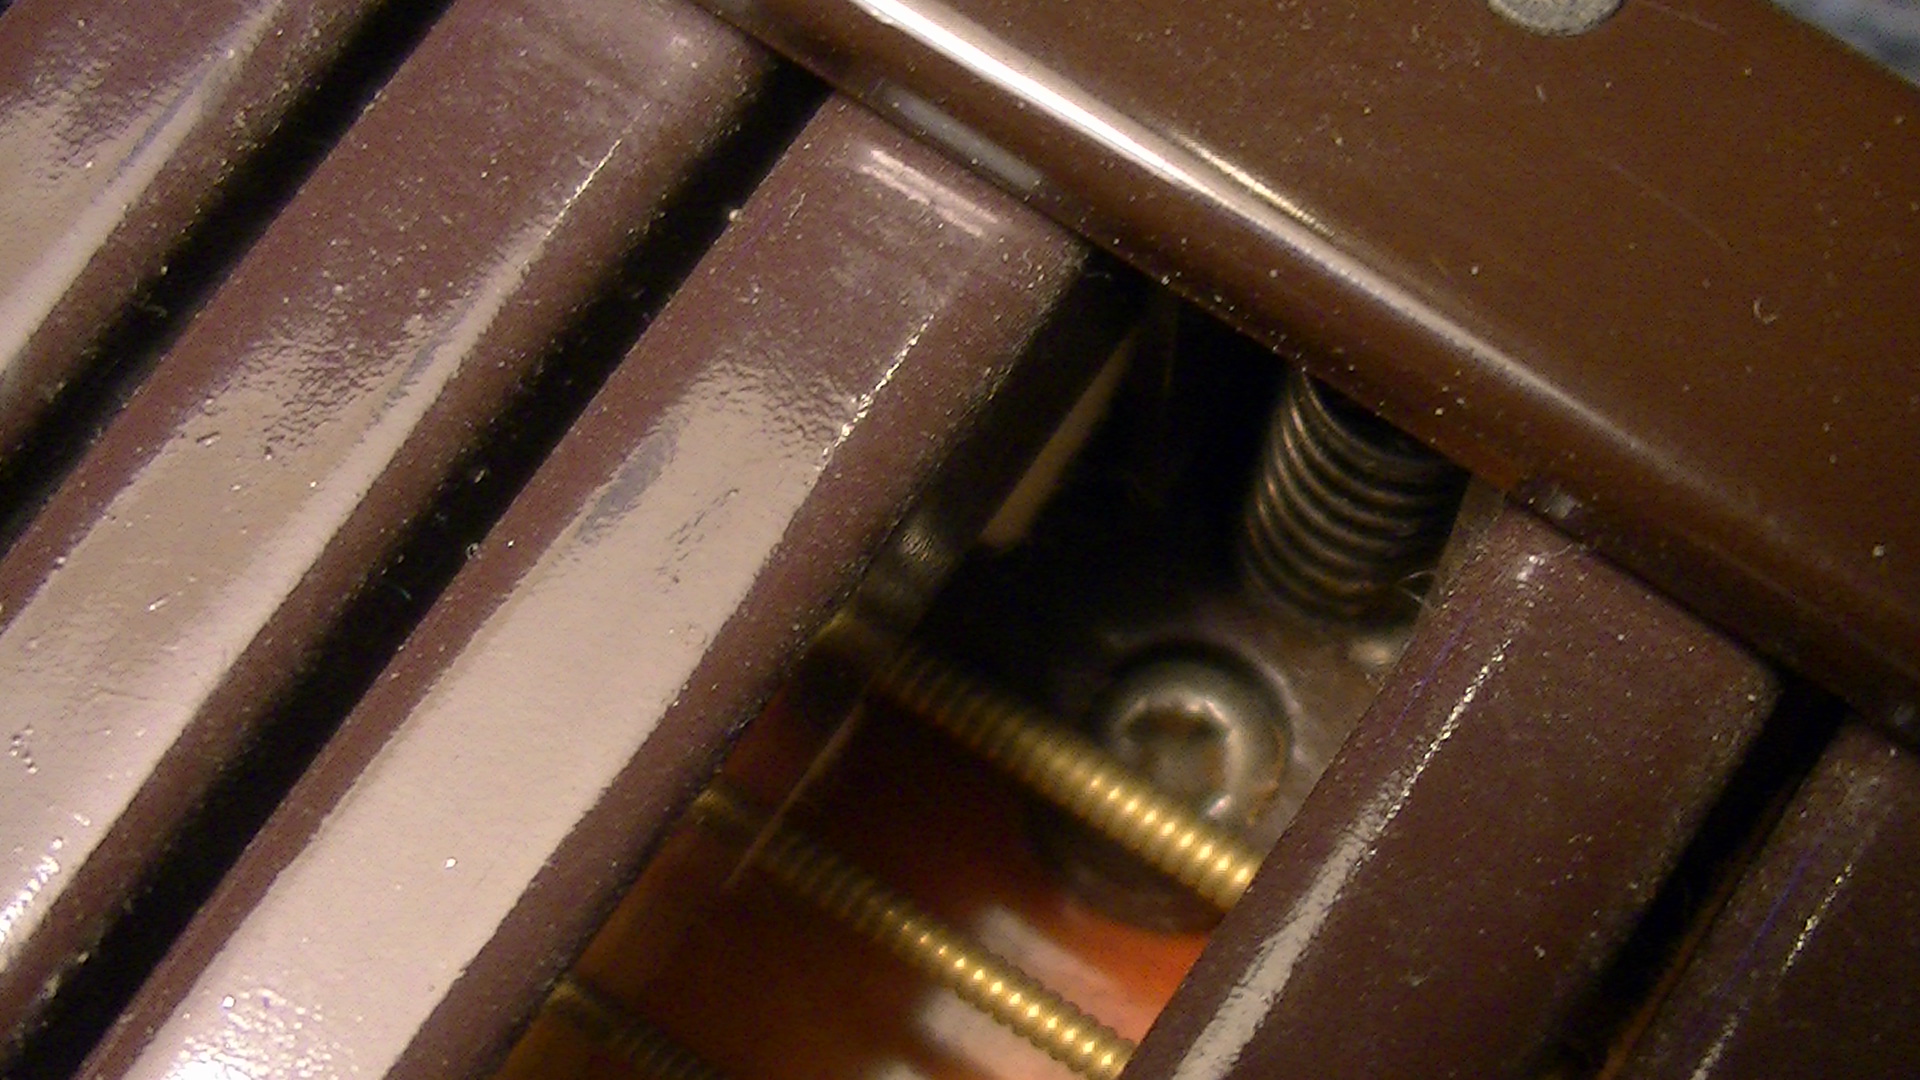
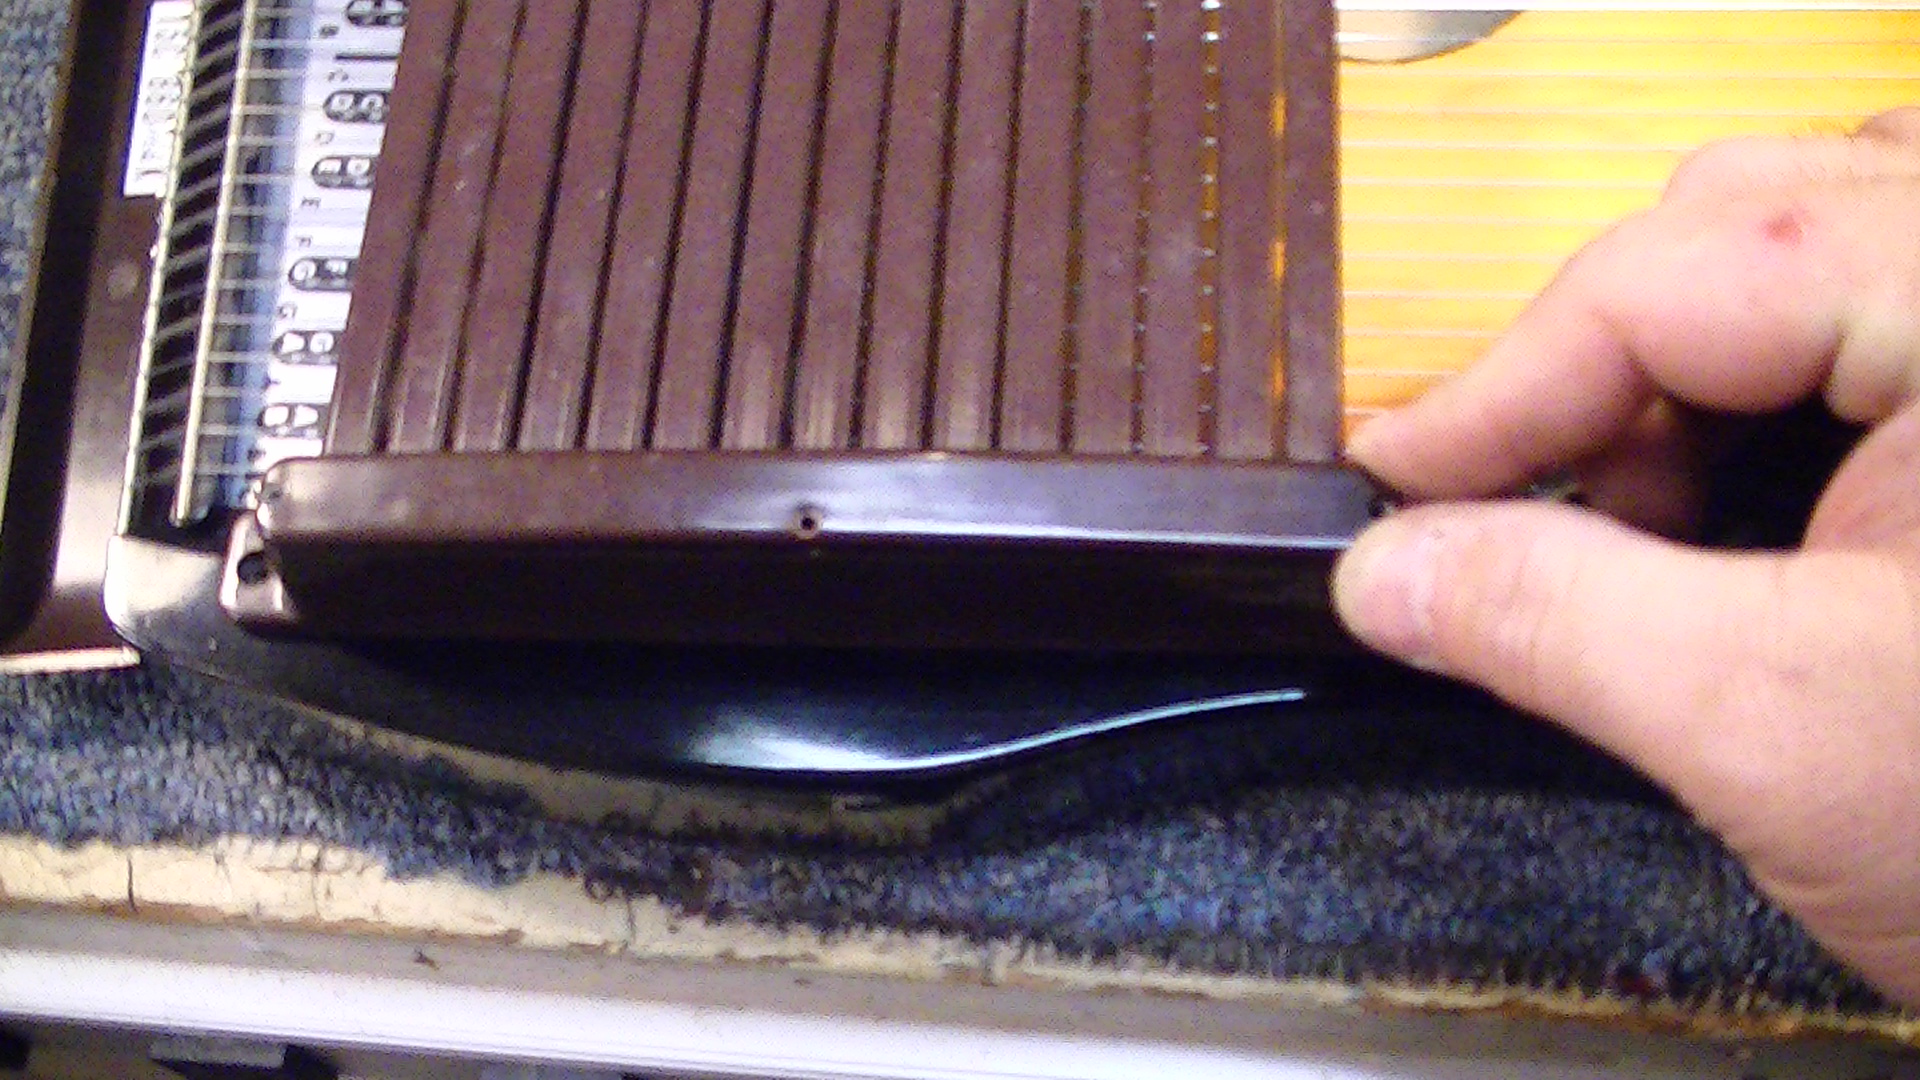
The housing that holds your chording bars will need to be removed. This makes like much easier and will prevent the top from getting scratched up during the re-stringing process. This one has 6 main screws that hold it to the body of the autoharp. In order to get the the ones in the middle of either end, the center chord bar must be removed. There is a spring on either side of this bar and is only held in place by the bar, so removing it leaves it vulnerable to loss, so be careful.
I will set all of these parts aside in a safe place and start changing the strings. This autoharp is in good condition with the exception of old, funky strings – some of which are missing. In order to minimize tuning issues and confusion, I will change these strings one or two at a time to maintain tension on the instrument. I need the tuning hammer for loosening and tightening the strings. I recommend manually loosening them before removing them by either clipping them or unwinding them in order to remove the old strings. I like to start on the small string side of the autoharp.
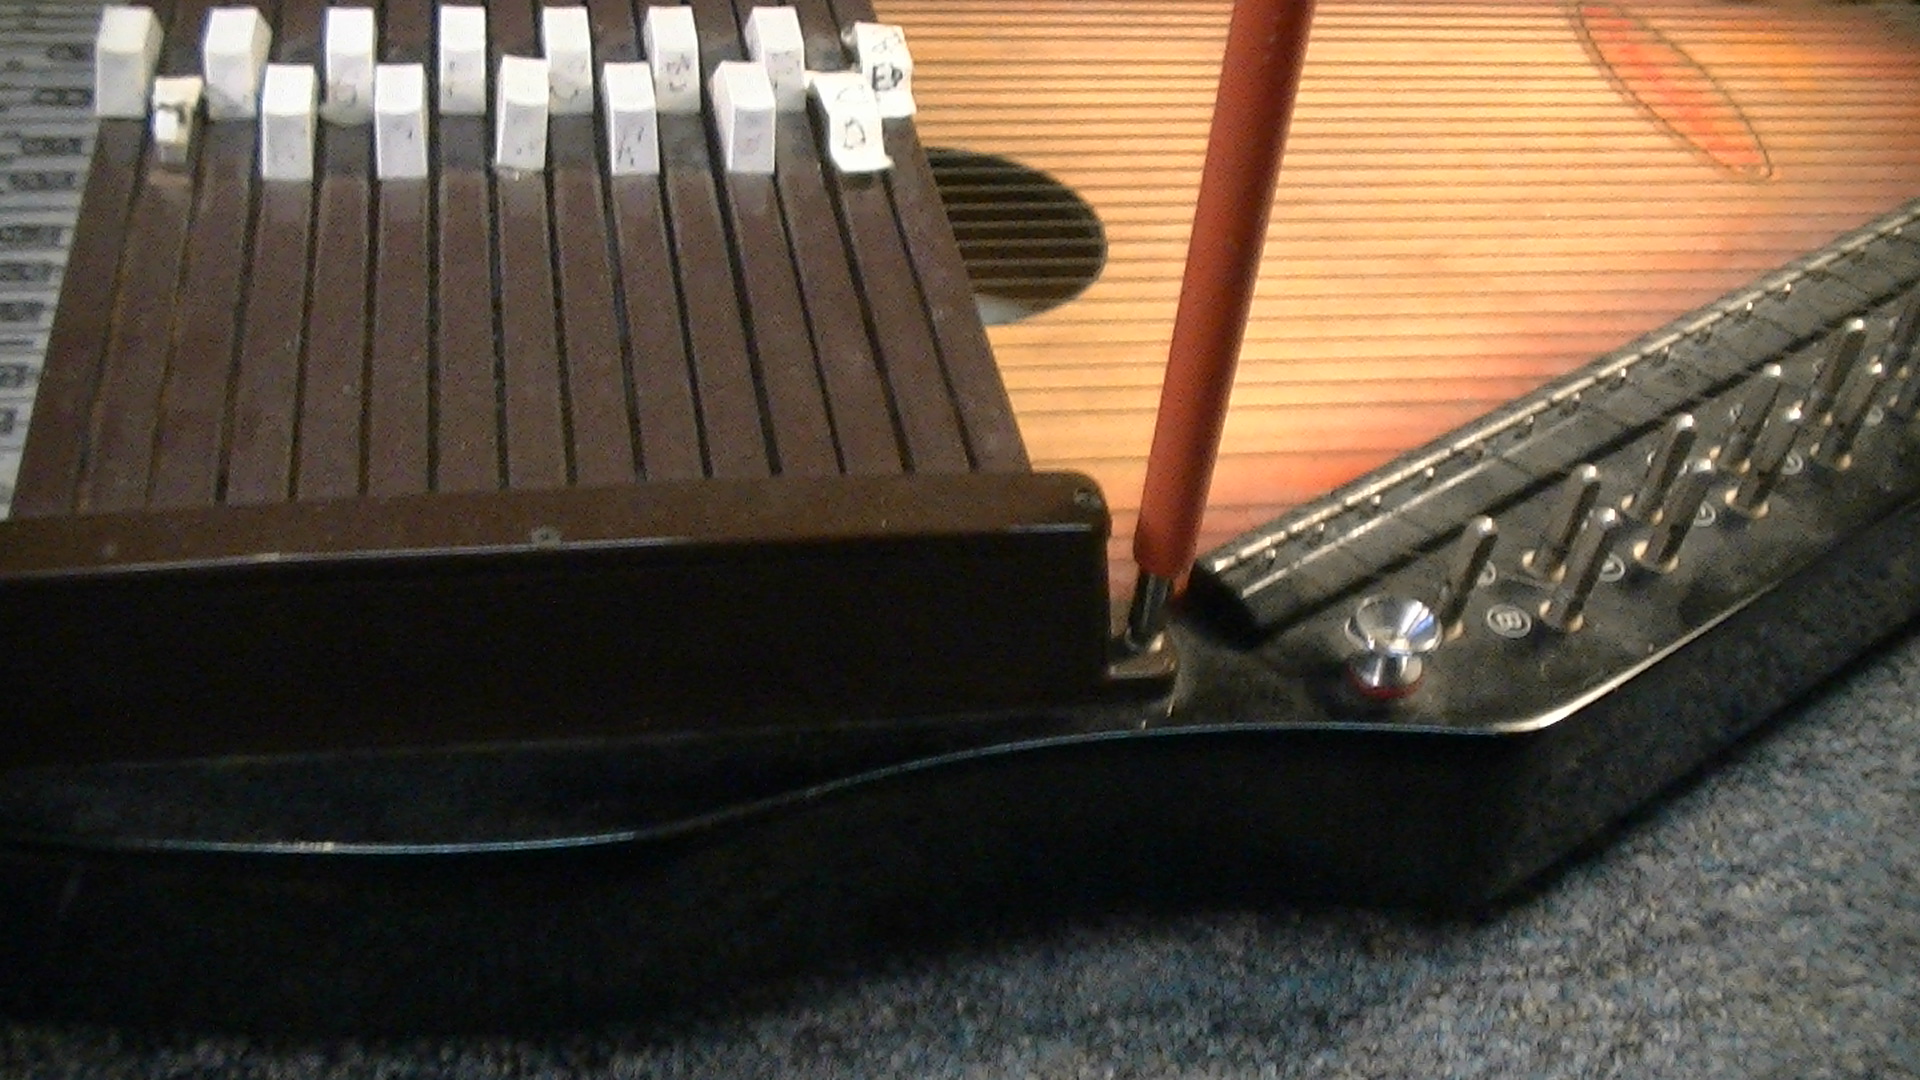
This autoharp has a hinged, plastic string pin cover that folds down to expose the string pins. There are 36 strings to change or install so being careful that you don’t damage or install one incorrectly is important. There is no spare string in that large, expensive package.
I loosen the string by turning it counterclockwise, then remove it. I will only work with two strings at a time. This will also allow me to clean some of the area under the strings without removing all of the strings at once.
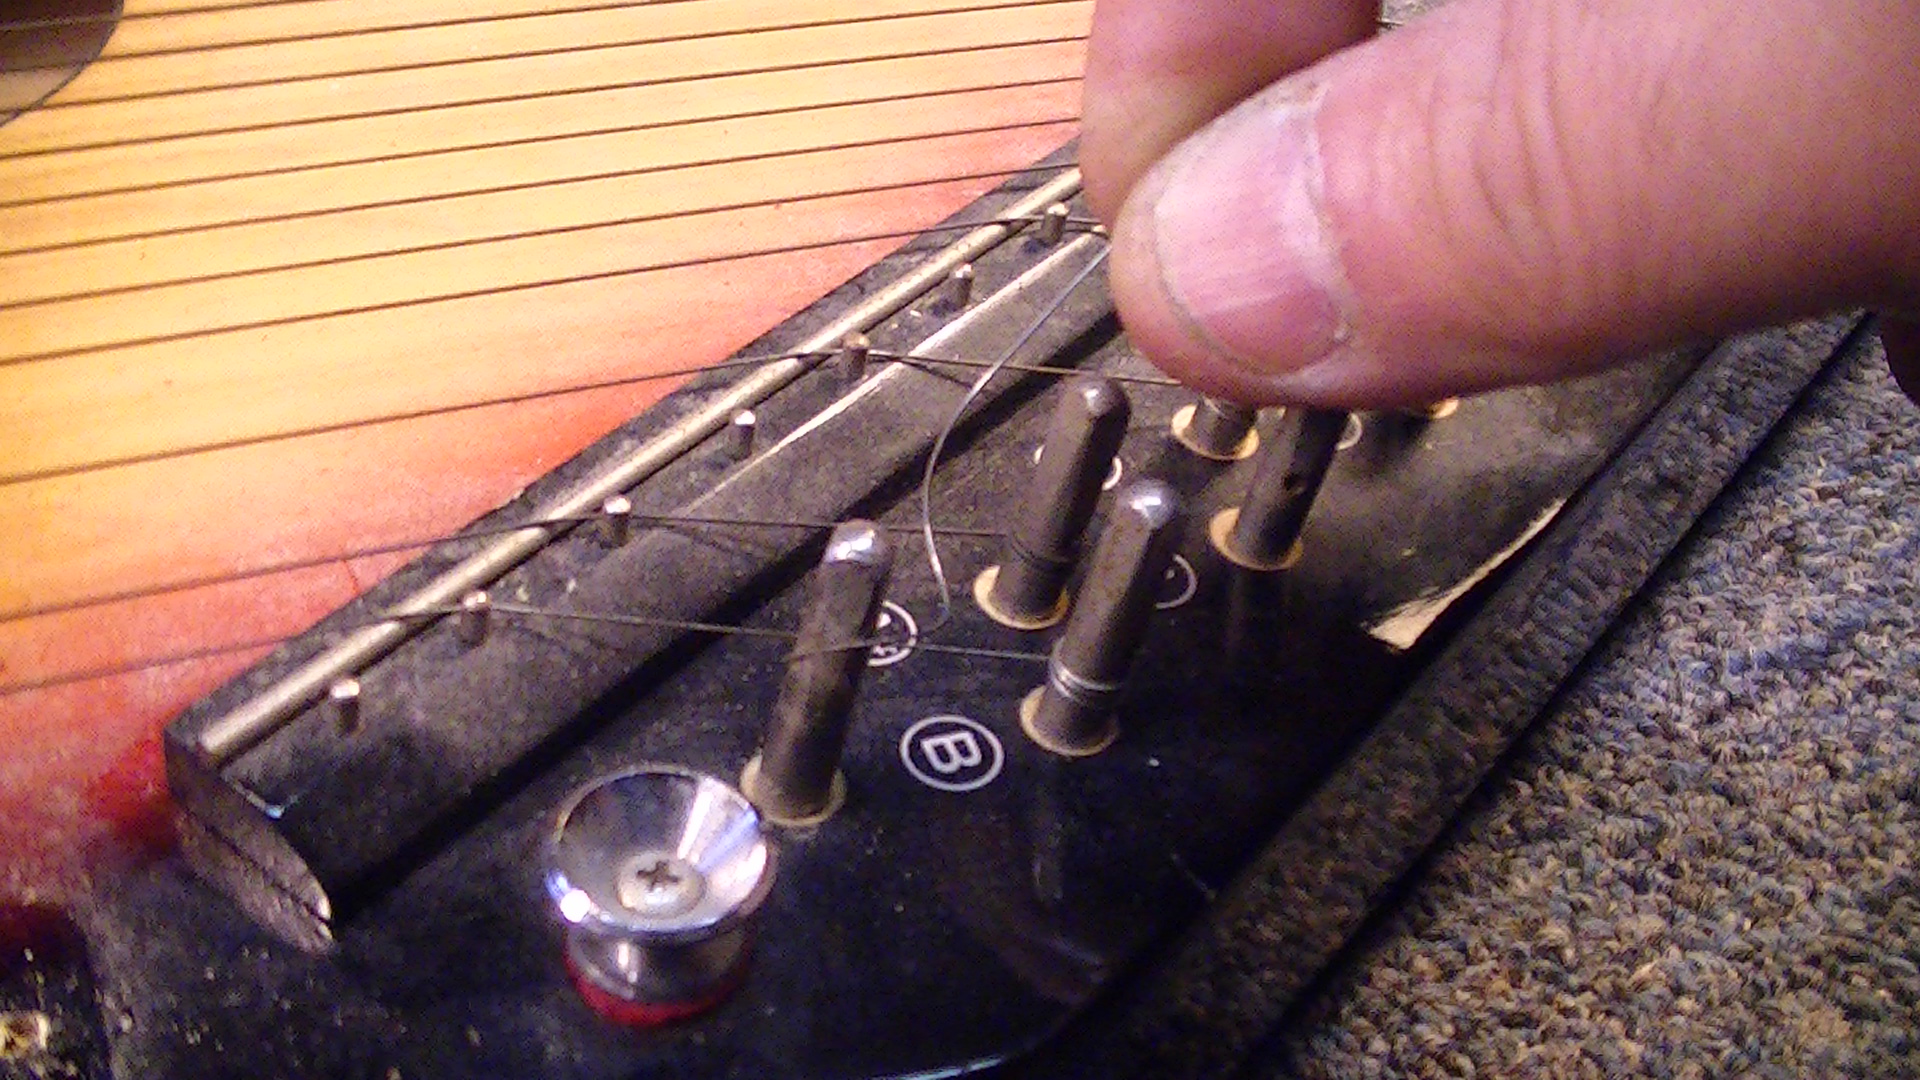

Installing the ball or loop end is the first step in replacing the string. Then, because the strings come at varying lengths depending on their location on the autoharp, they are at about the right length if you push about one inch through the eye of the tuning pin. It helps to have the pin’s hole aligned in the proper direction as well.
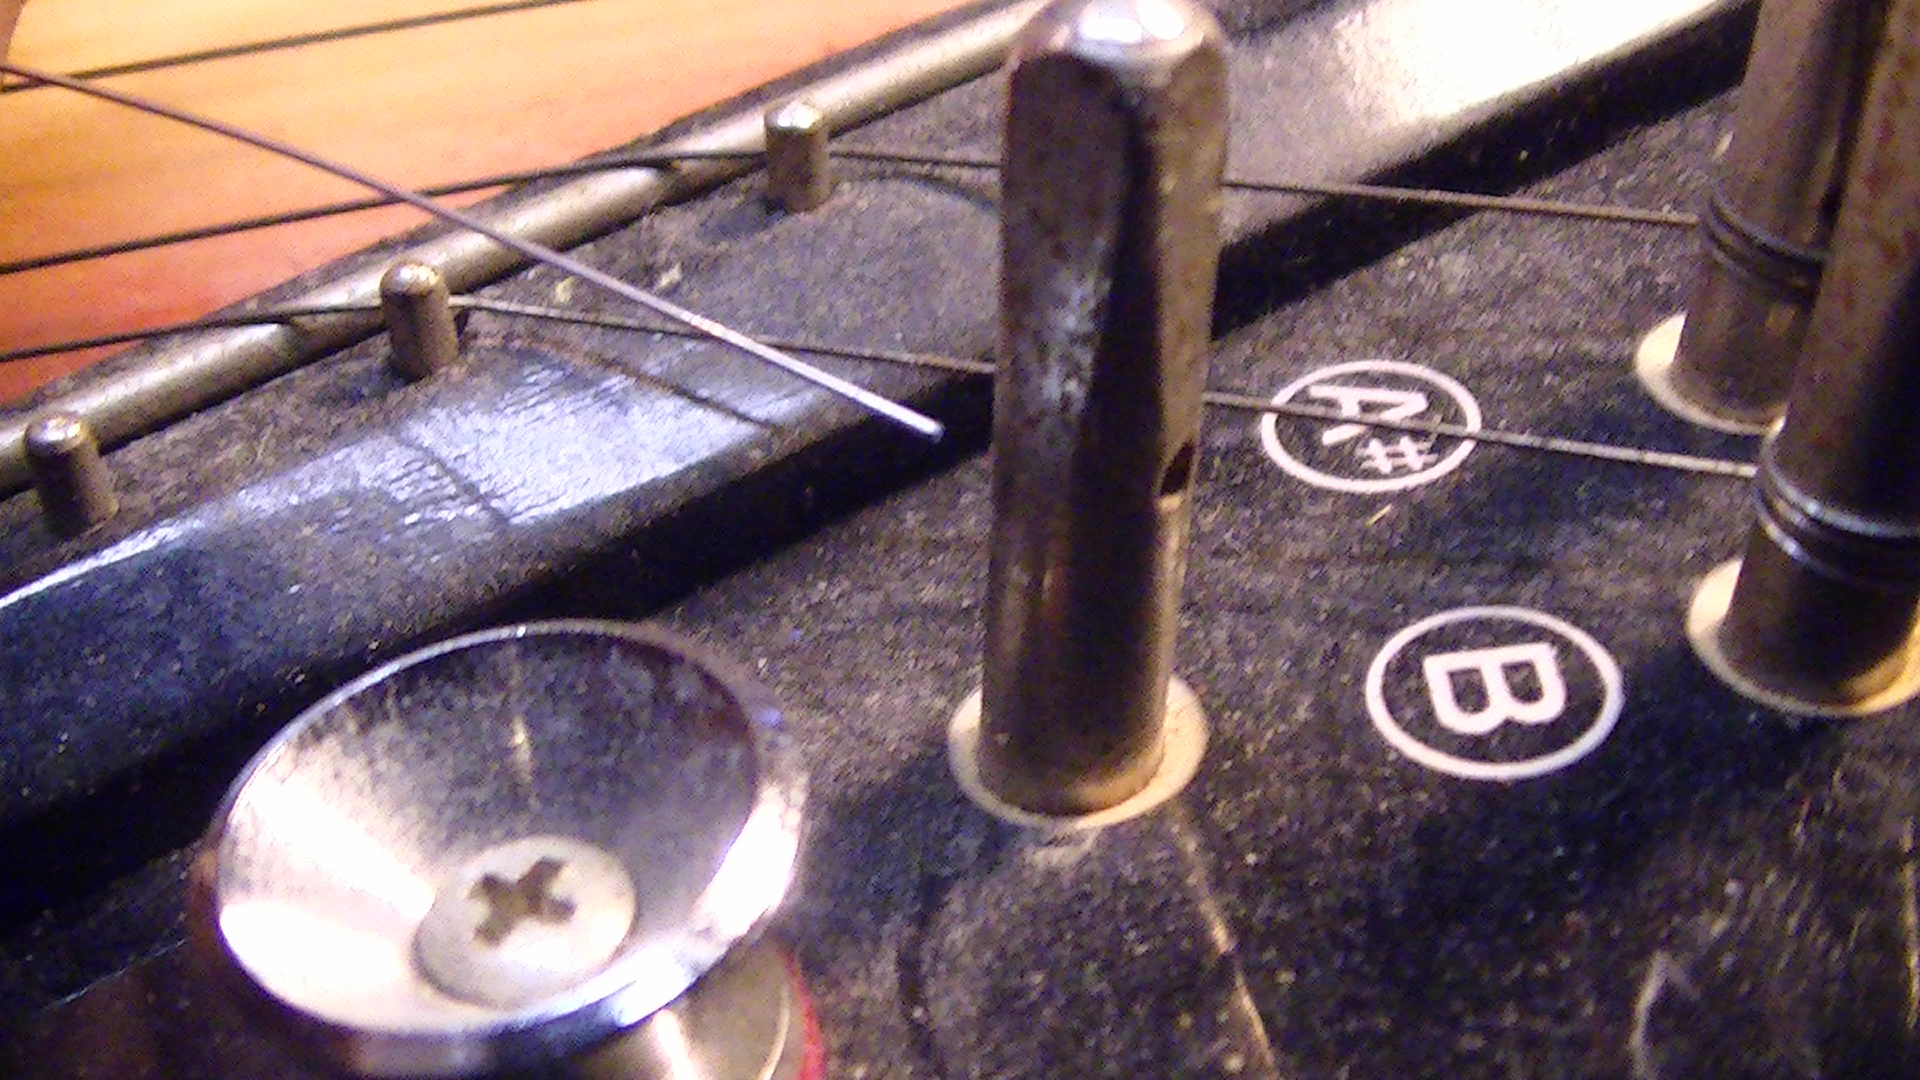
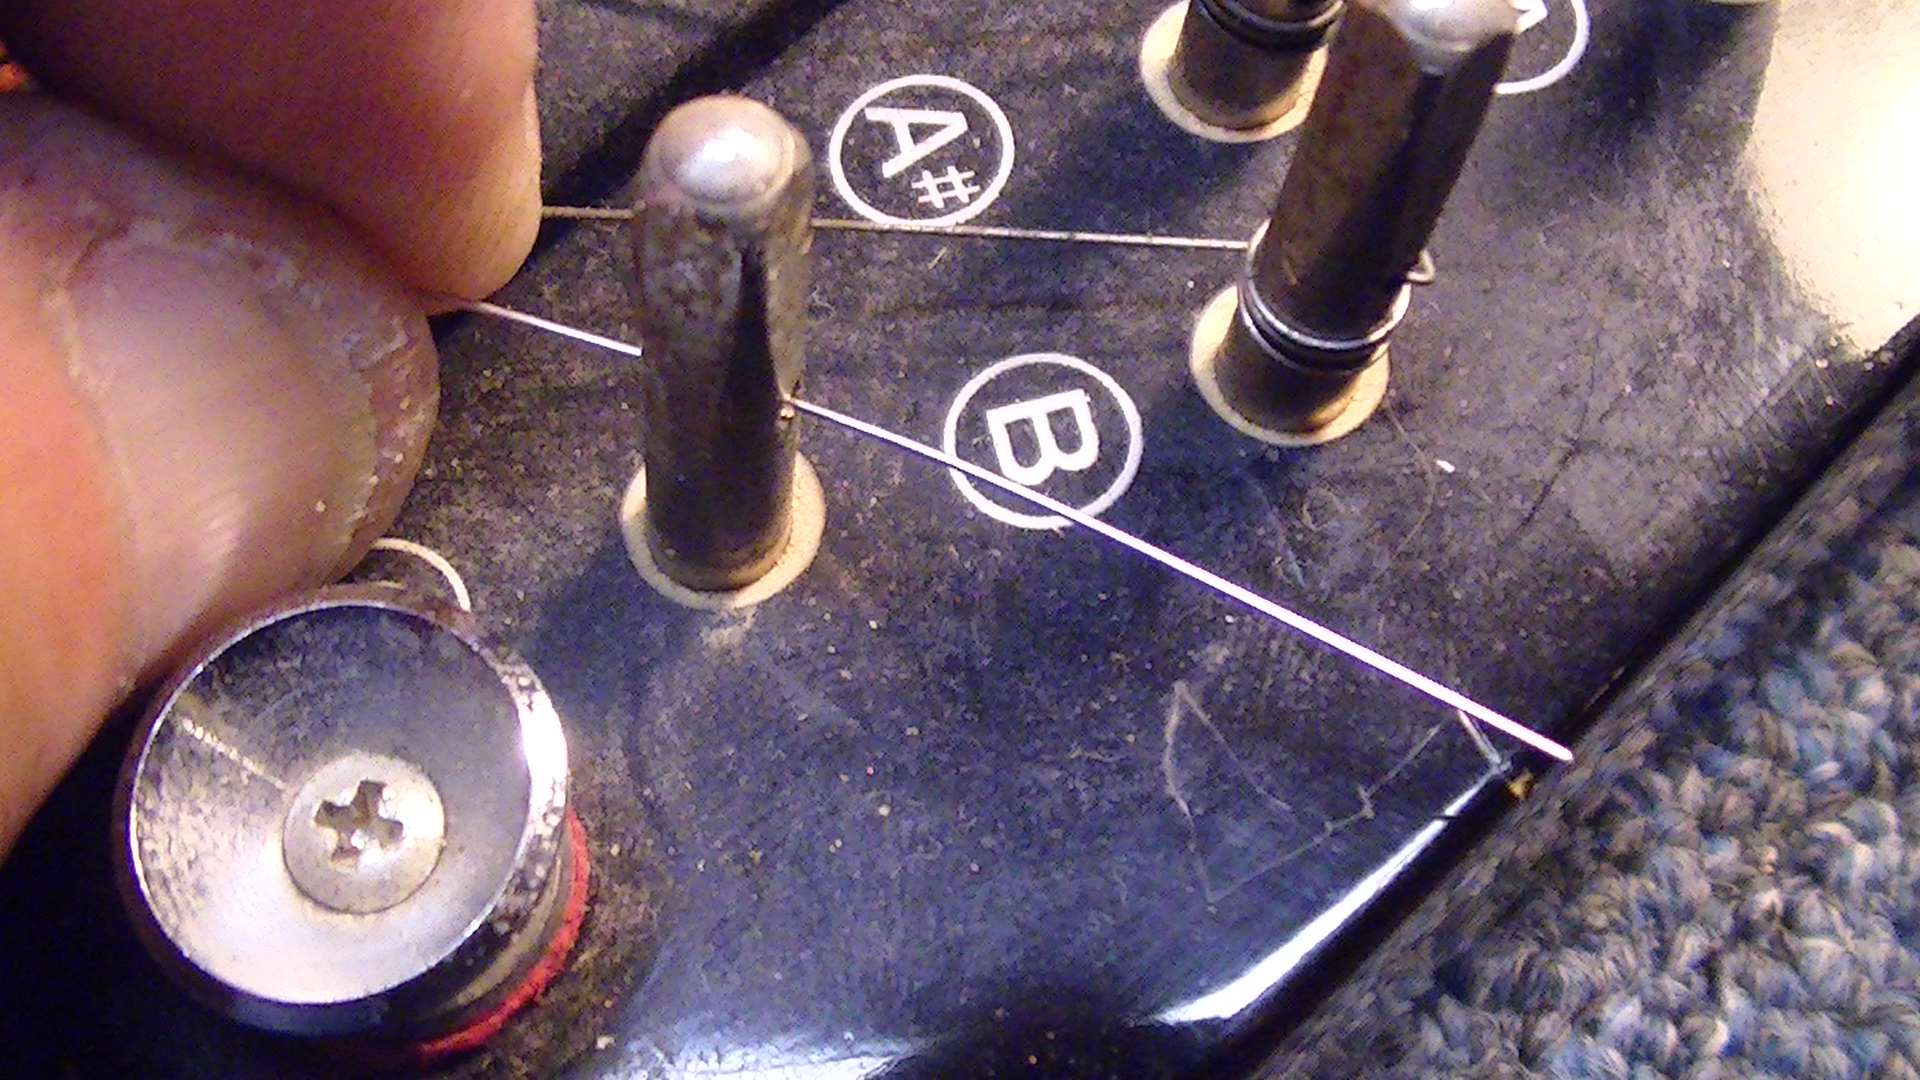

After the string is inserted the proper distance, I kink it to the right. I then make sure that the string is riding on the proper side of the pin that aligns it and take a turn on the string post with the tuning hammer.


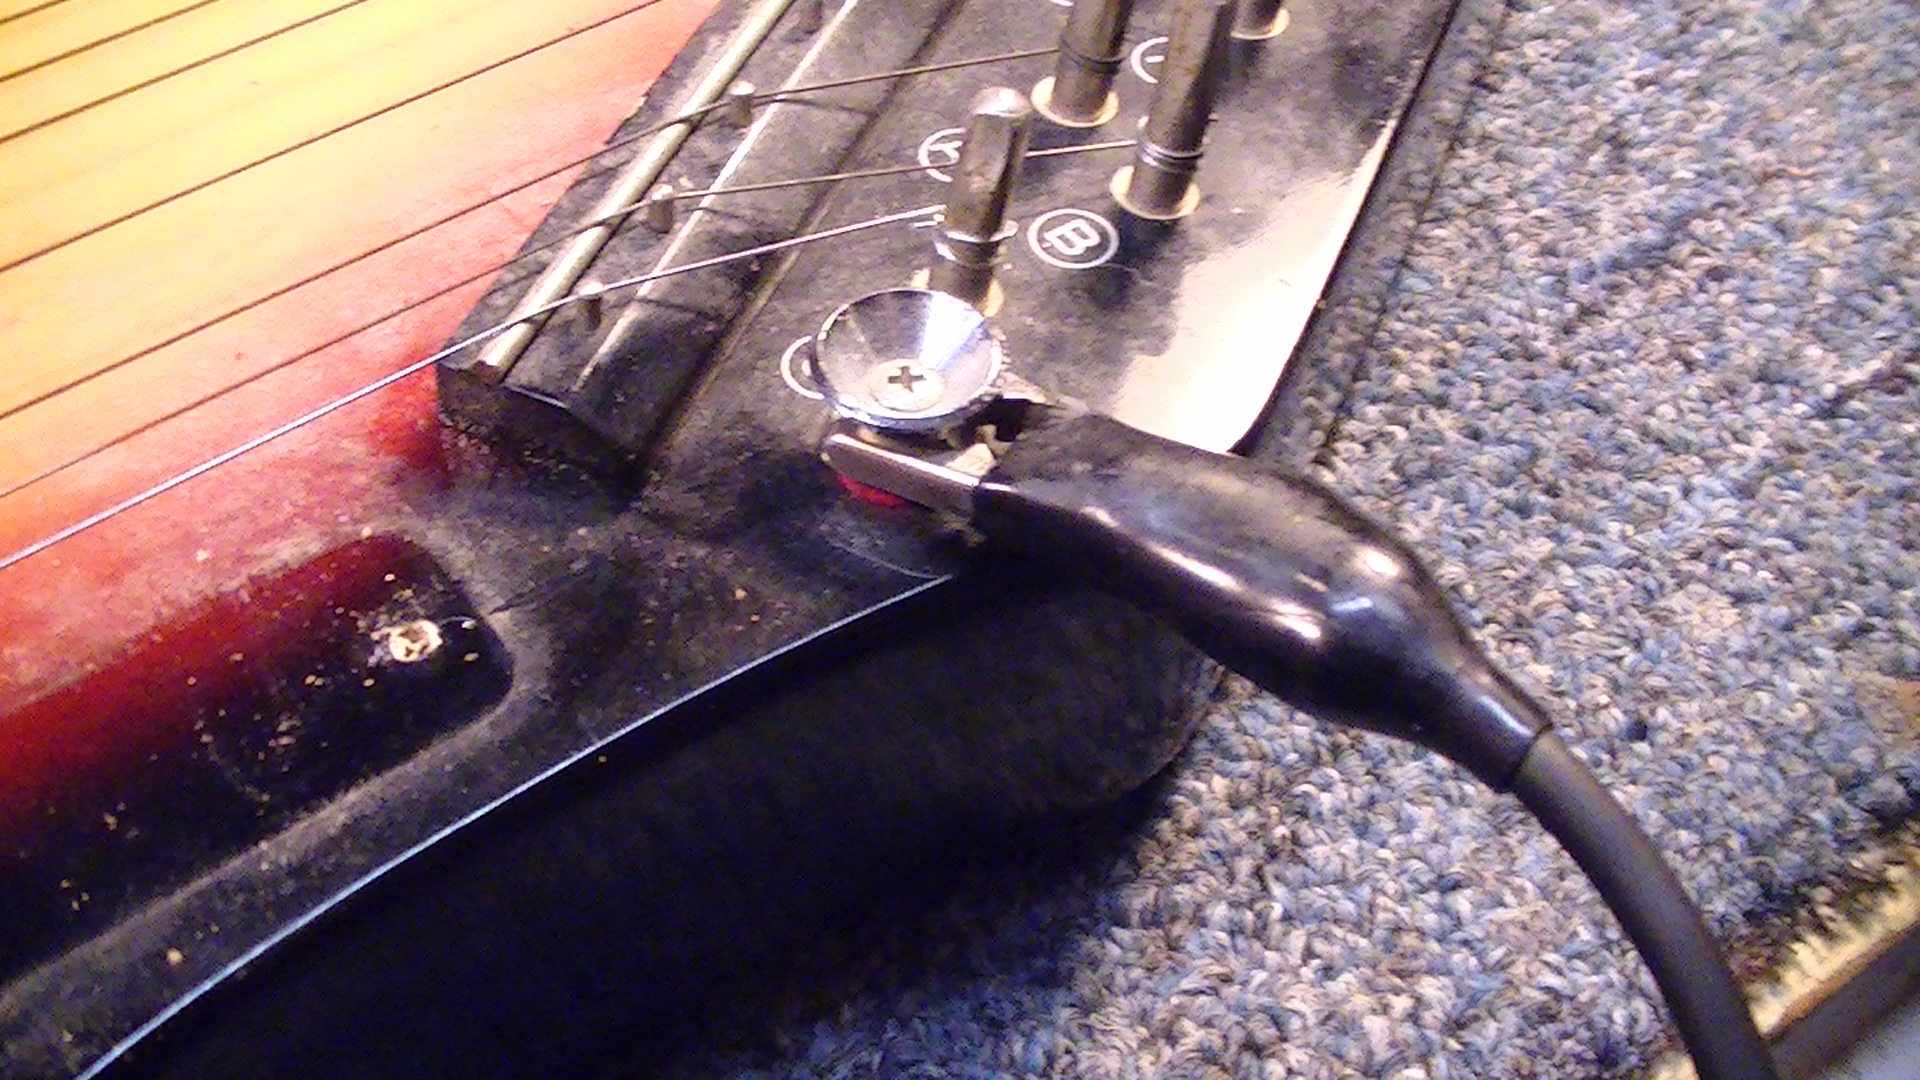
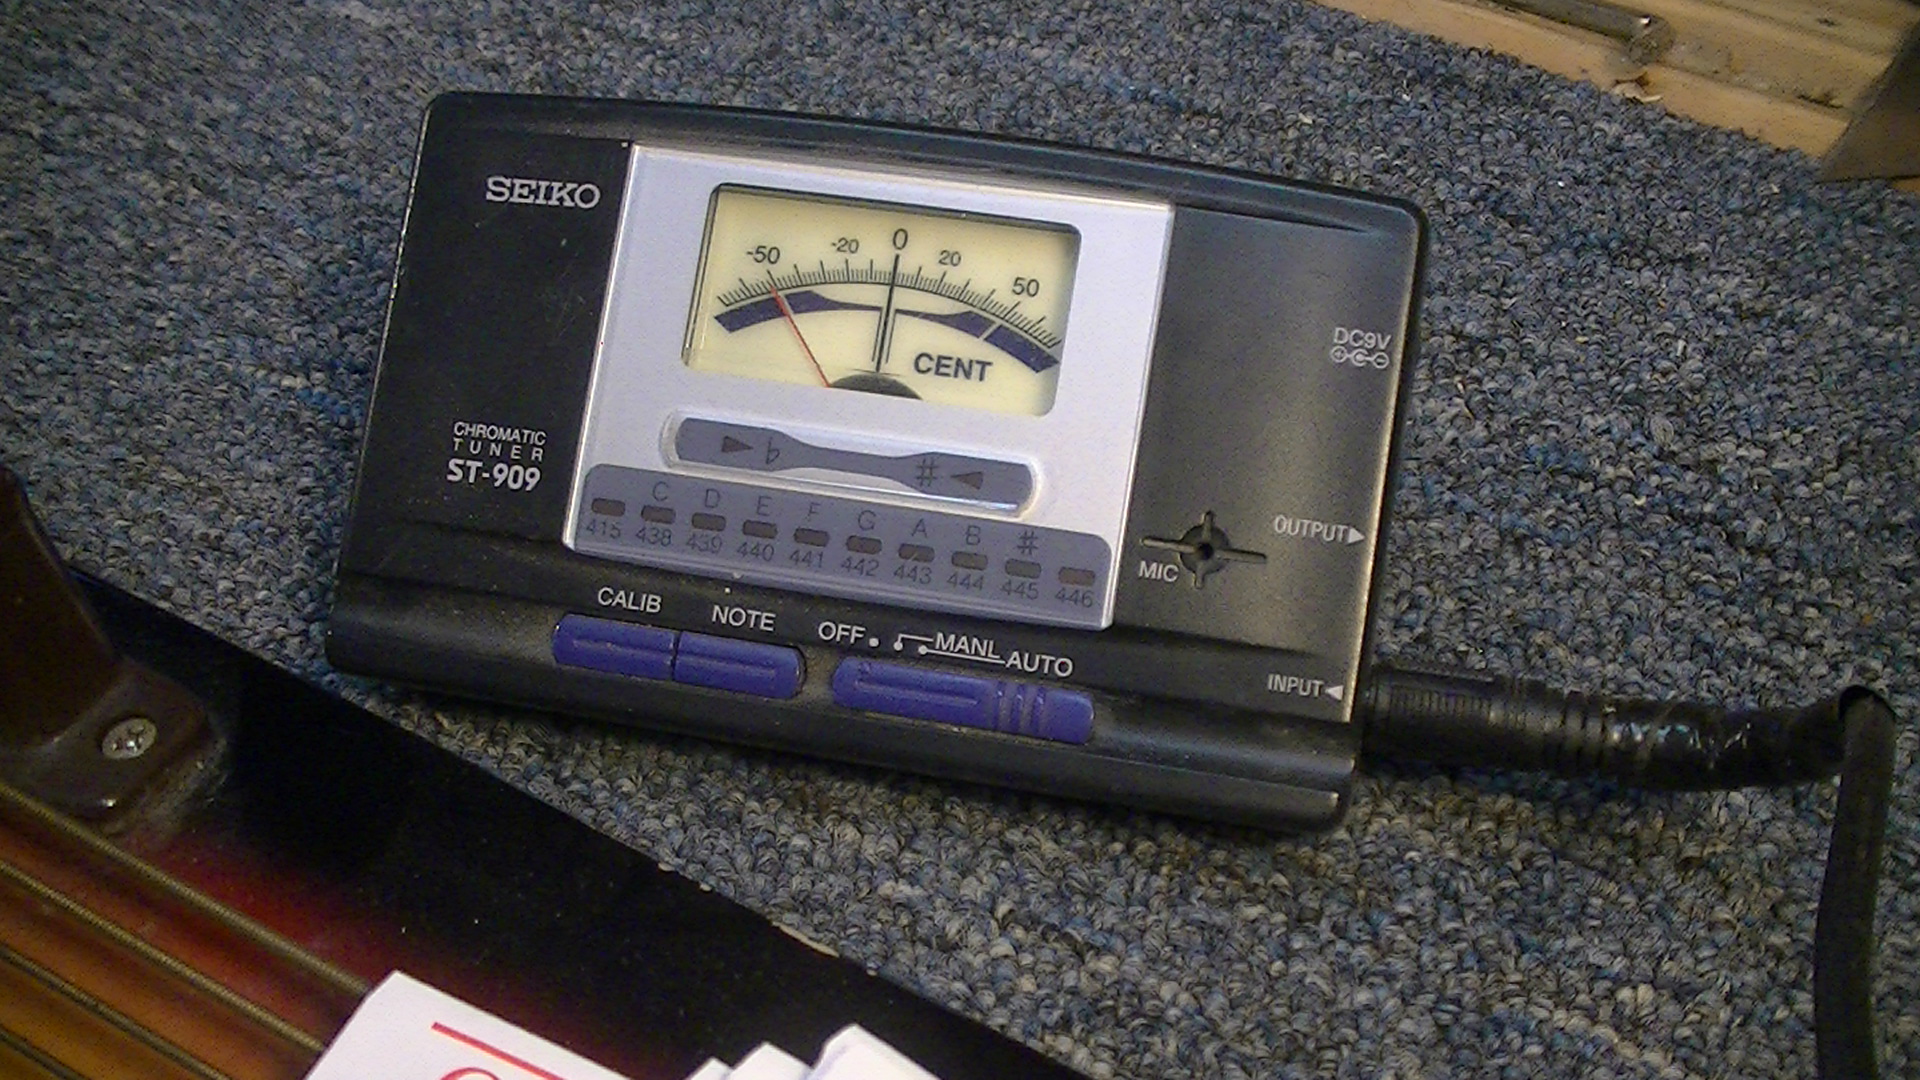
I clip the excess string at this point with flat-ground (I grind them) flush-cutting end nips. This autoharp has a strap button and that makes a perfect location on which to clip my isolation piezo pickup that then gets plugged into my chromatic tuner.
Tuning the strings as you go is important, and no matter how well you perform this step, it will be necessary again after a 24 hour rest. Now that you have one string installed and up to pitch – repeat 35 more times until the entire autoharp is strung, tuned, and tuned again before reinstalling the chord bar assembly.


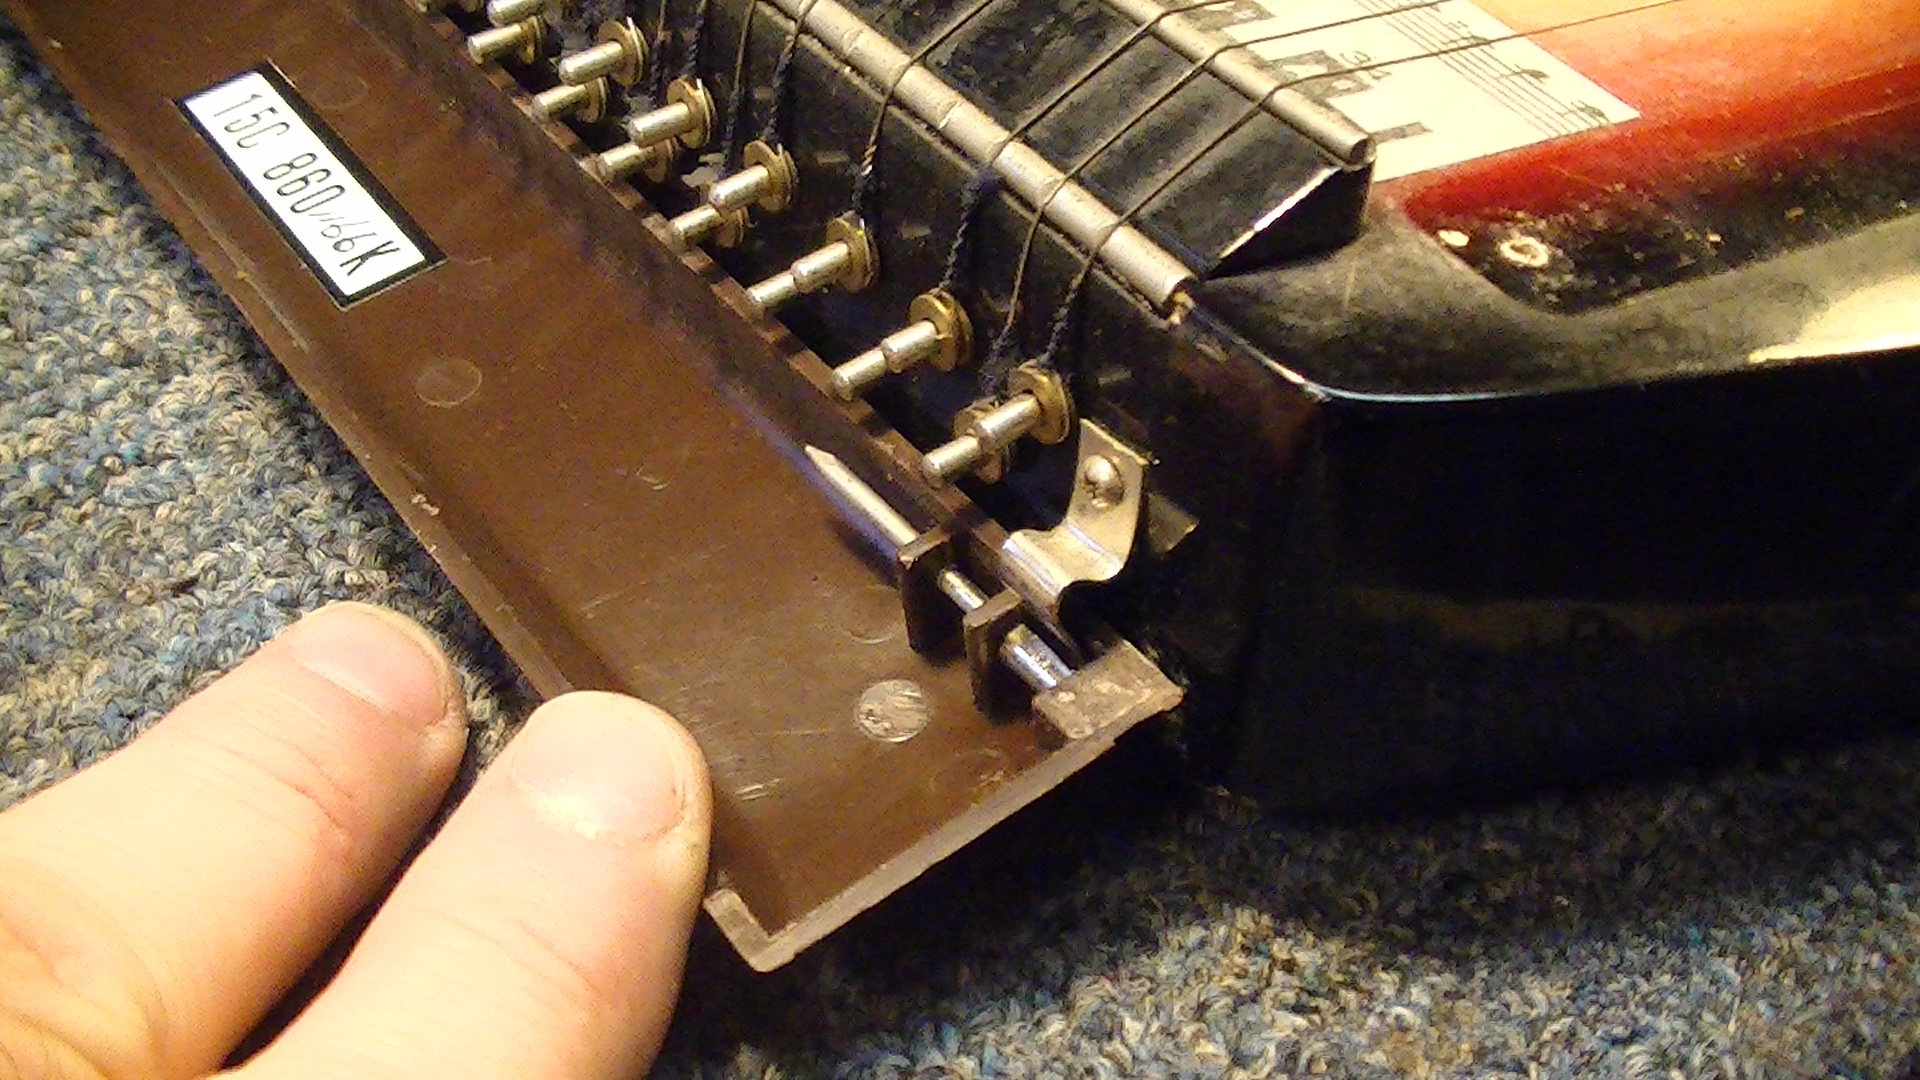
The bar that was removed will have to be carefully reinstalled while making sure that the spring under it is gently depressed in order to allow you to complete the reassembly process. You will need to make sure that the whole assembly is oriented in the correct direction because the screw patterns are symmetrical and you can, if you aren’t paying attention, install it upside down – so make sure you were paying close attention when you remove it.


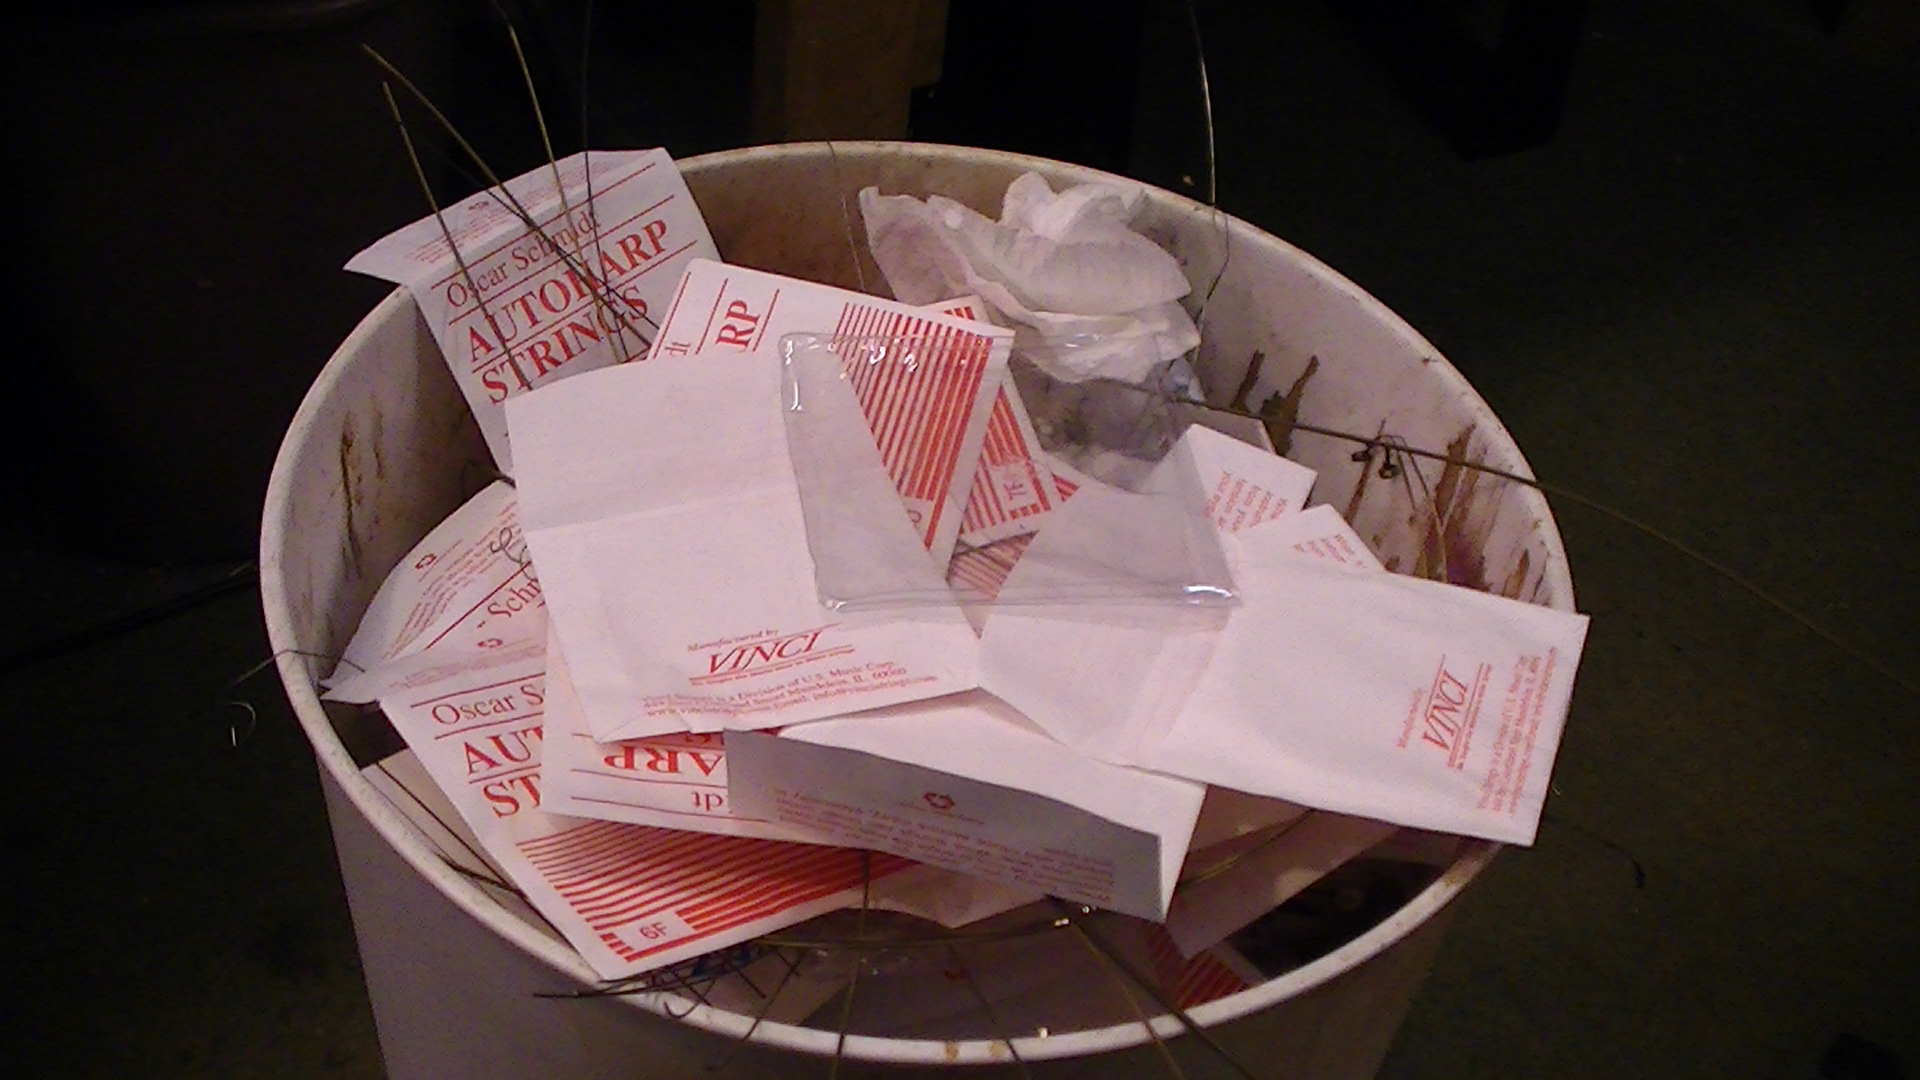
There is nothing like seeing the upper 1/4 of your shop trash can topped off with 36 funky old strings and all those sleeves. After 24 hours the autoharp can be tuned up to pitch again and if you performed all the steps correctly and your autoharp is in good working order, you should be good to go for about 3 years or so. What? You though autoharp strings last forever … nope!
I hope you have enjoyed this series on Changing a set of Autoharp Strings. This job isn’t for everyone, but it will save you about $150.00 in labor. Of course, $150.00 can be well spent if you have any doubts or think that there is a chance that you may not get everything back together correctly or you break a couple of strings and have to buy another set … I’m not sure these are sold in singles.