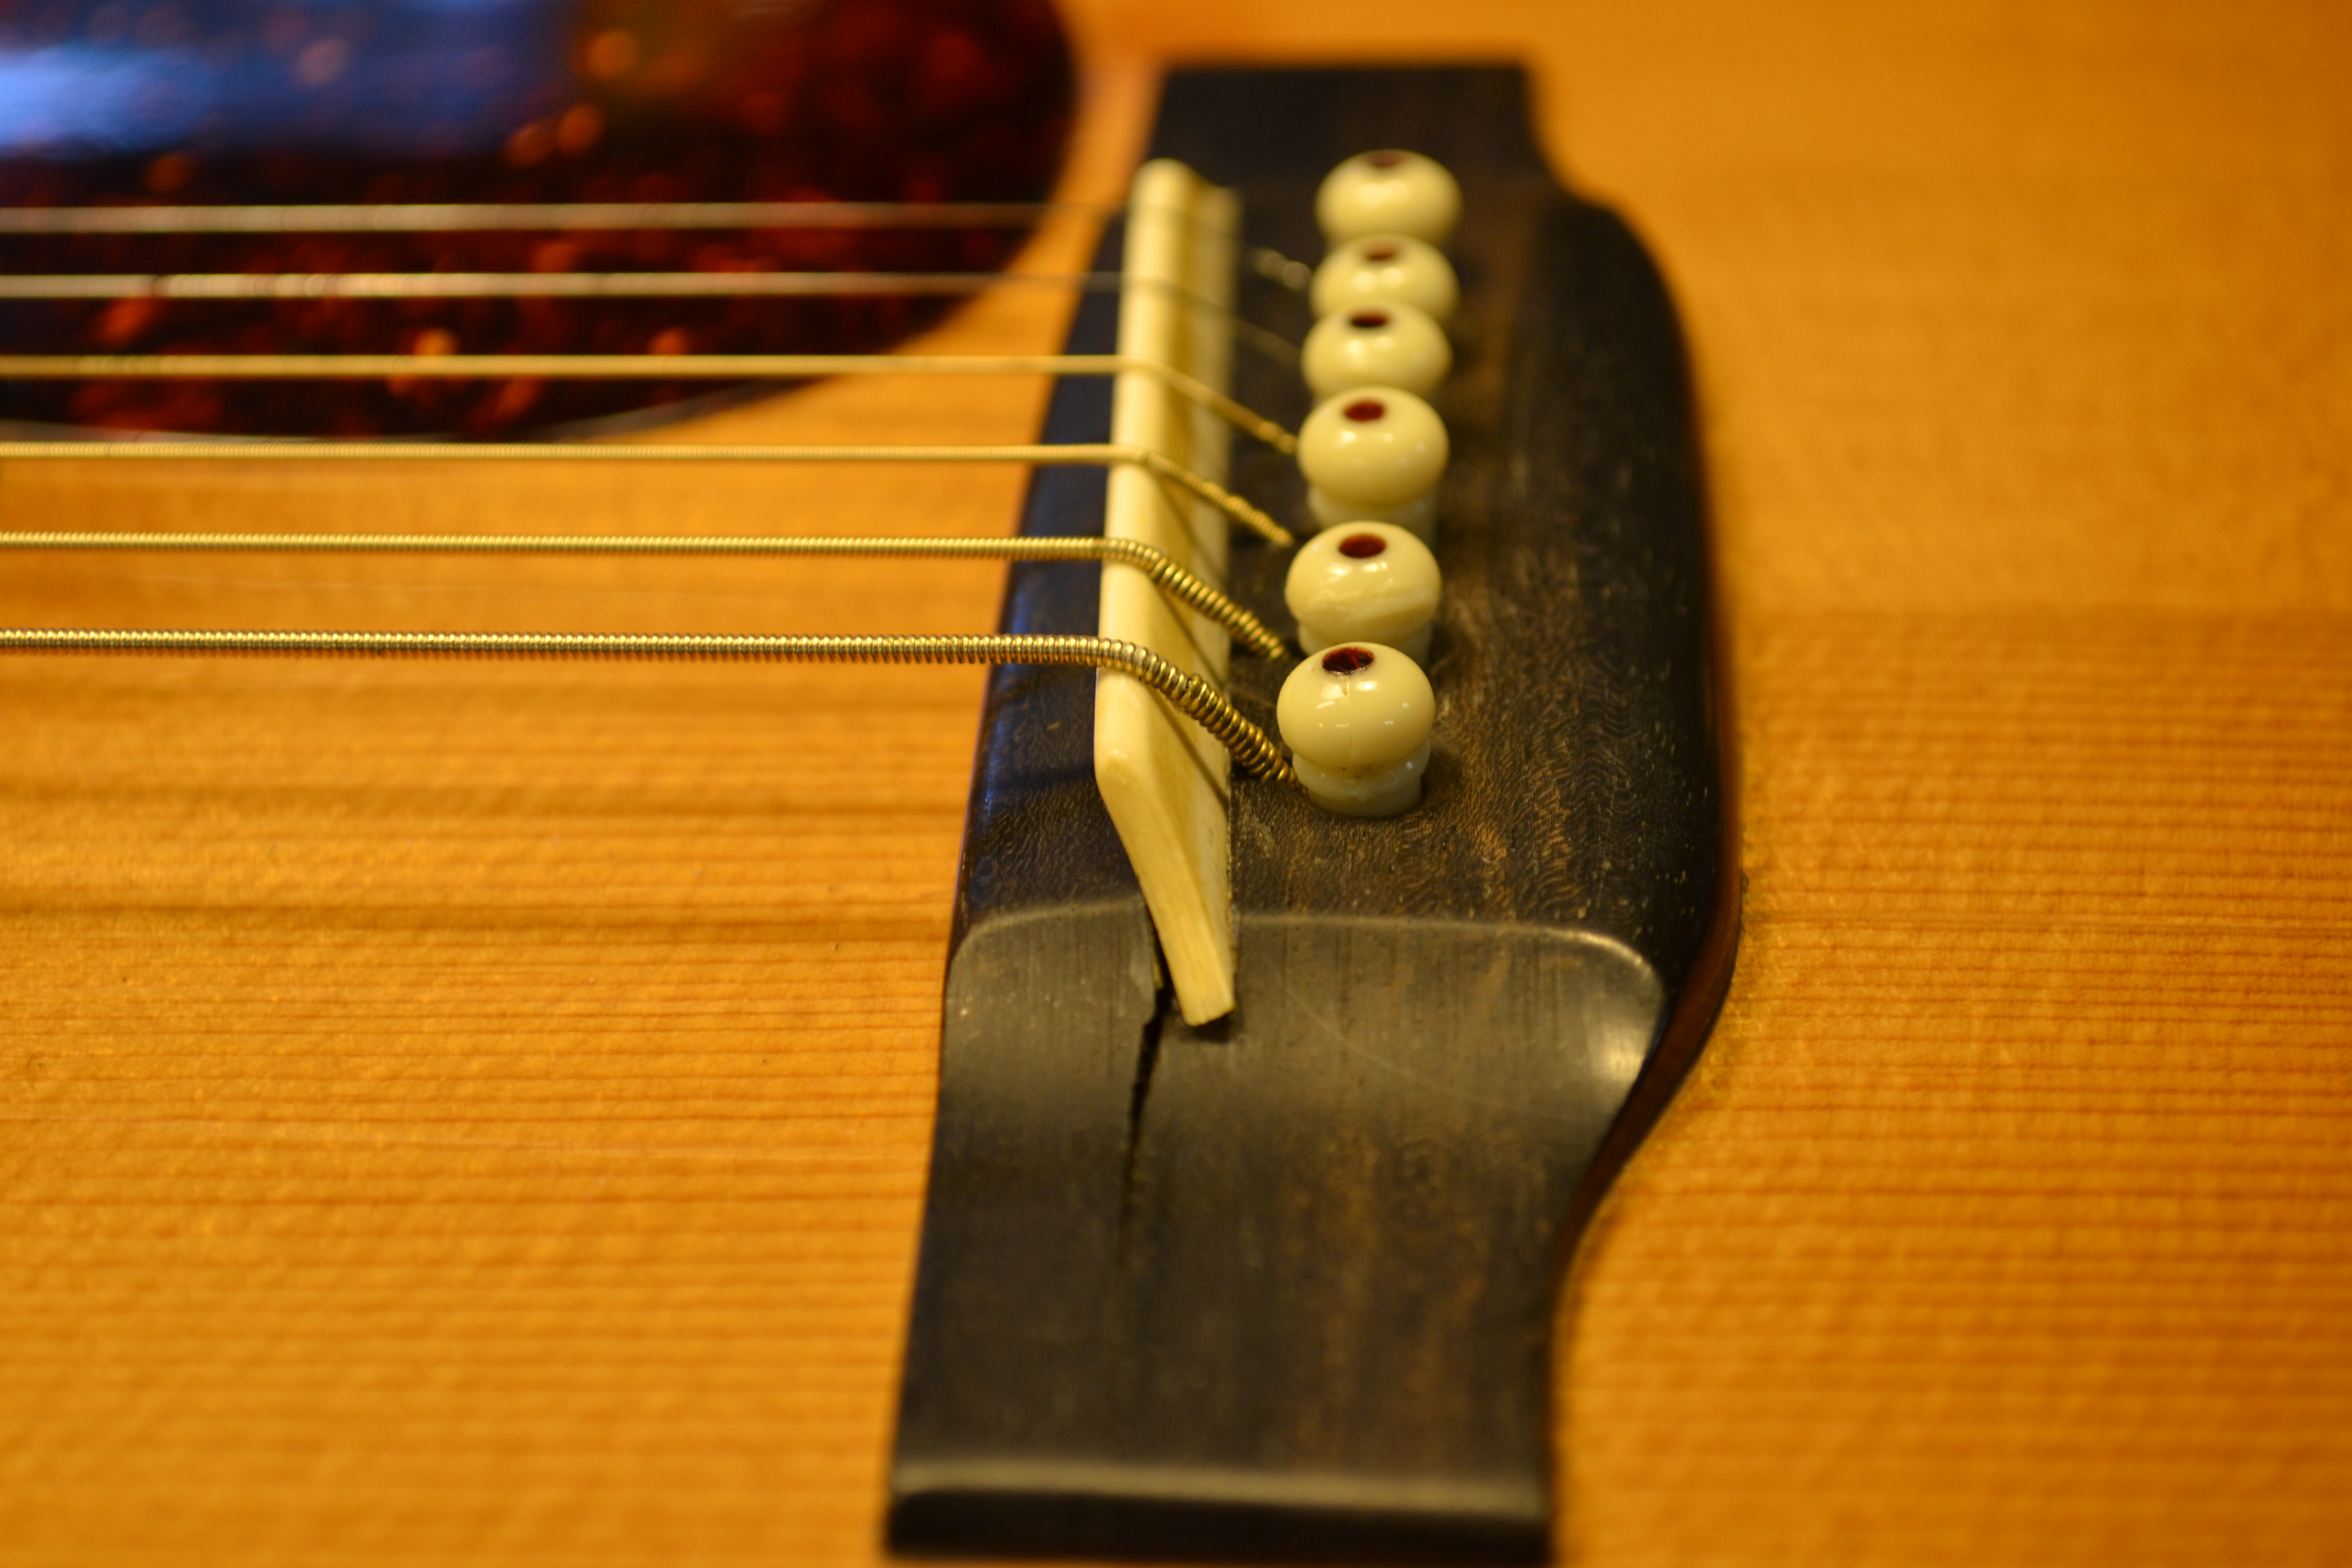
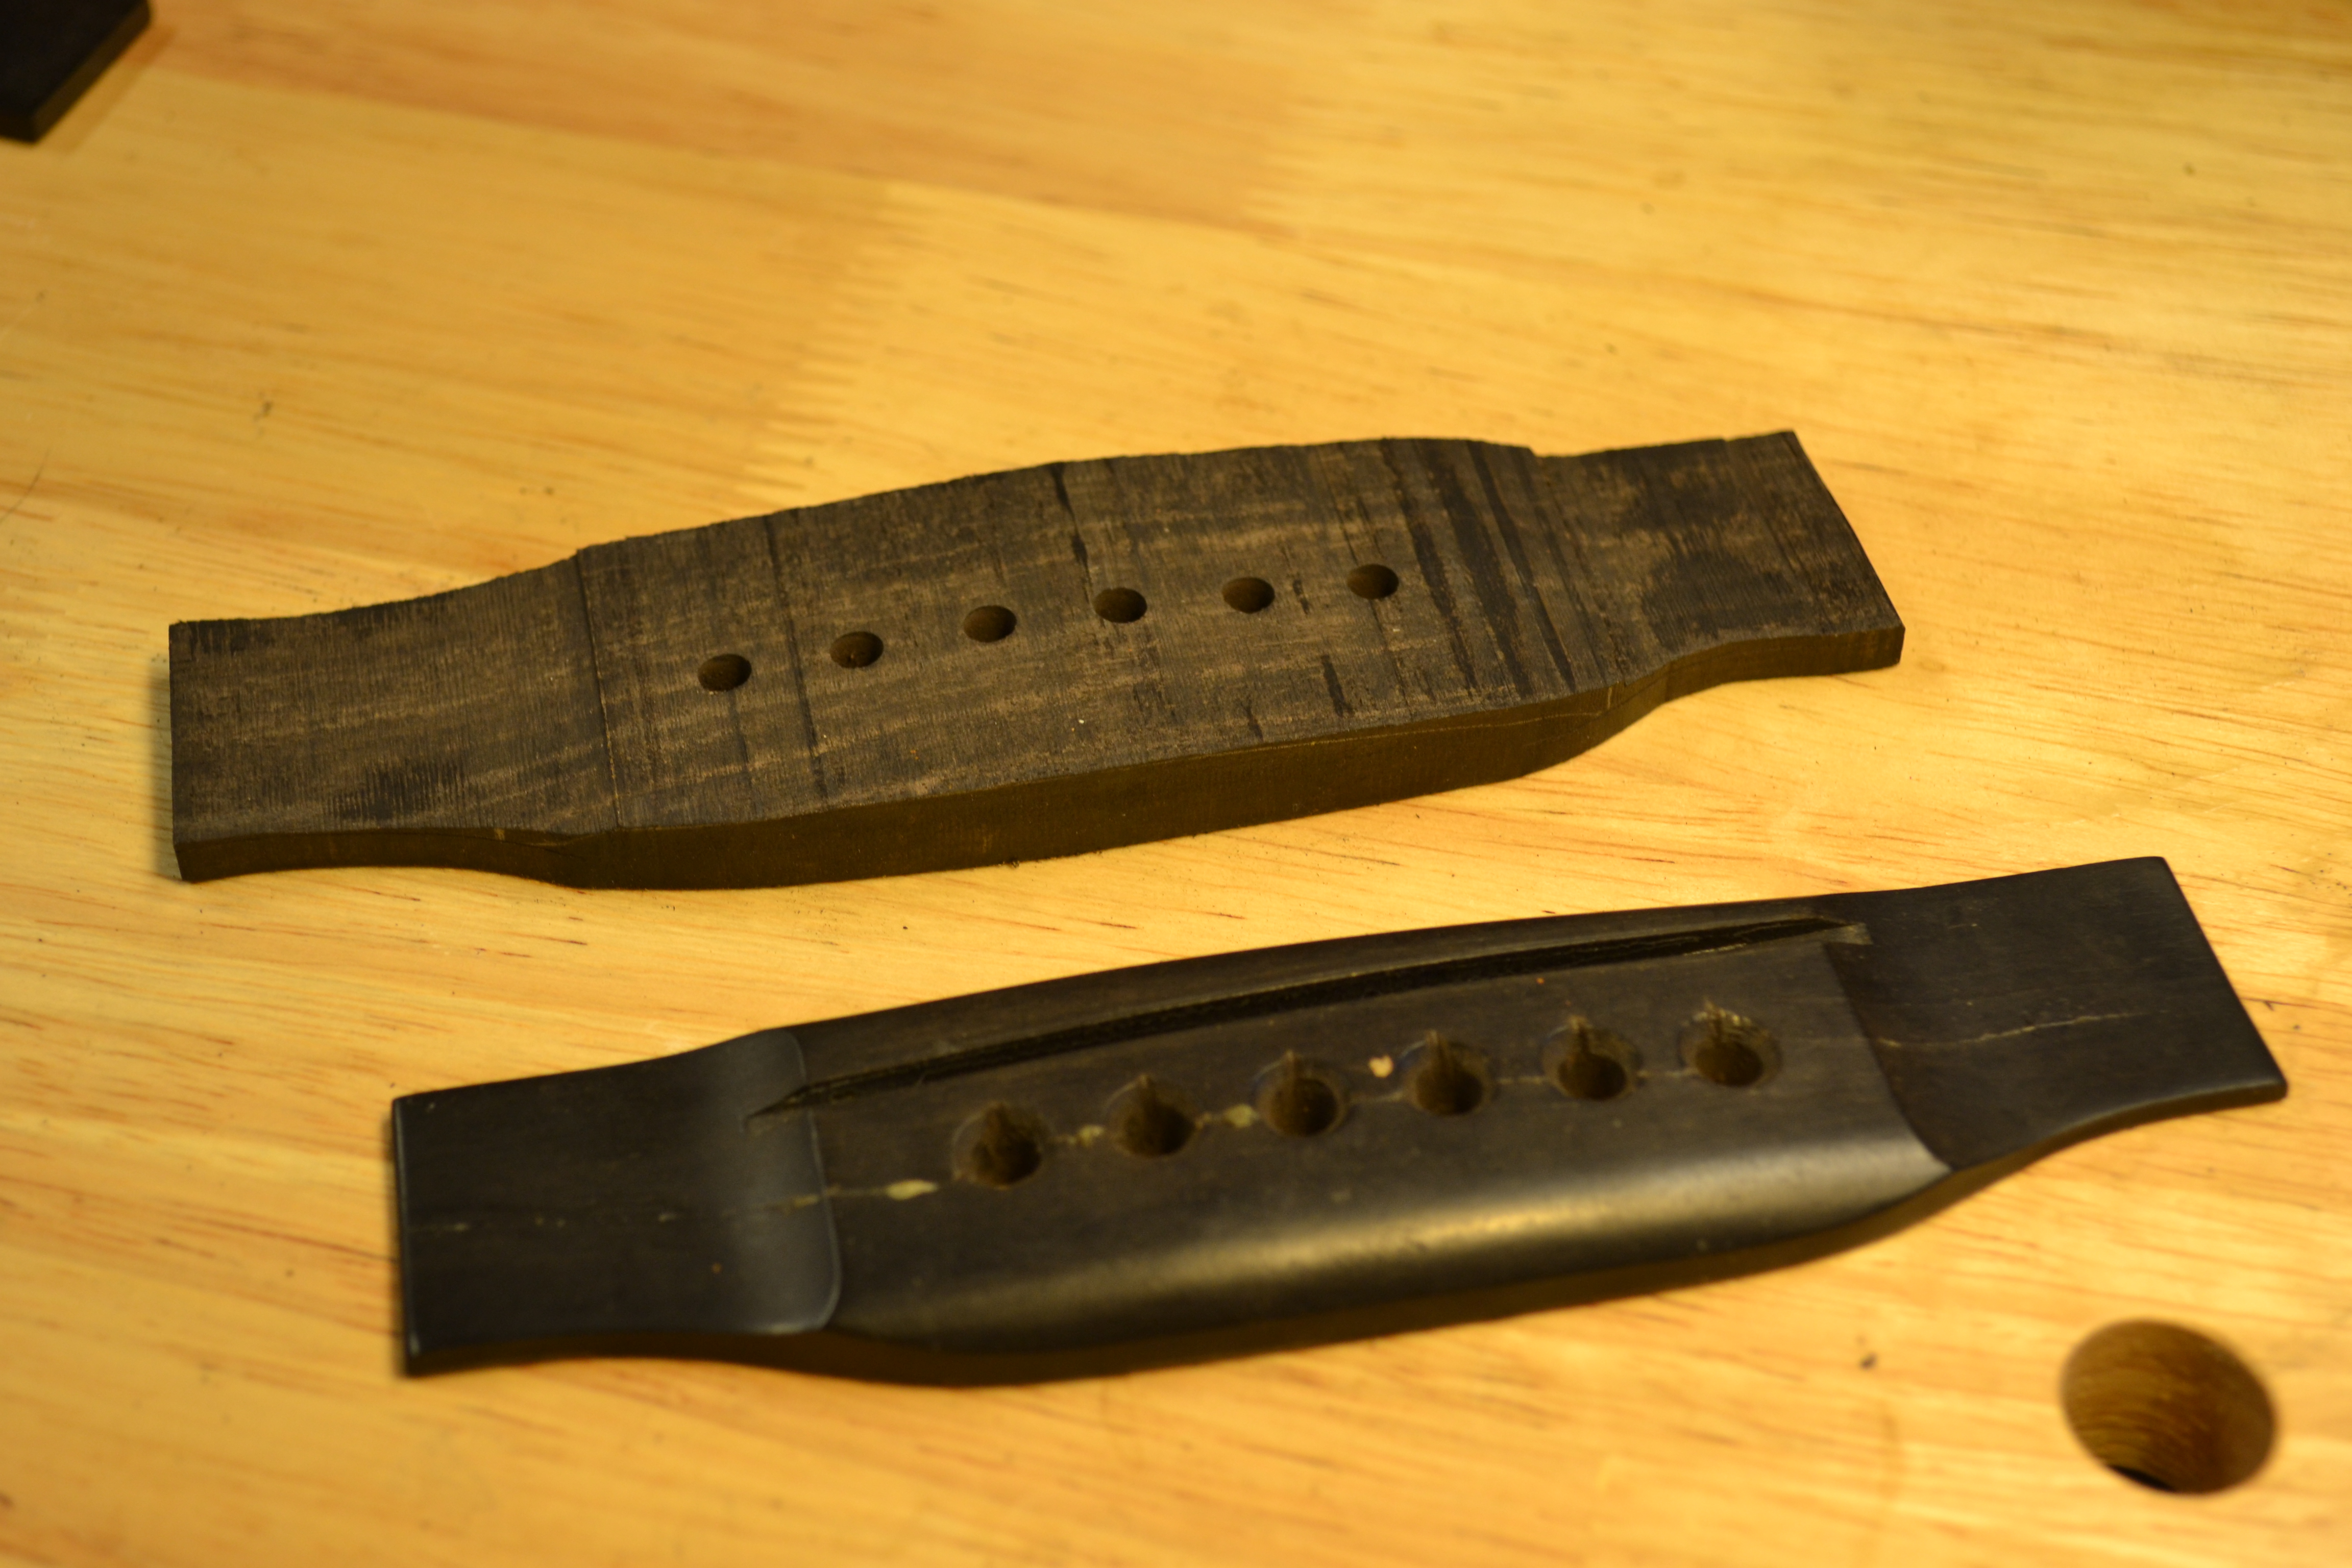
There are lots of sources for parts out there. Those of us who do this type of work for a living rely on companies like Stewart MacDonald, First Quality and Luthier’s Mercantile for parts at the ready. These parts are usually very reasonably priced, especially if you consider that making it in your shop takes time that you have to pass on to your customers along with the material. For those reasons, we are all thankful when parts are available. It this case, there wasn’t a source for the broken bridge. It looks the same at first glance, but the string spacing is wider than a standard bridge, plus this is a through saddle. That means that I will have to make it from scratch here in my shop.
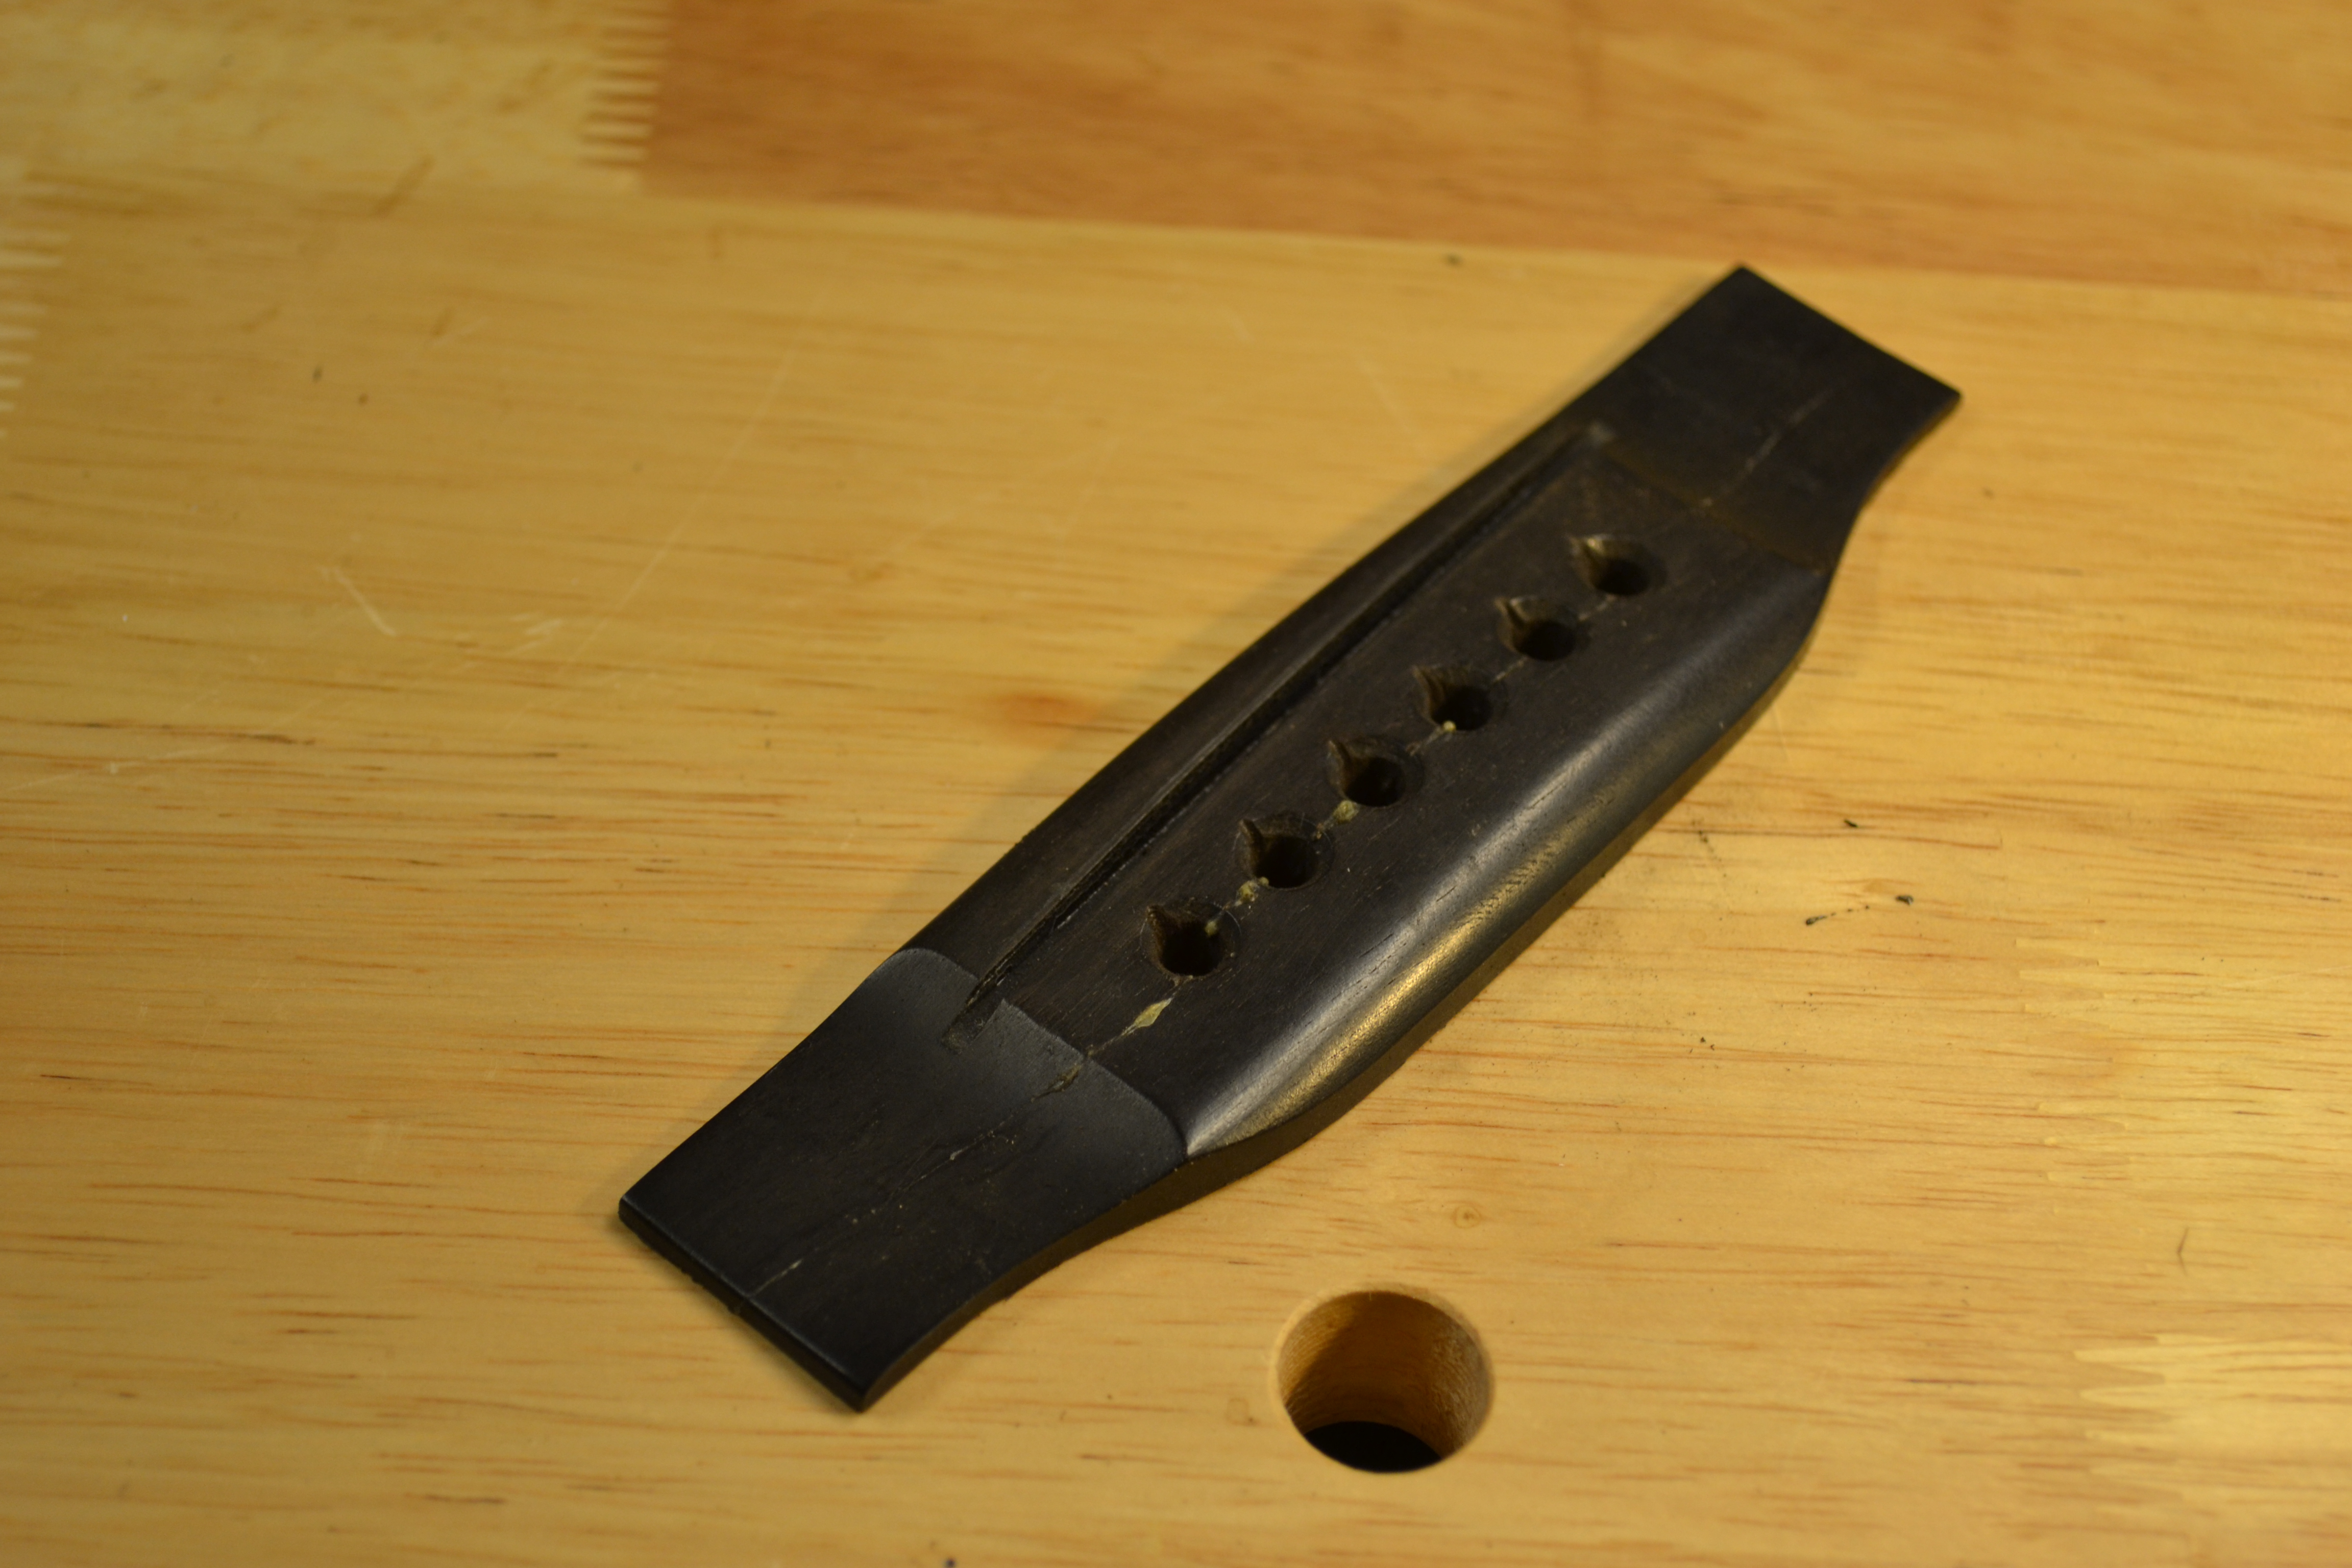
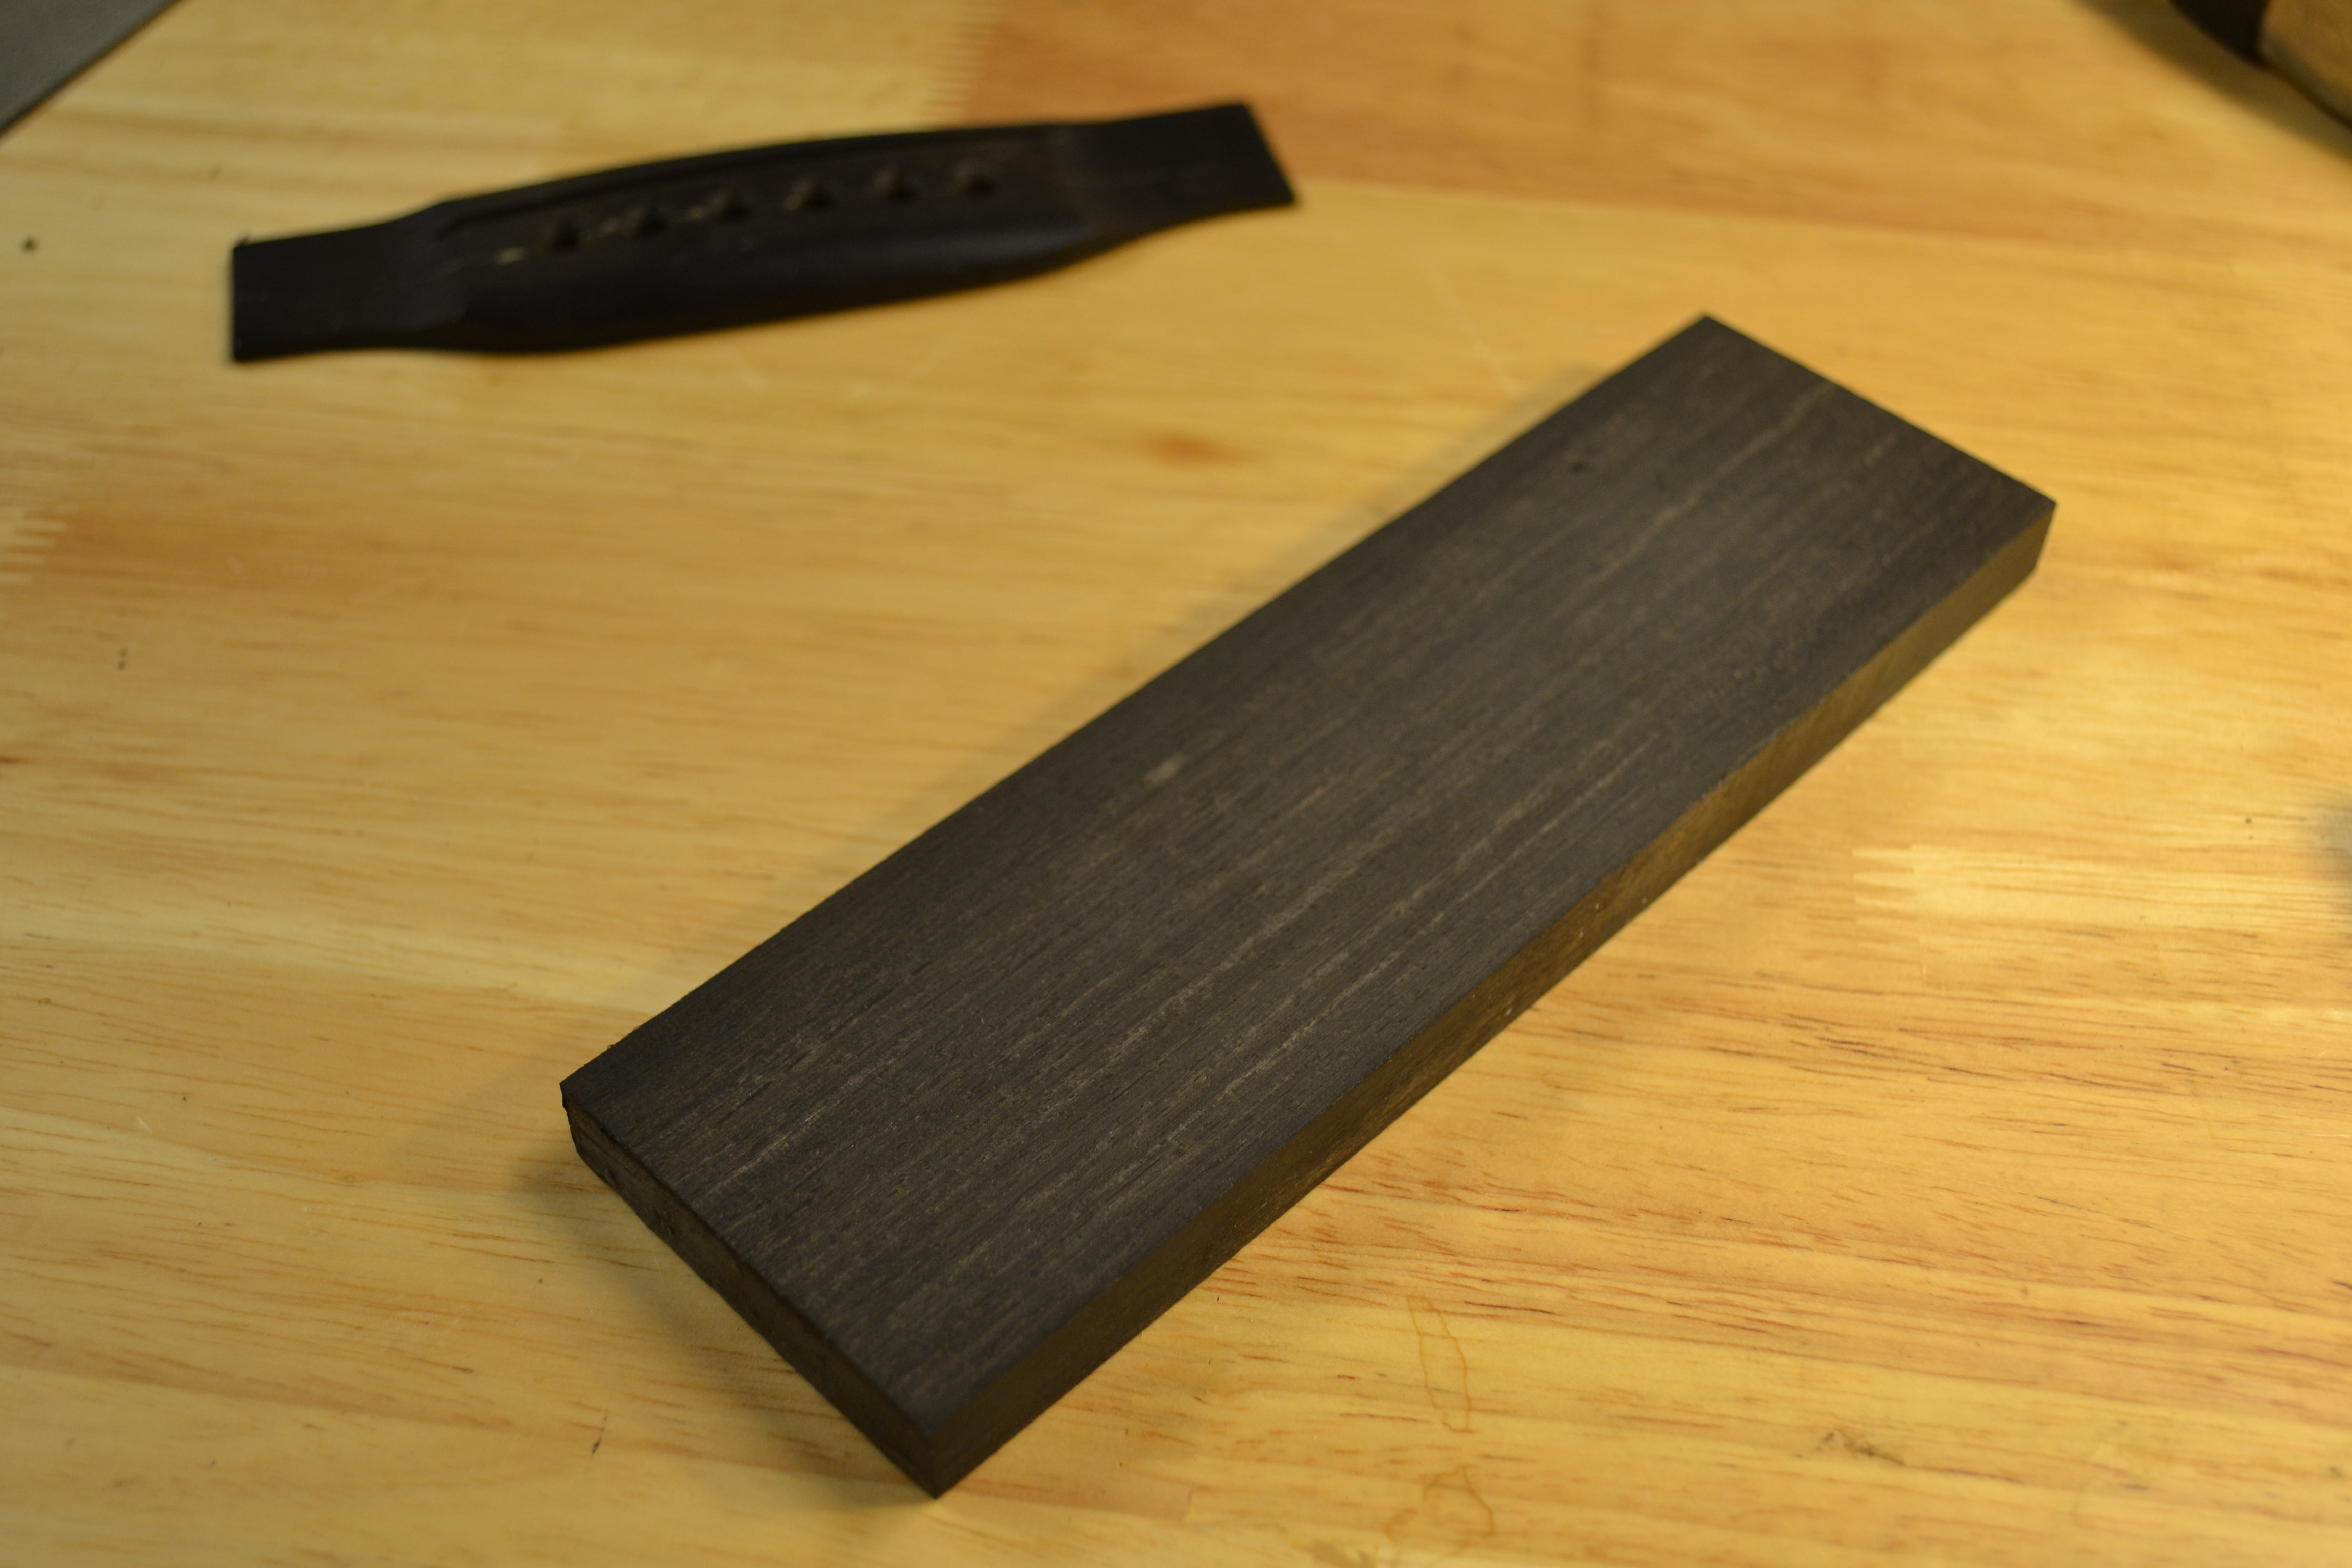
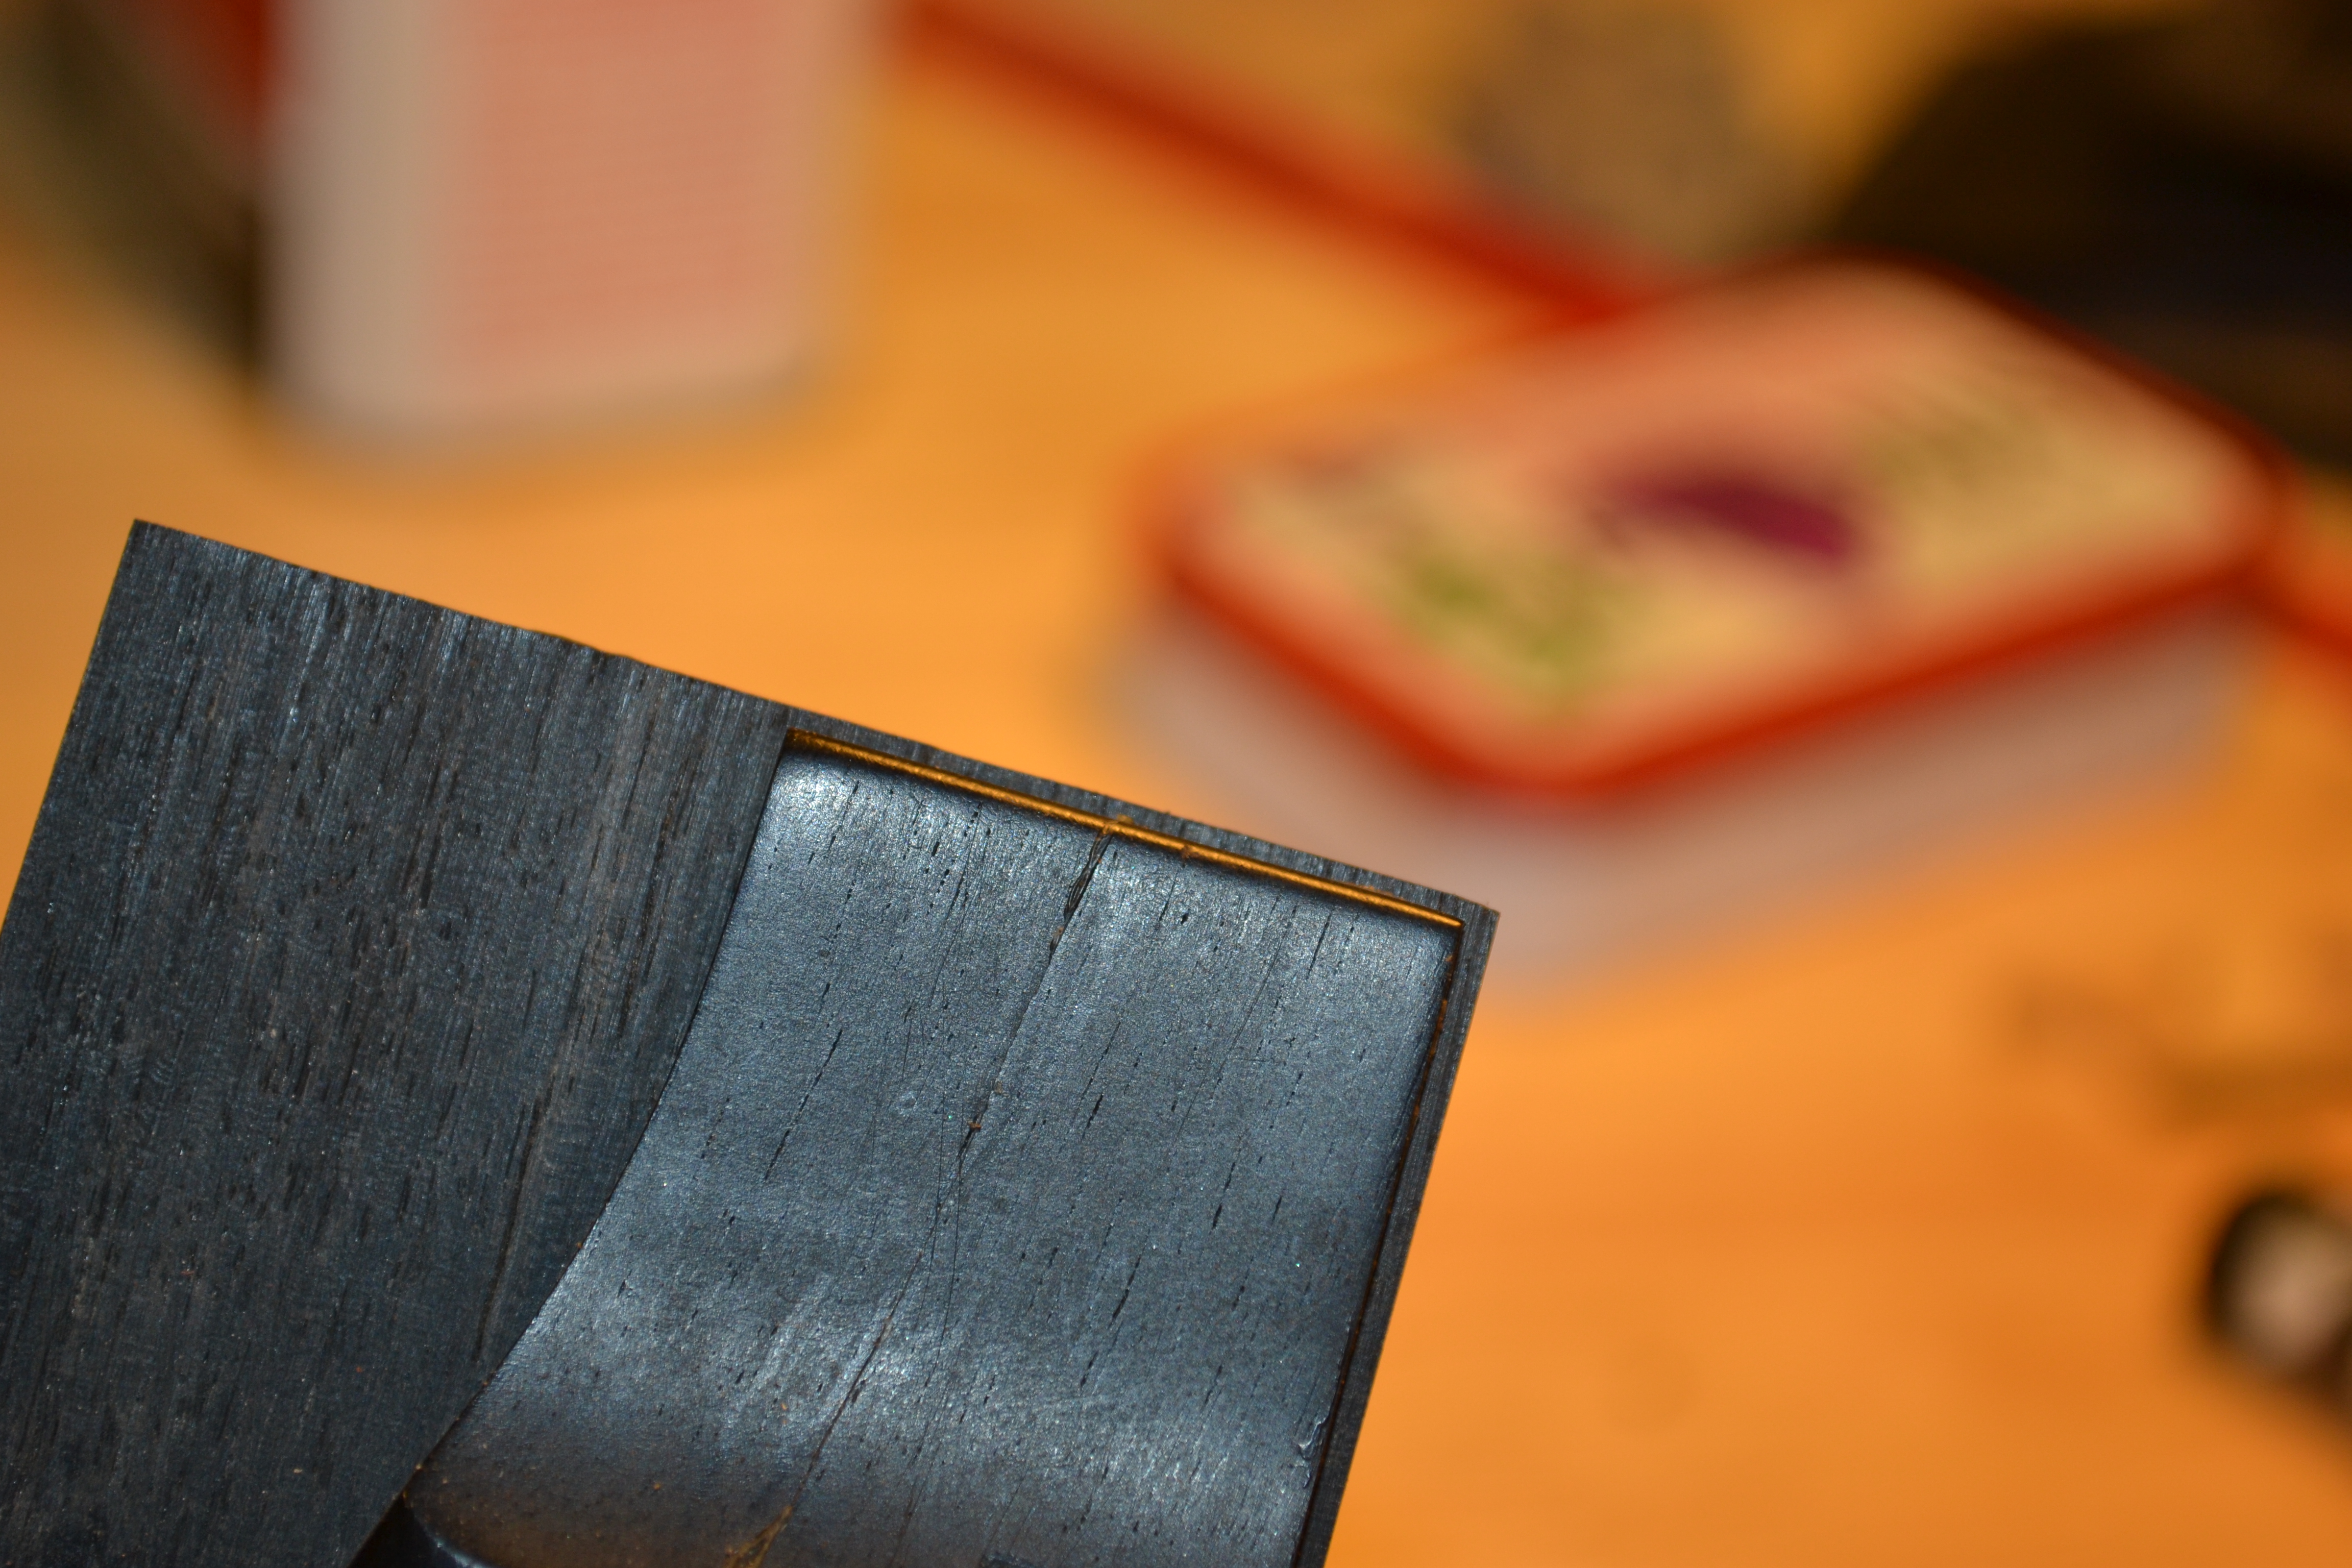
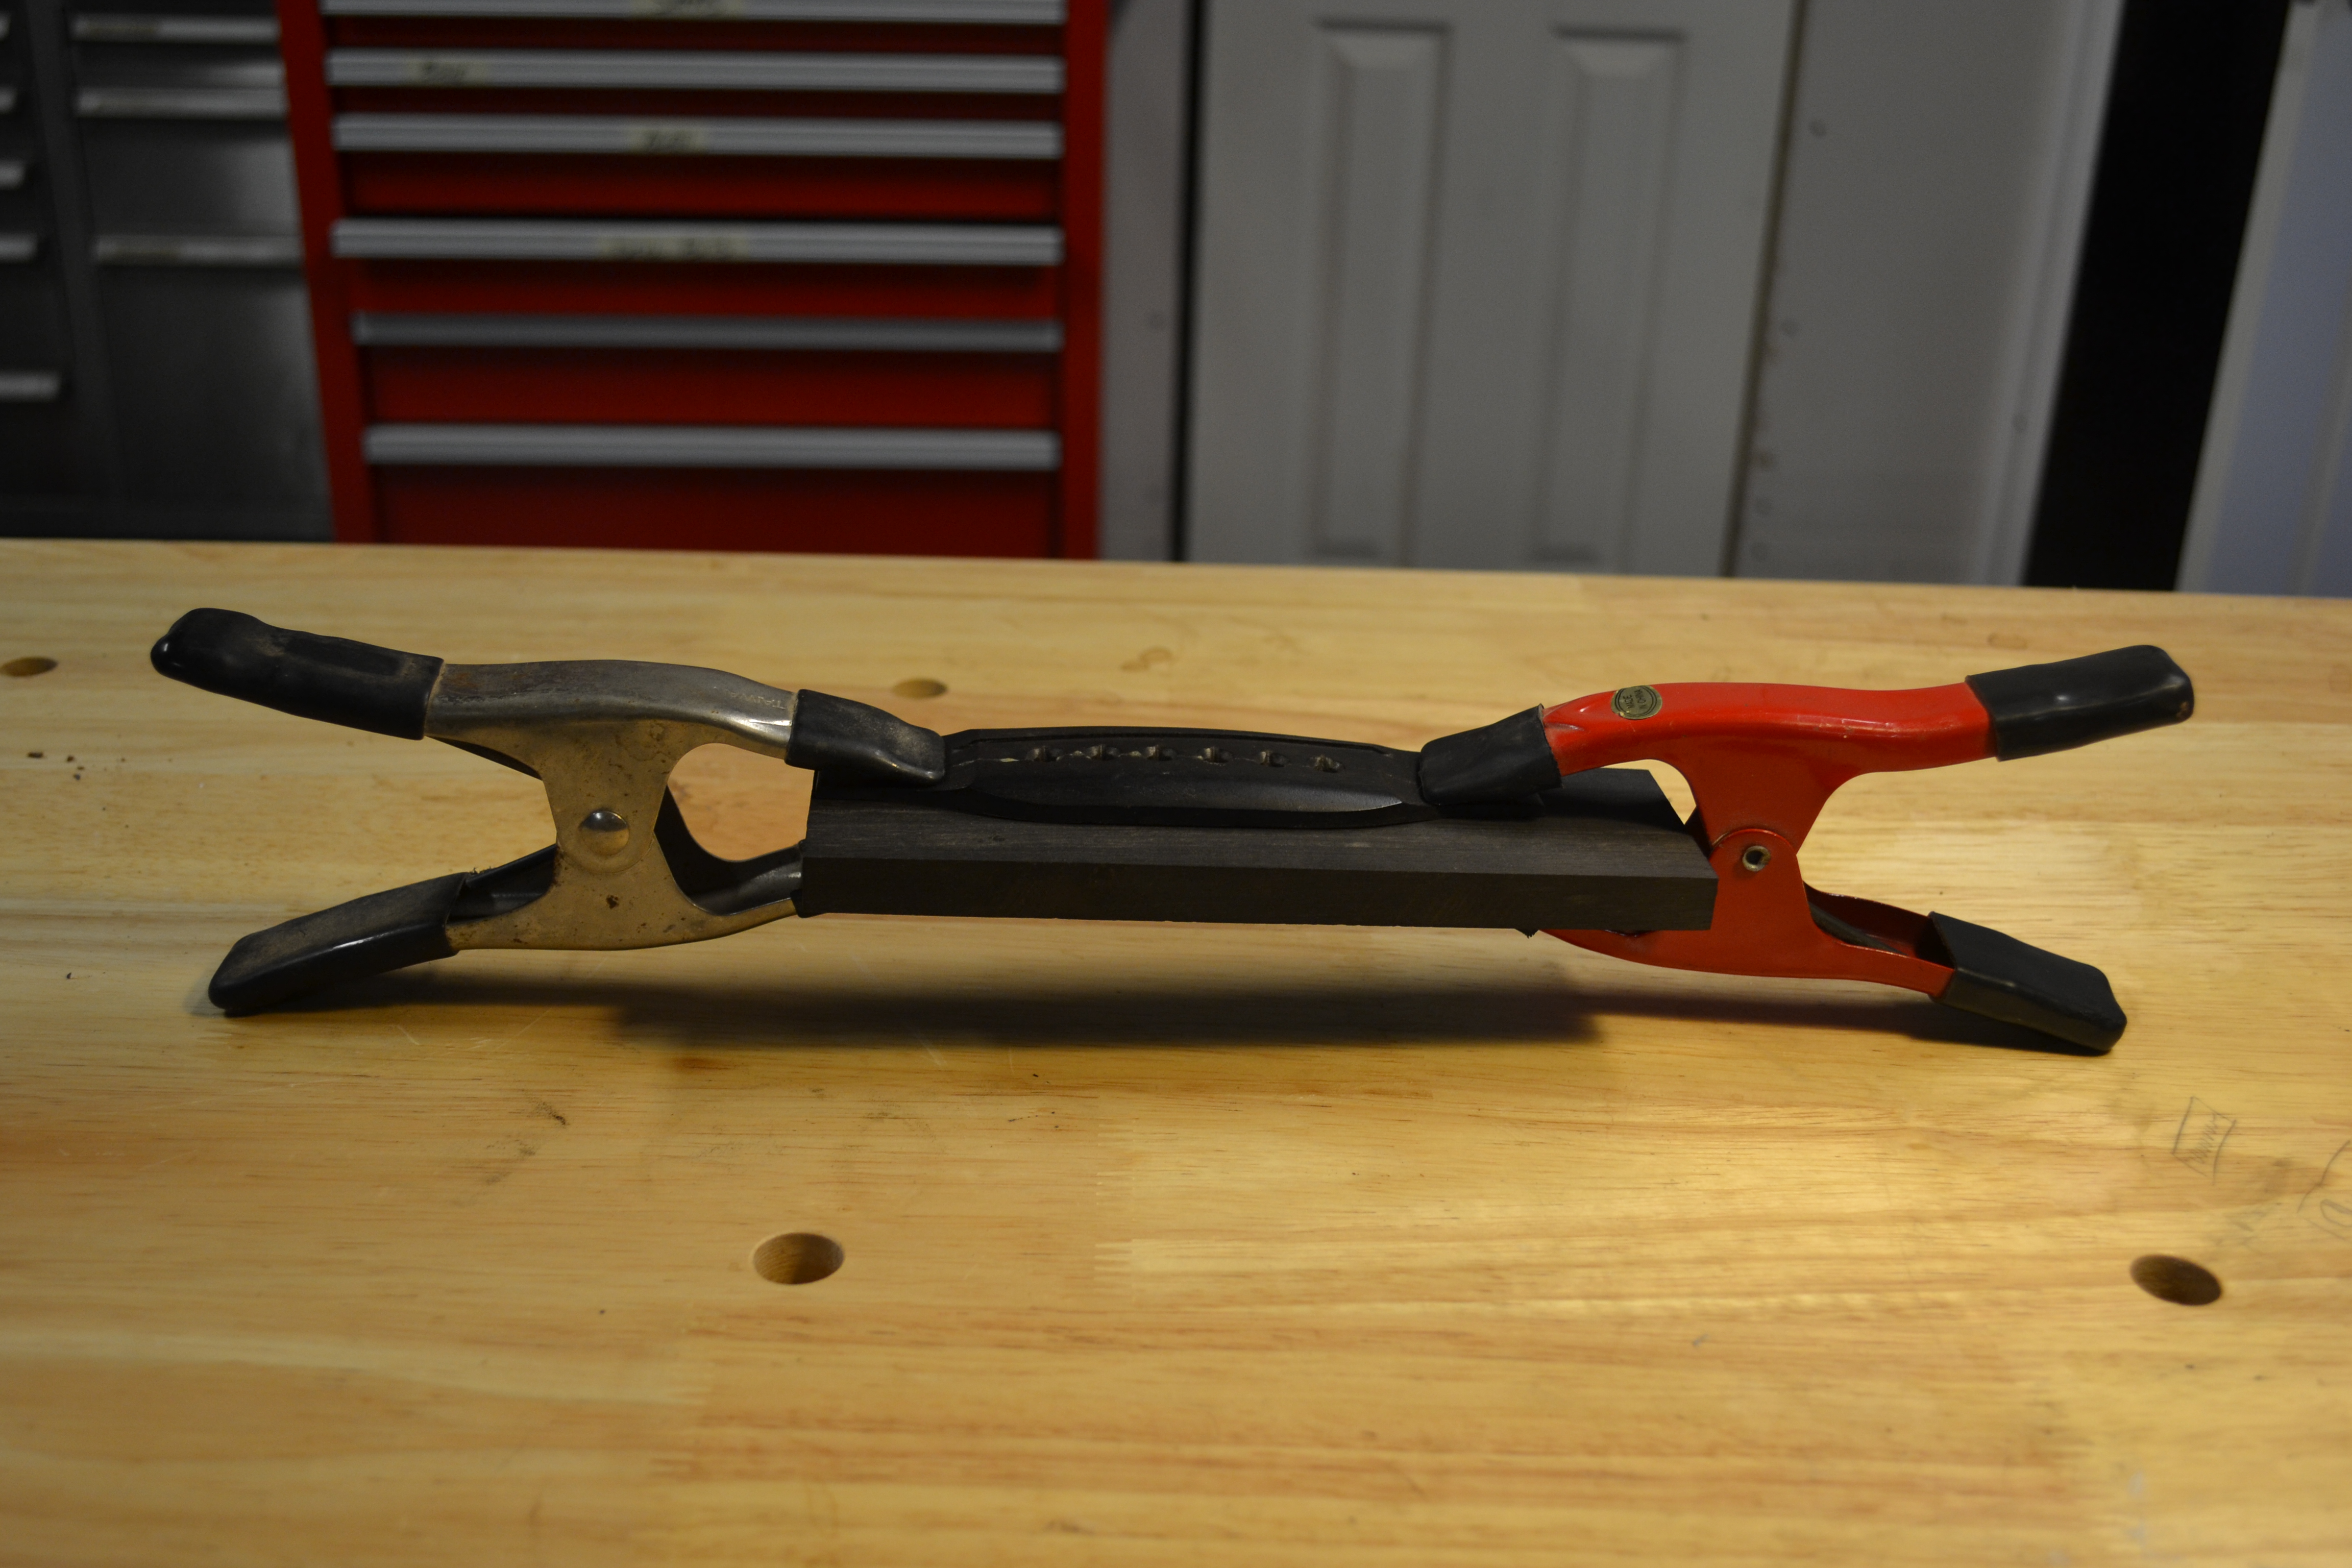
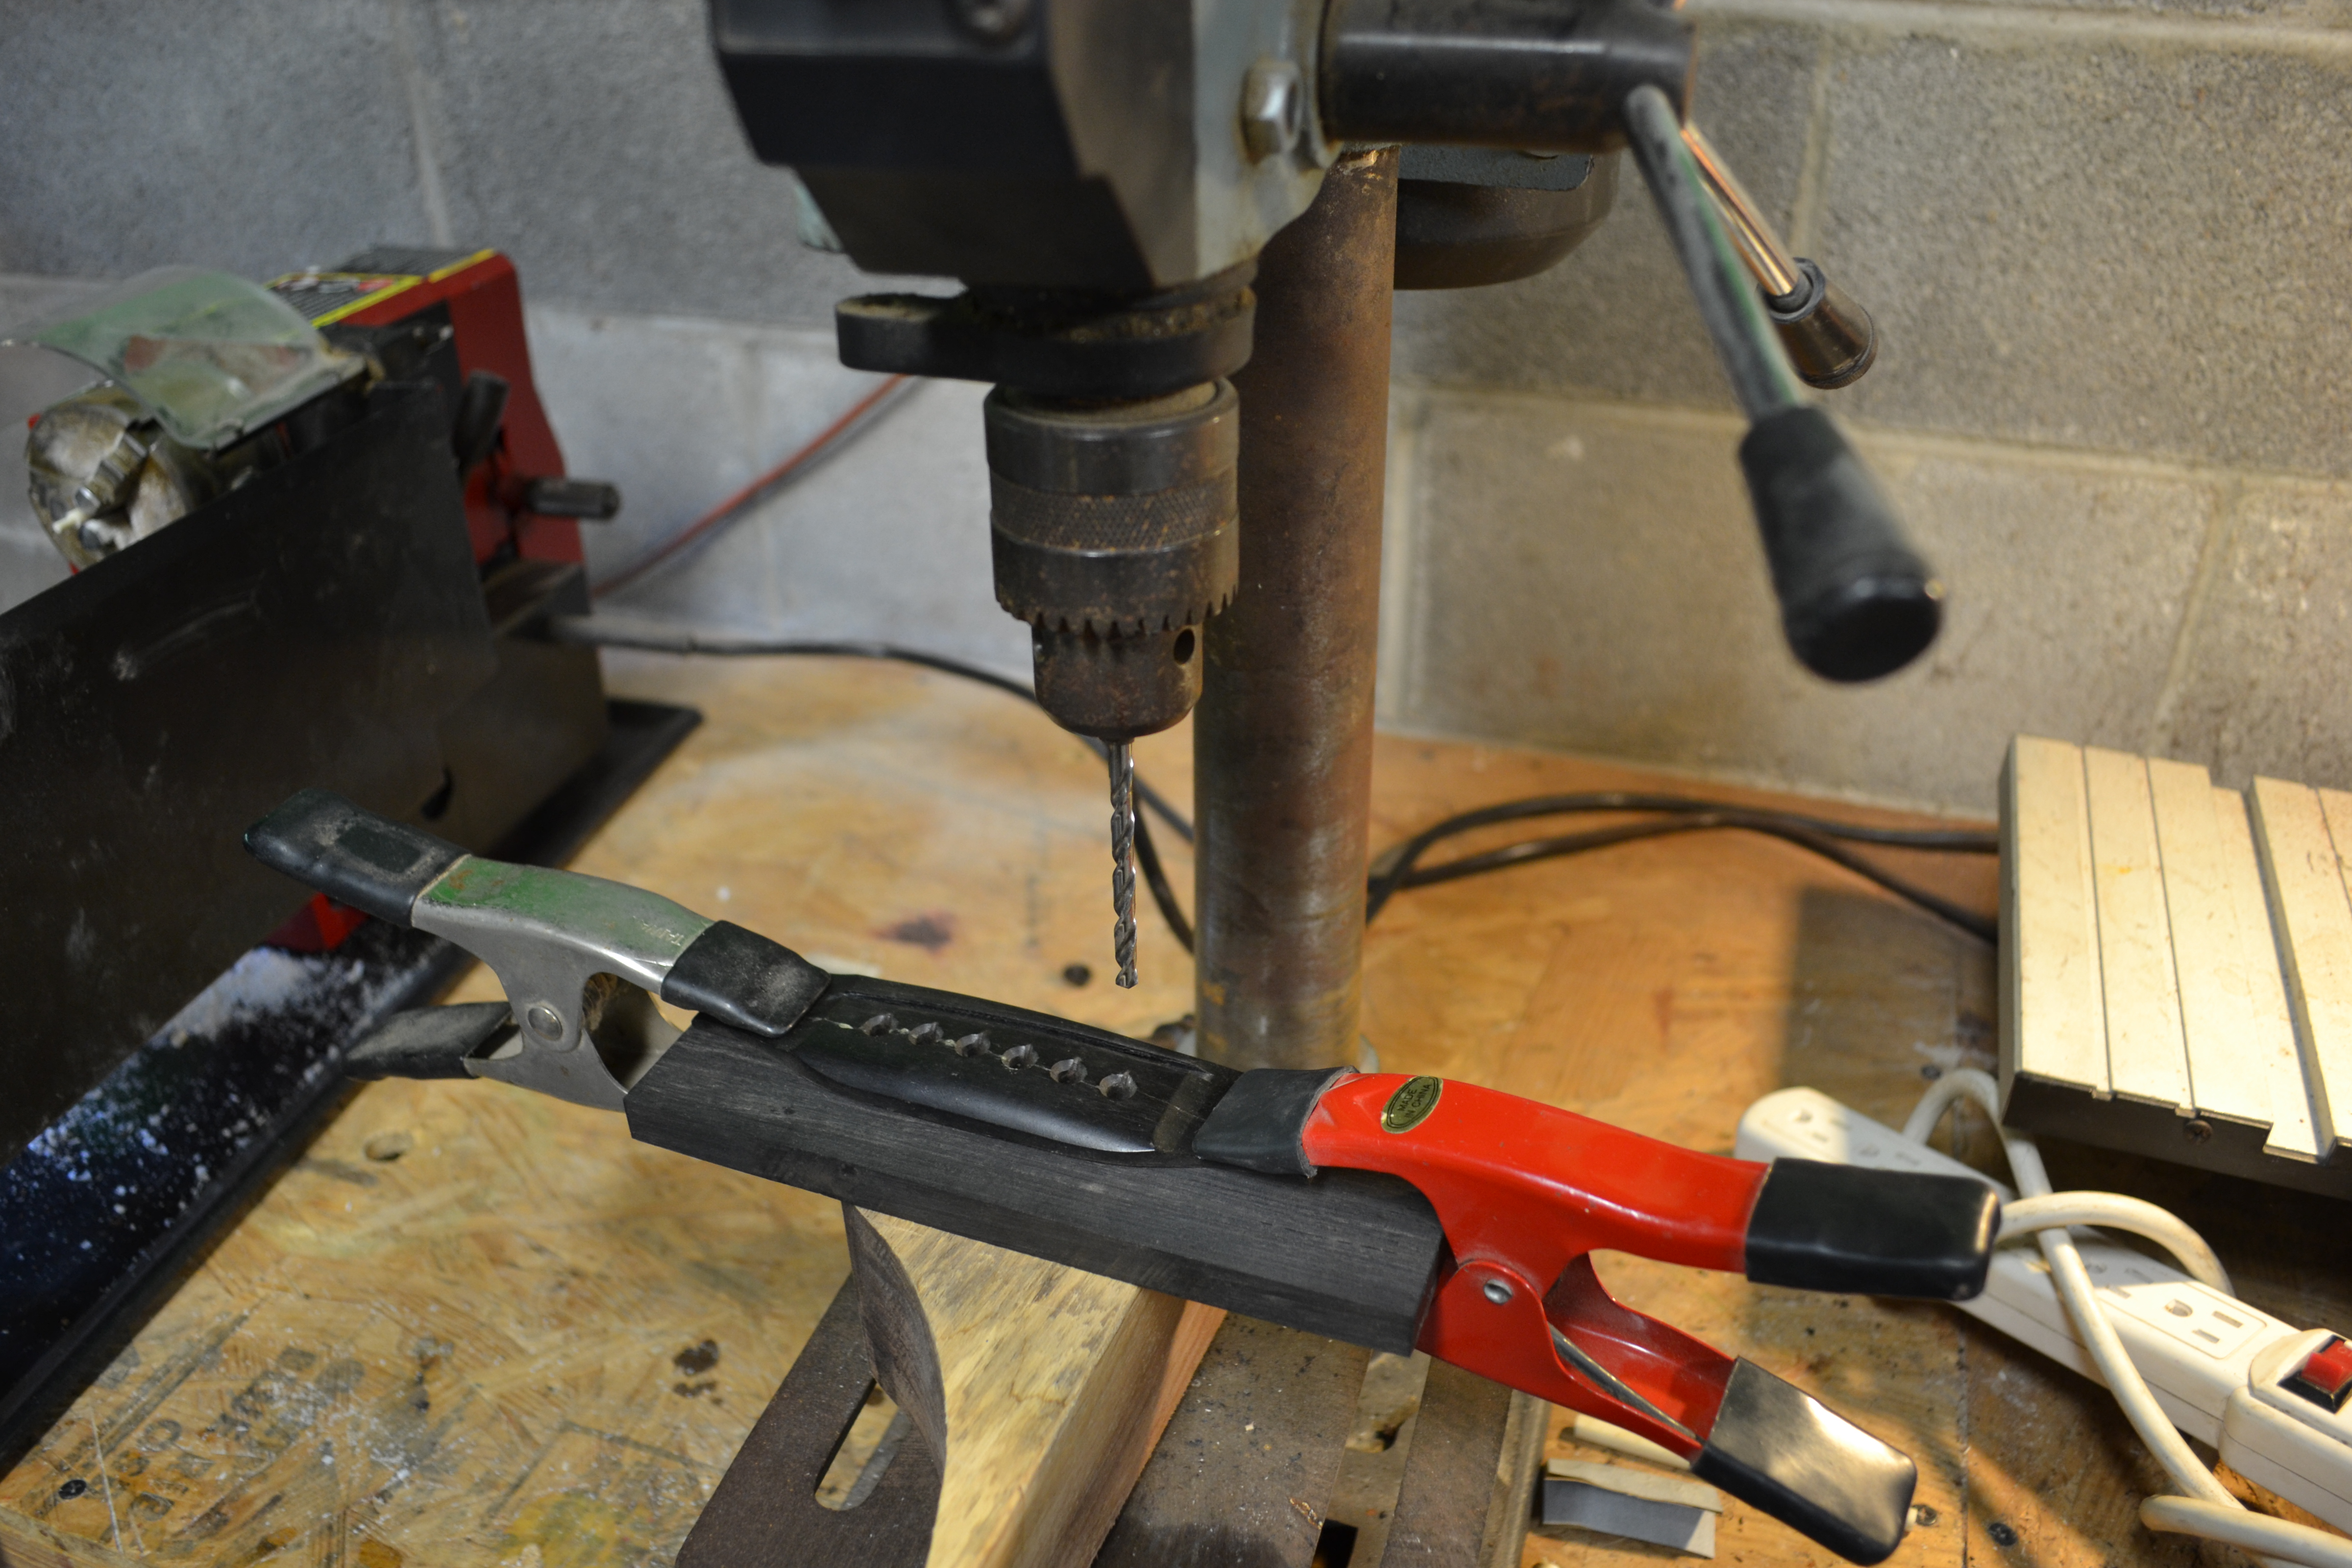
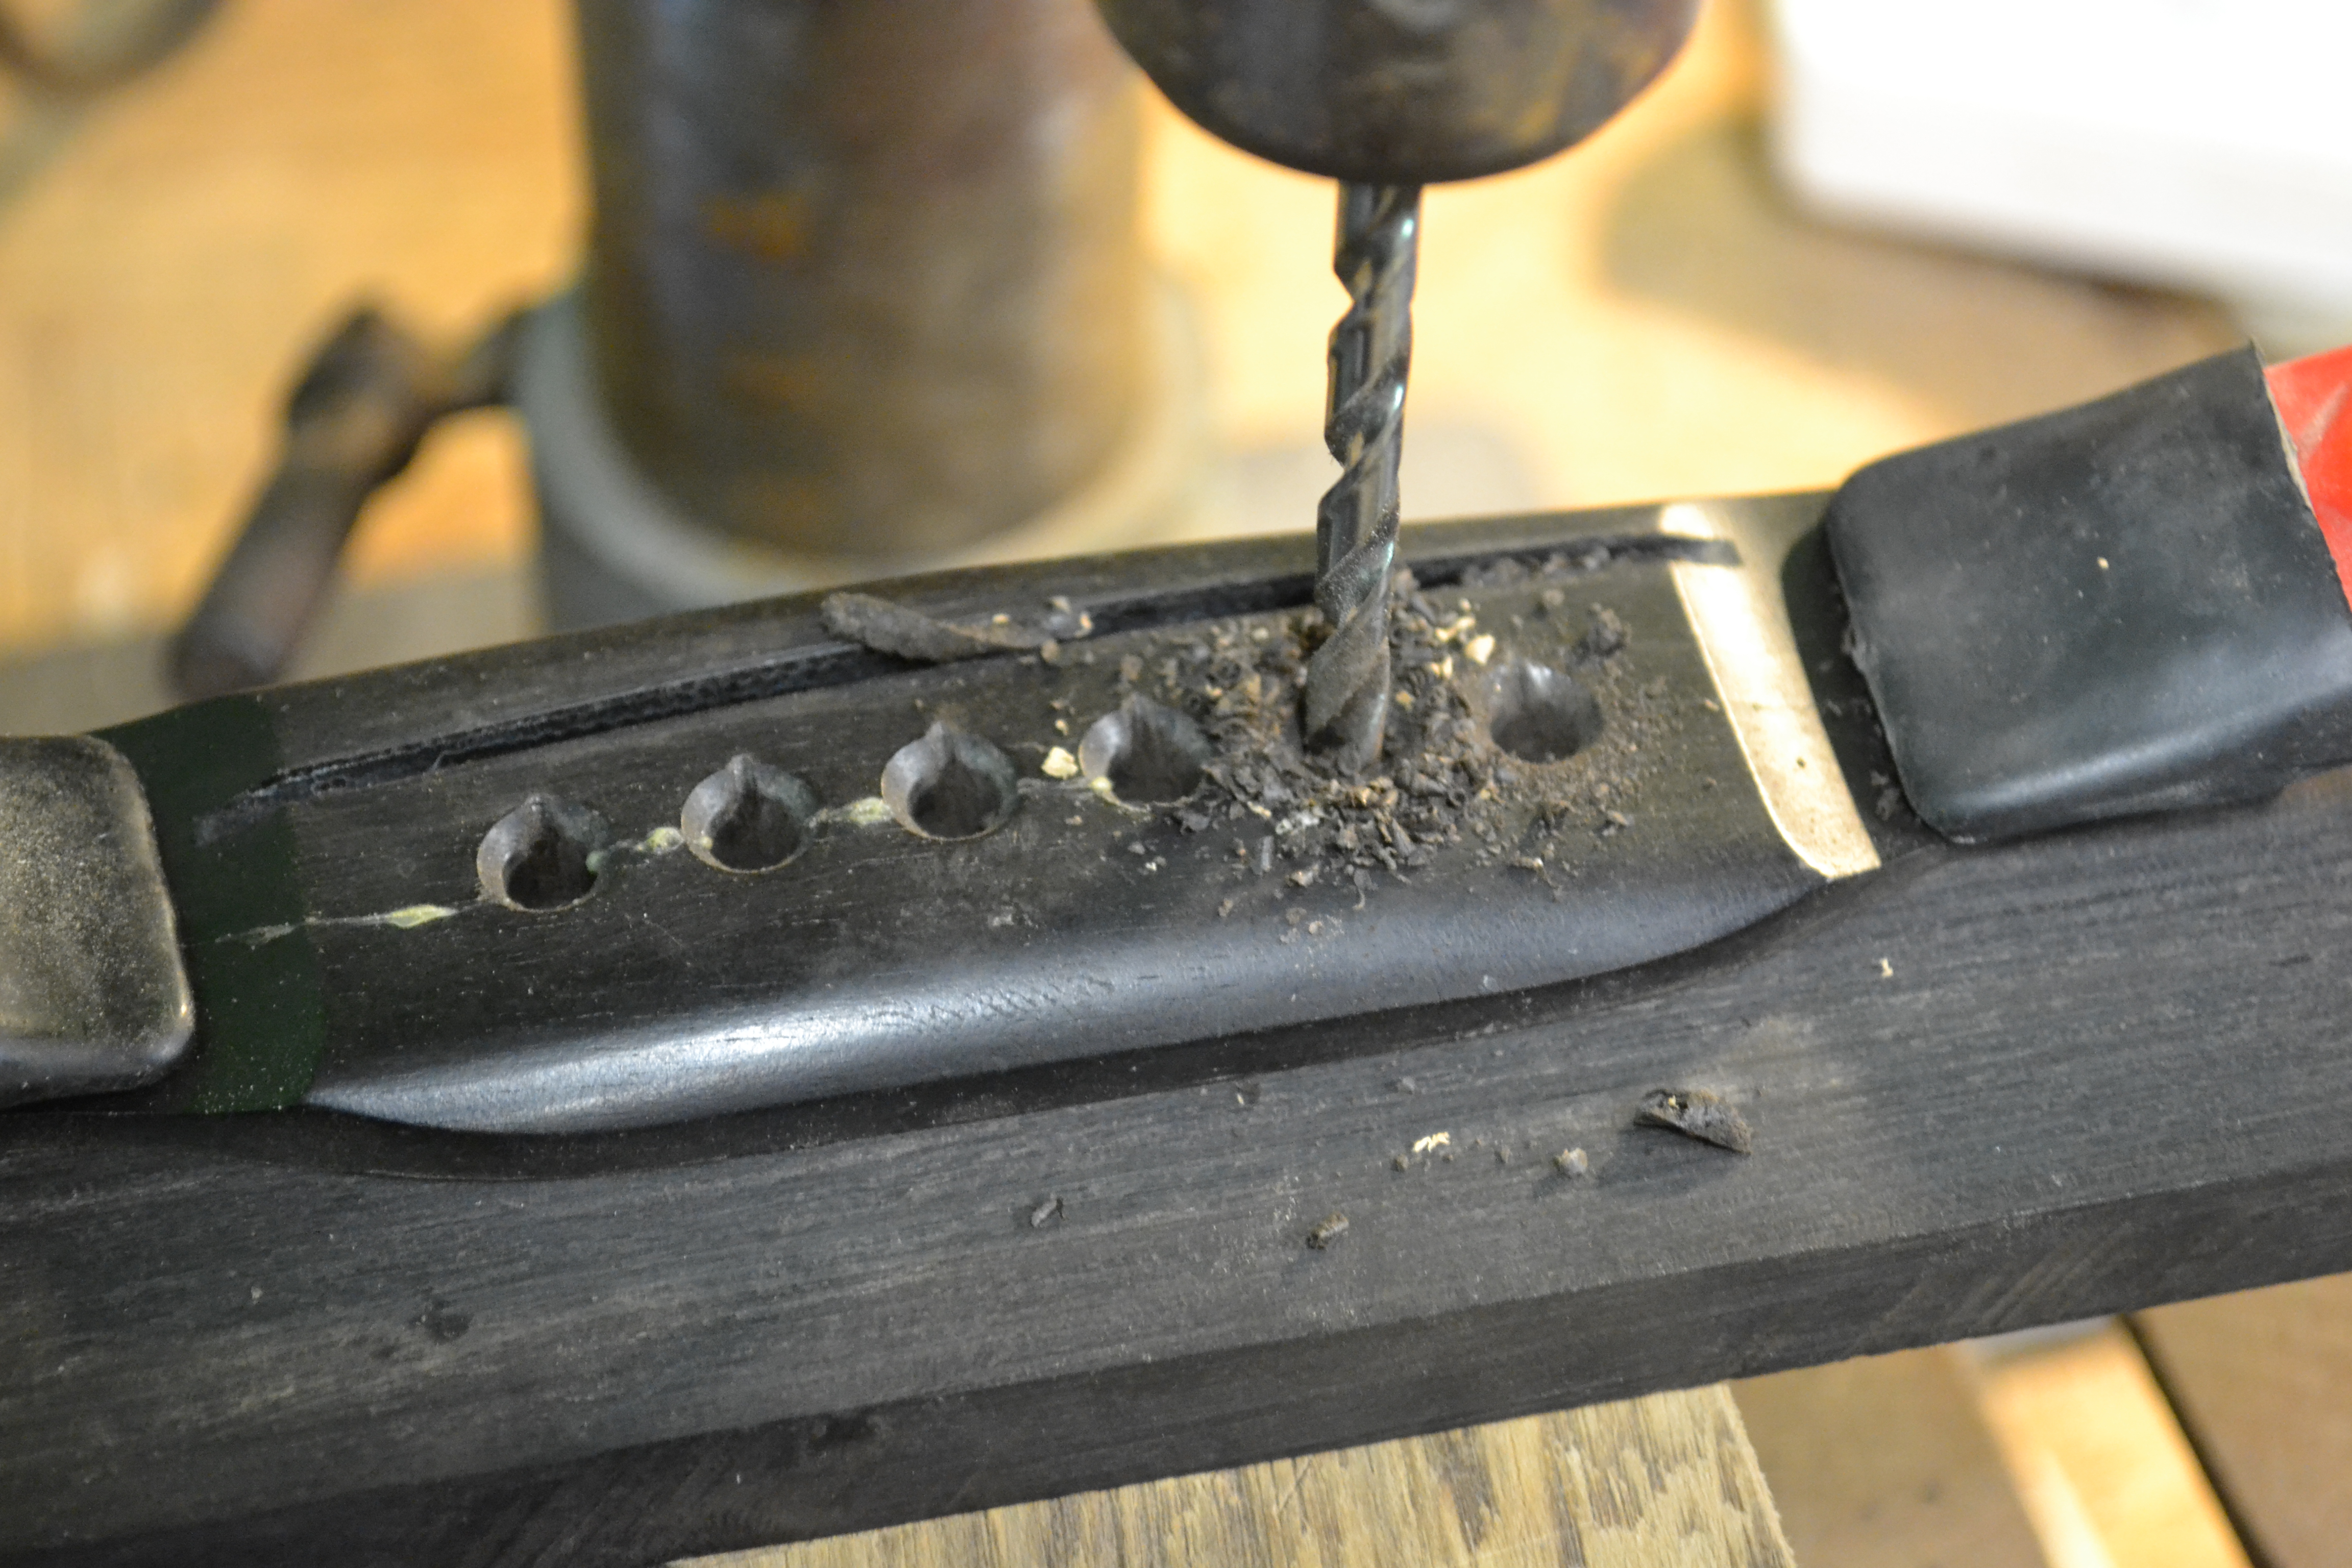
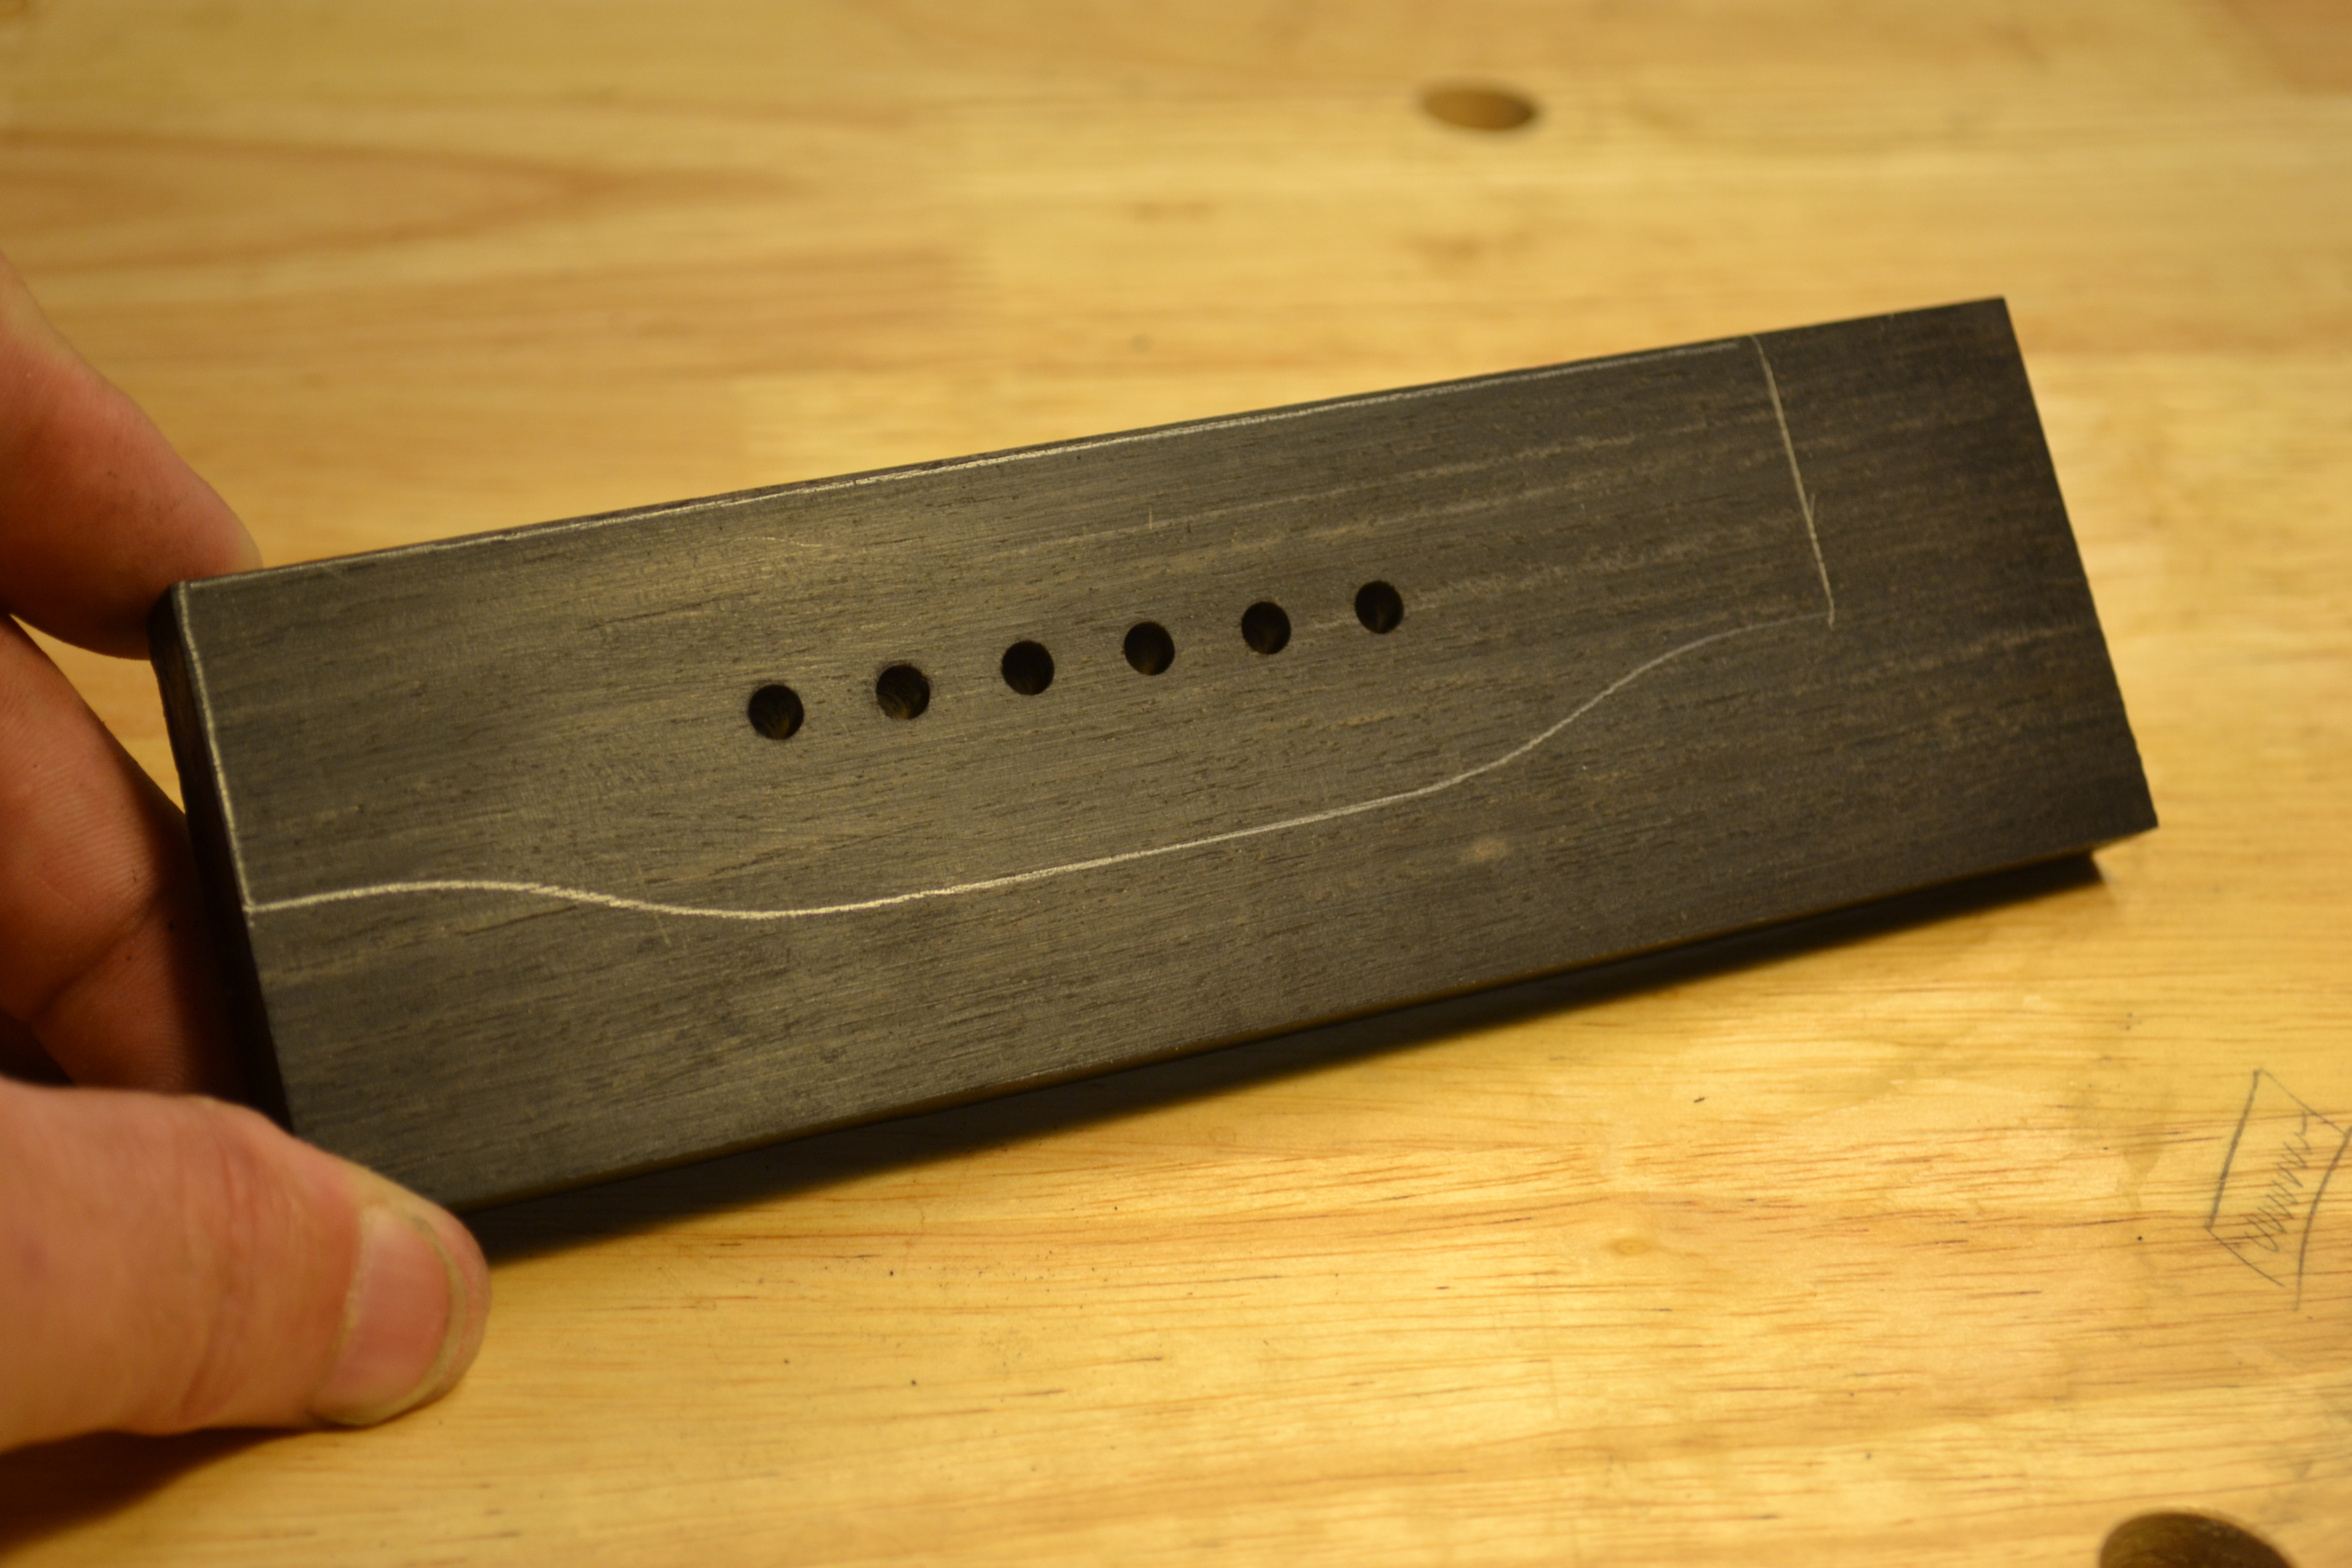
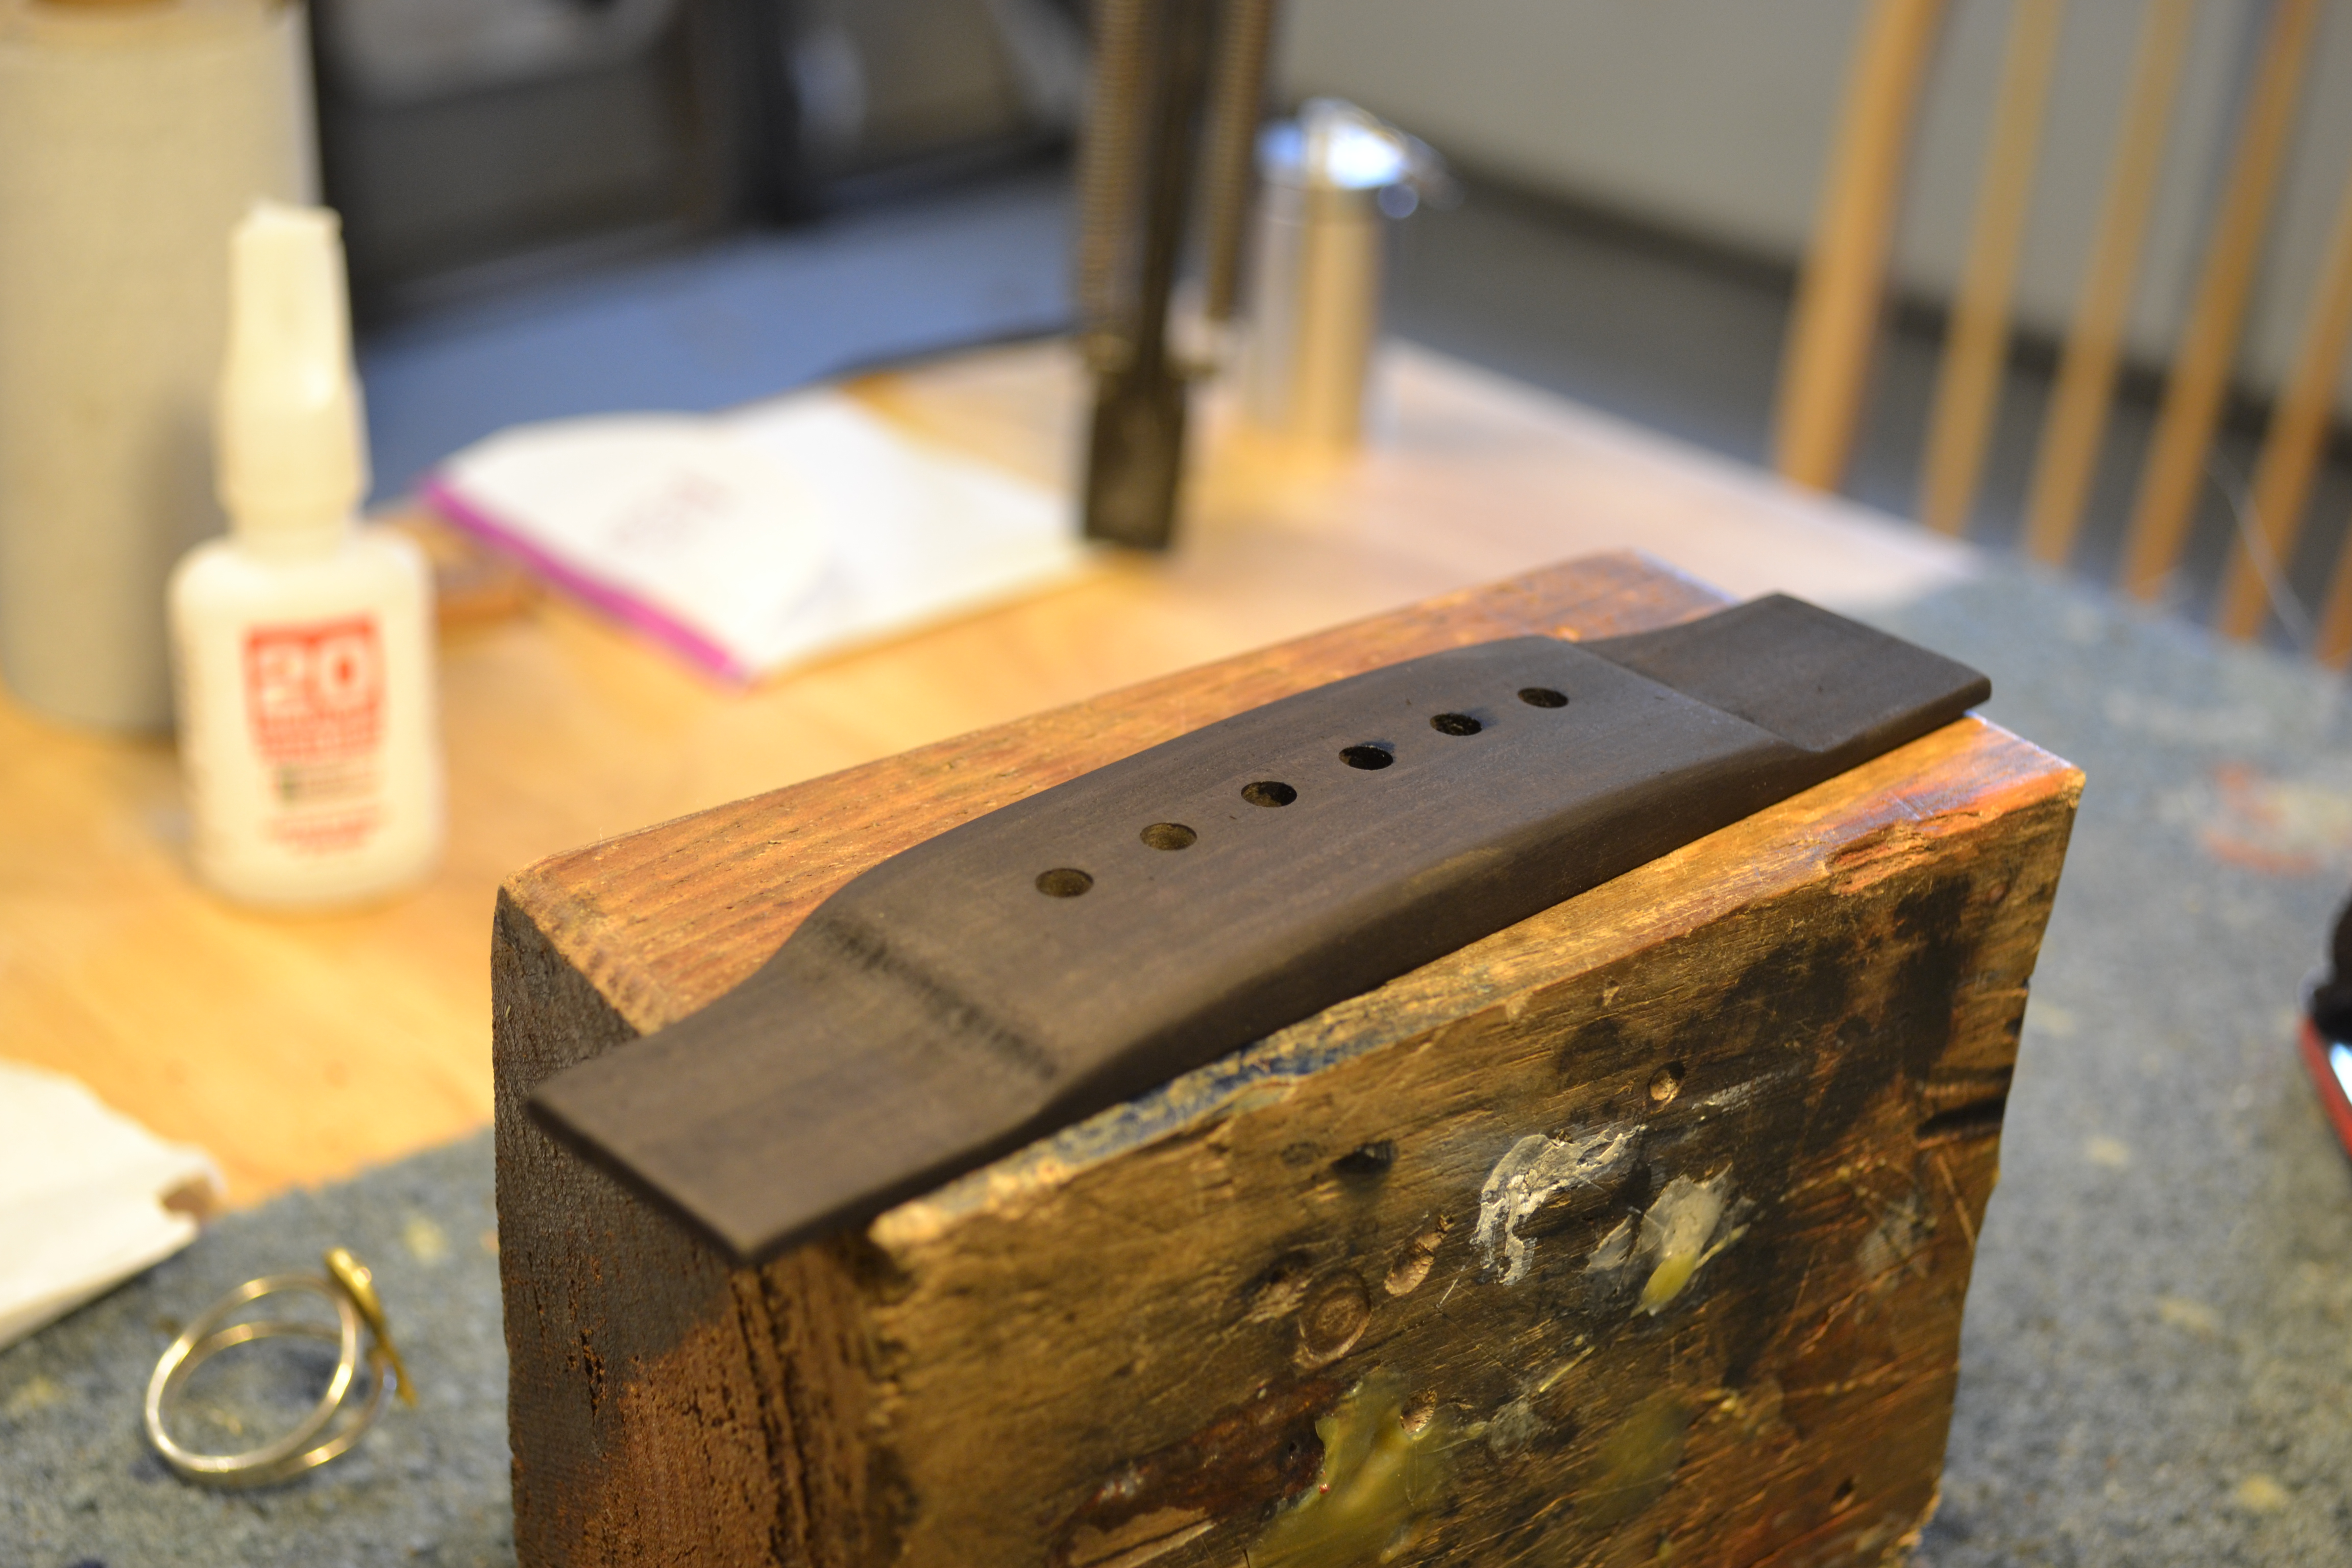
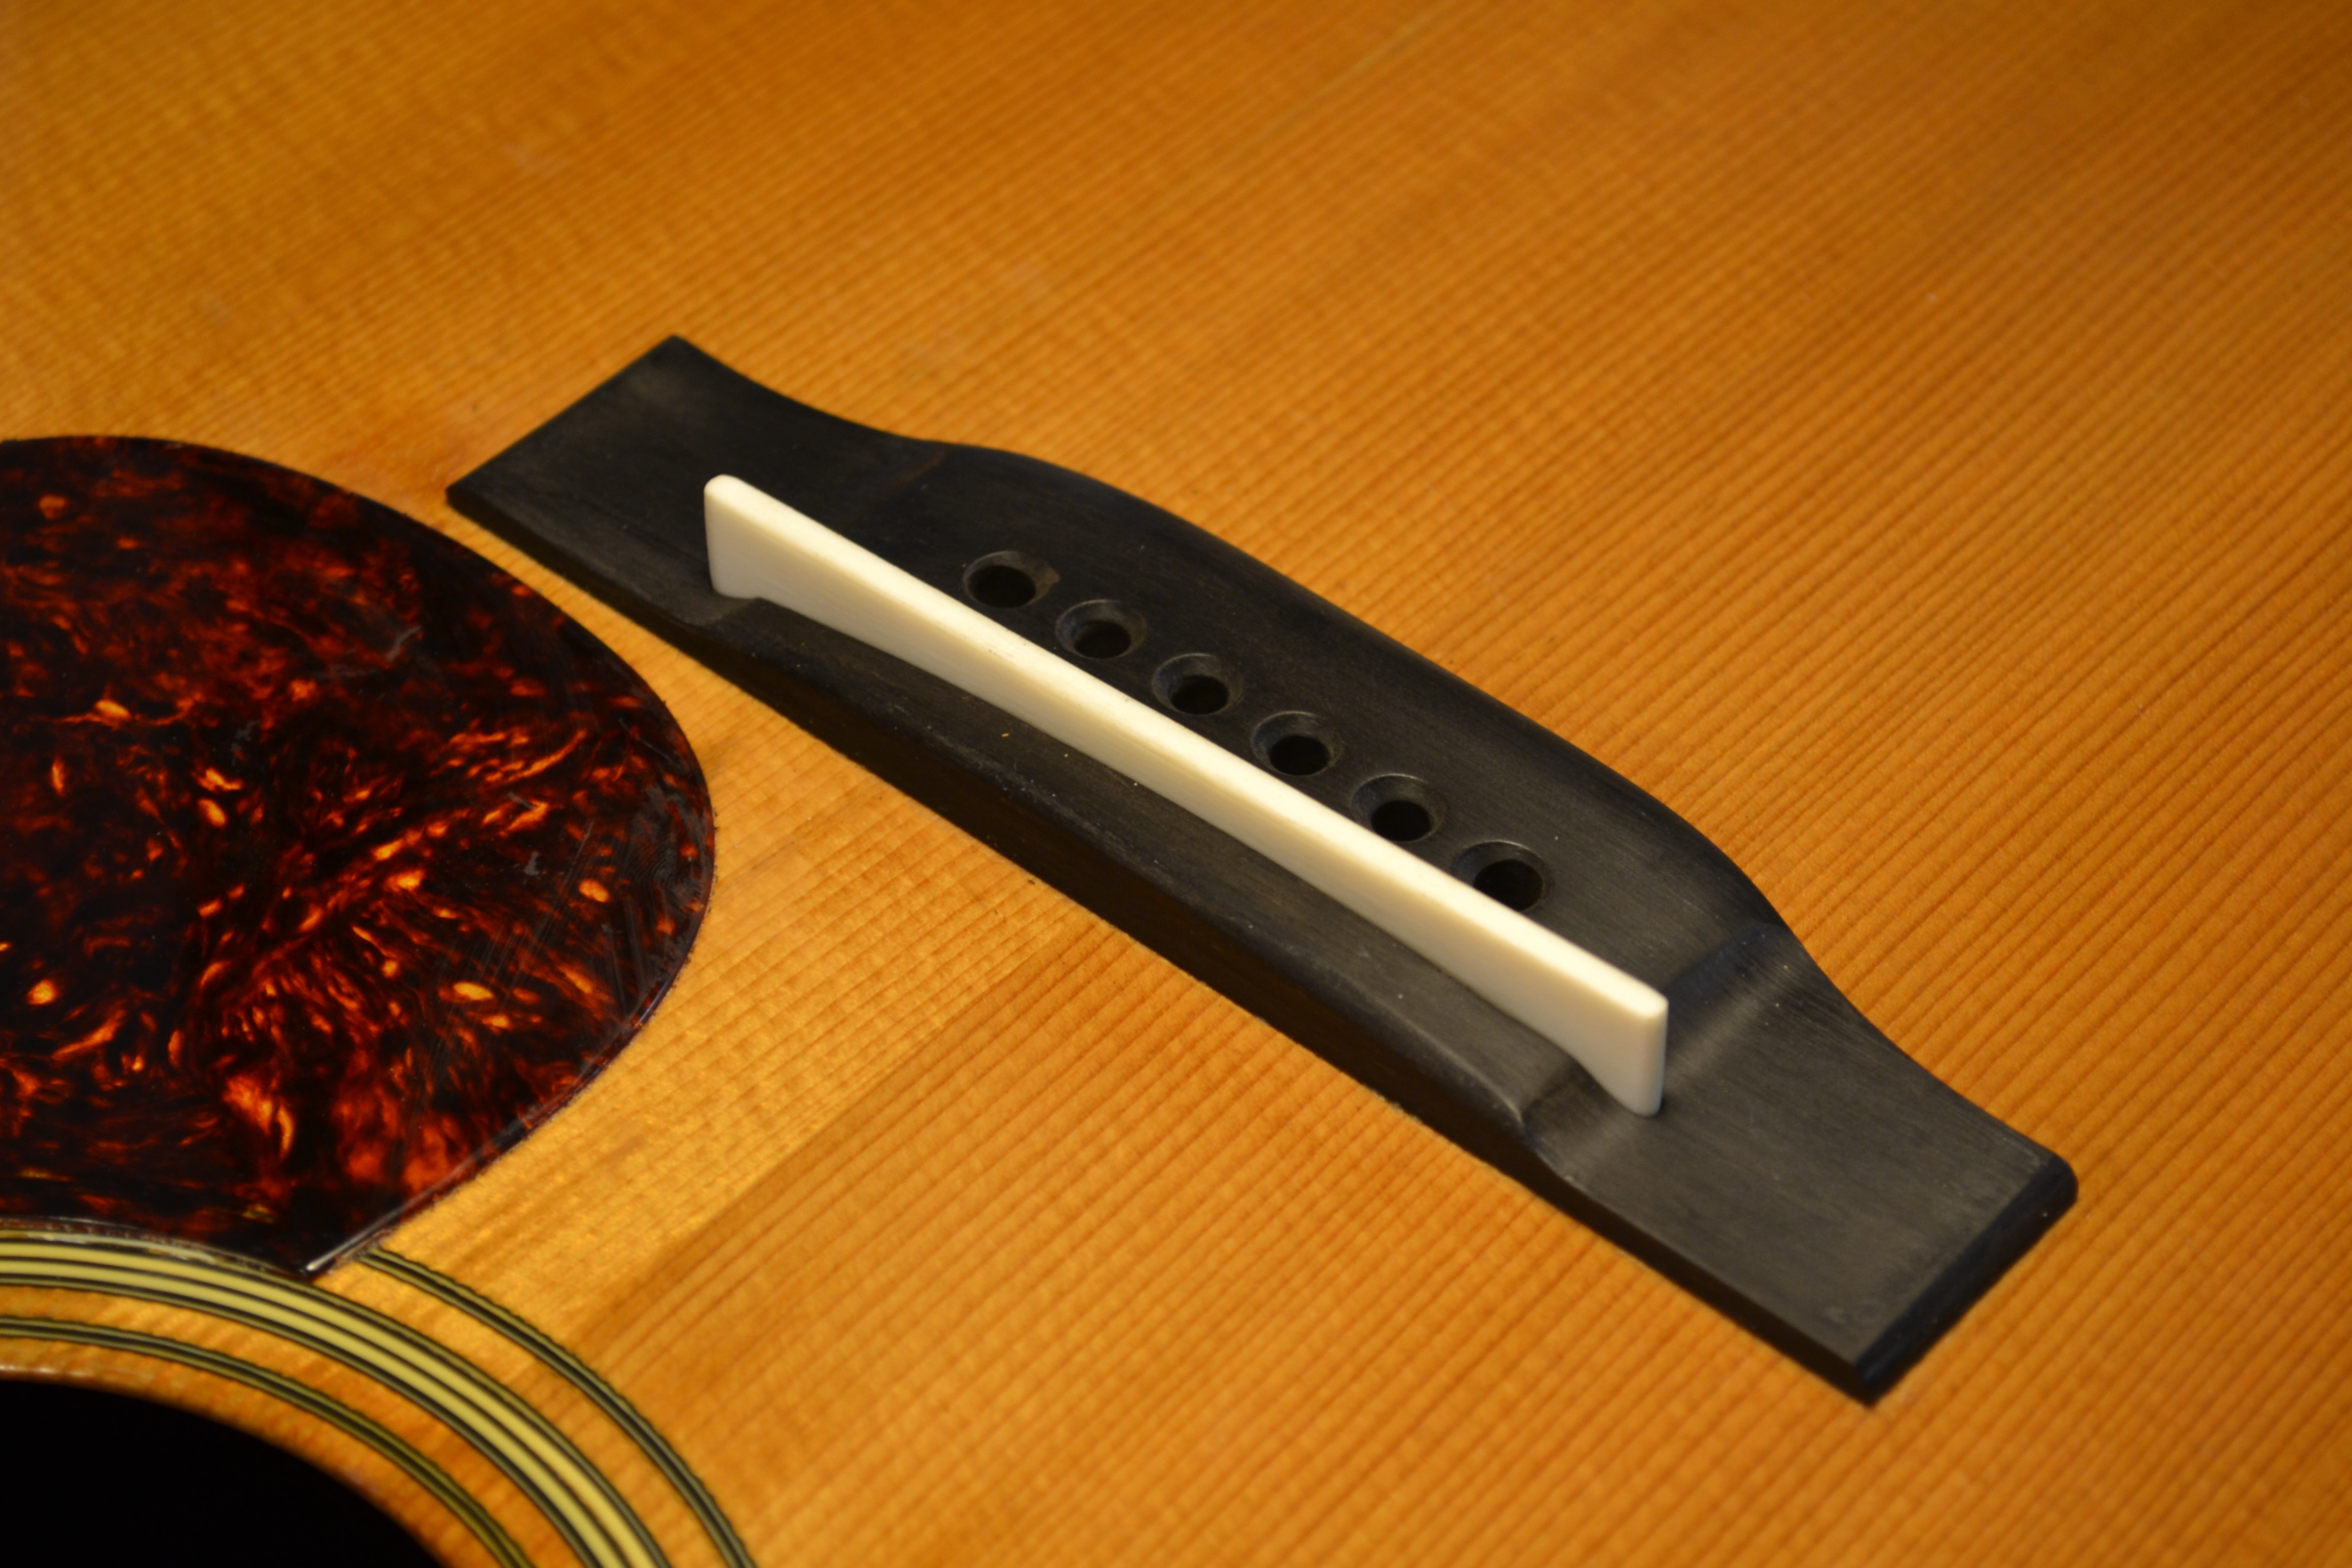
I start by gluing the broken bridge back together so it can be used as a template. I will also save the old bridge for future use as a template. The new bridge will be made from the ebony stock. I allow a little room all the way around as I like to fine tune the final fit just before it is installed onto the guitar. Using spring clamps to hold the bridge in place while I drill the bridge pin holes and trace the outline of the old bridge.
Click on the pictures for a larger view
High definition – may load slowly depending on your connection
 |
 |
 |
 |
 |
 |
 |
 |
 |
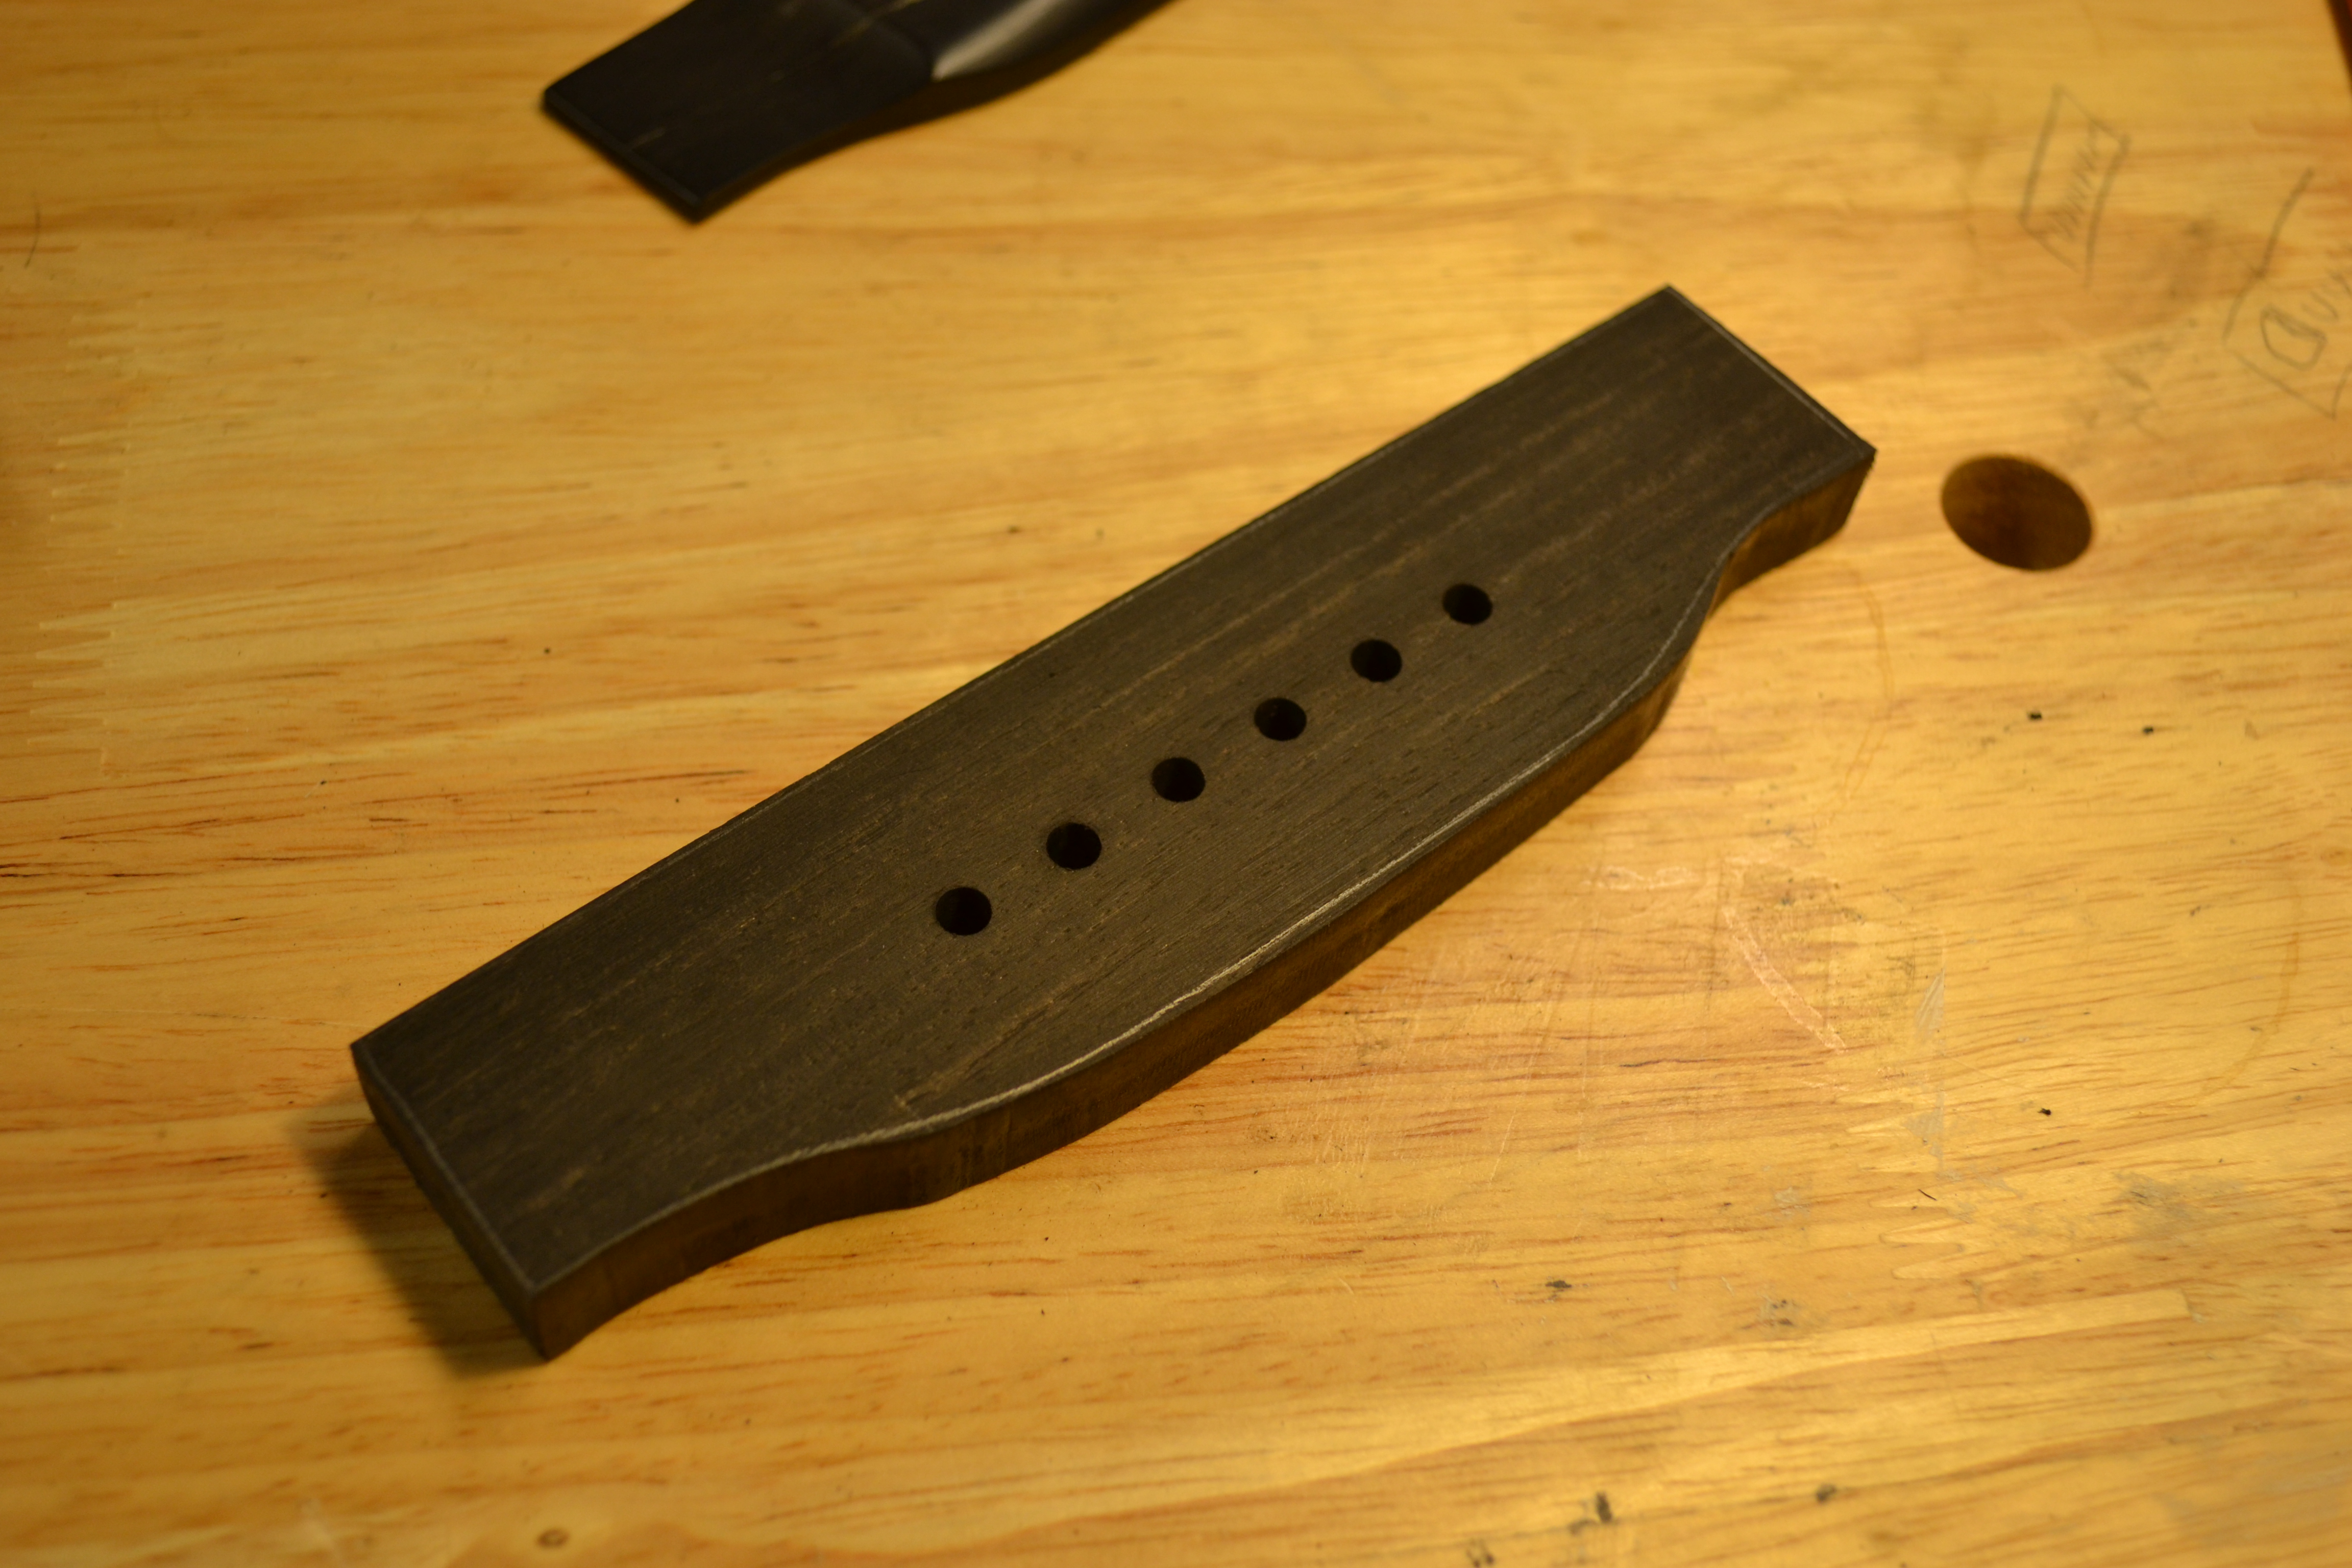 |
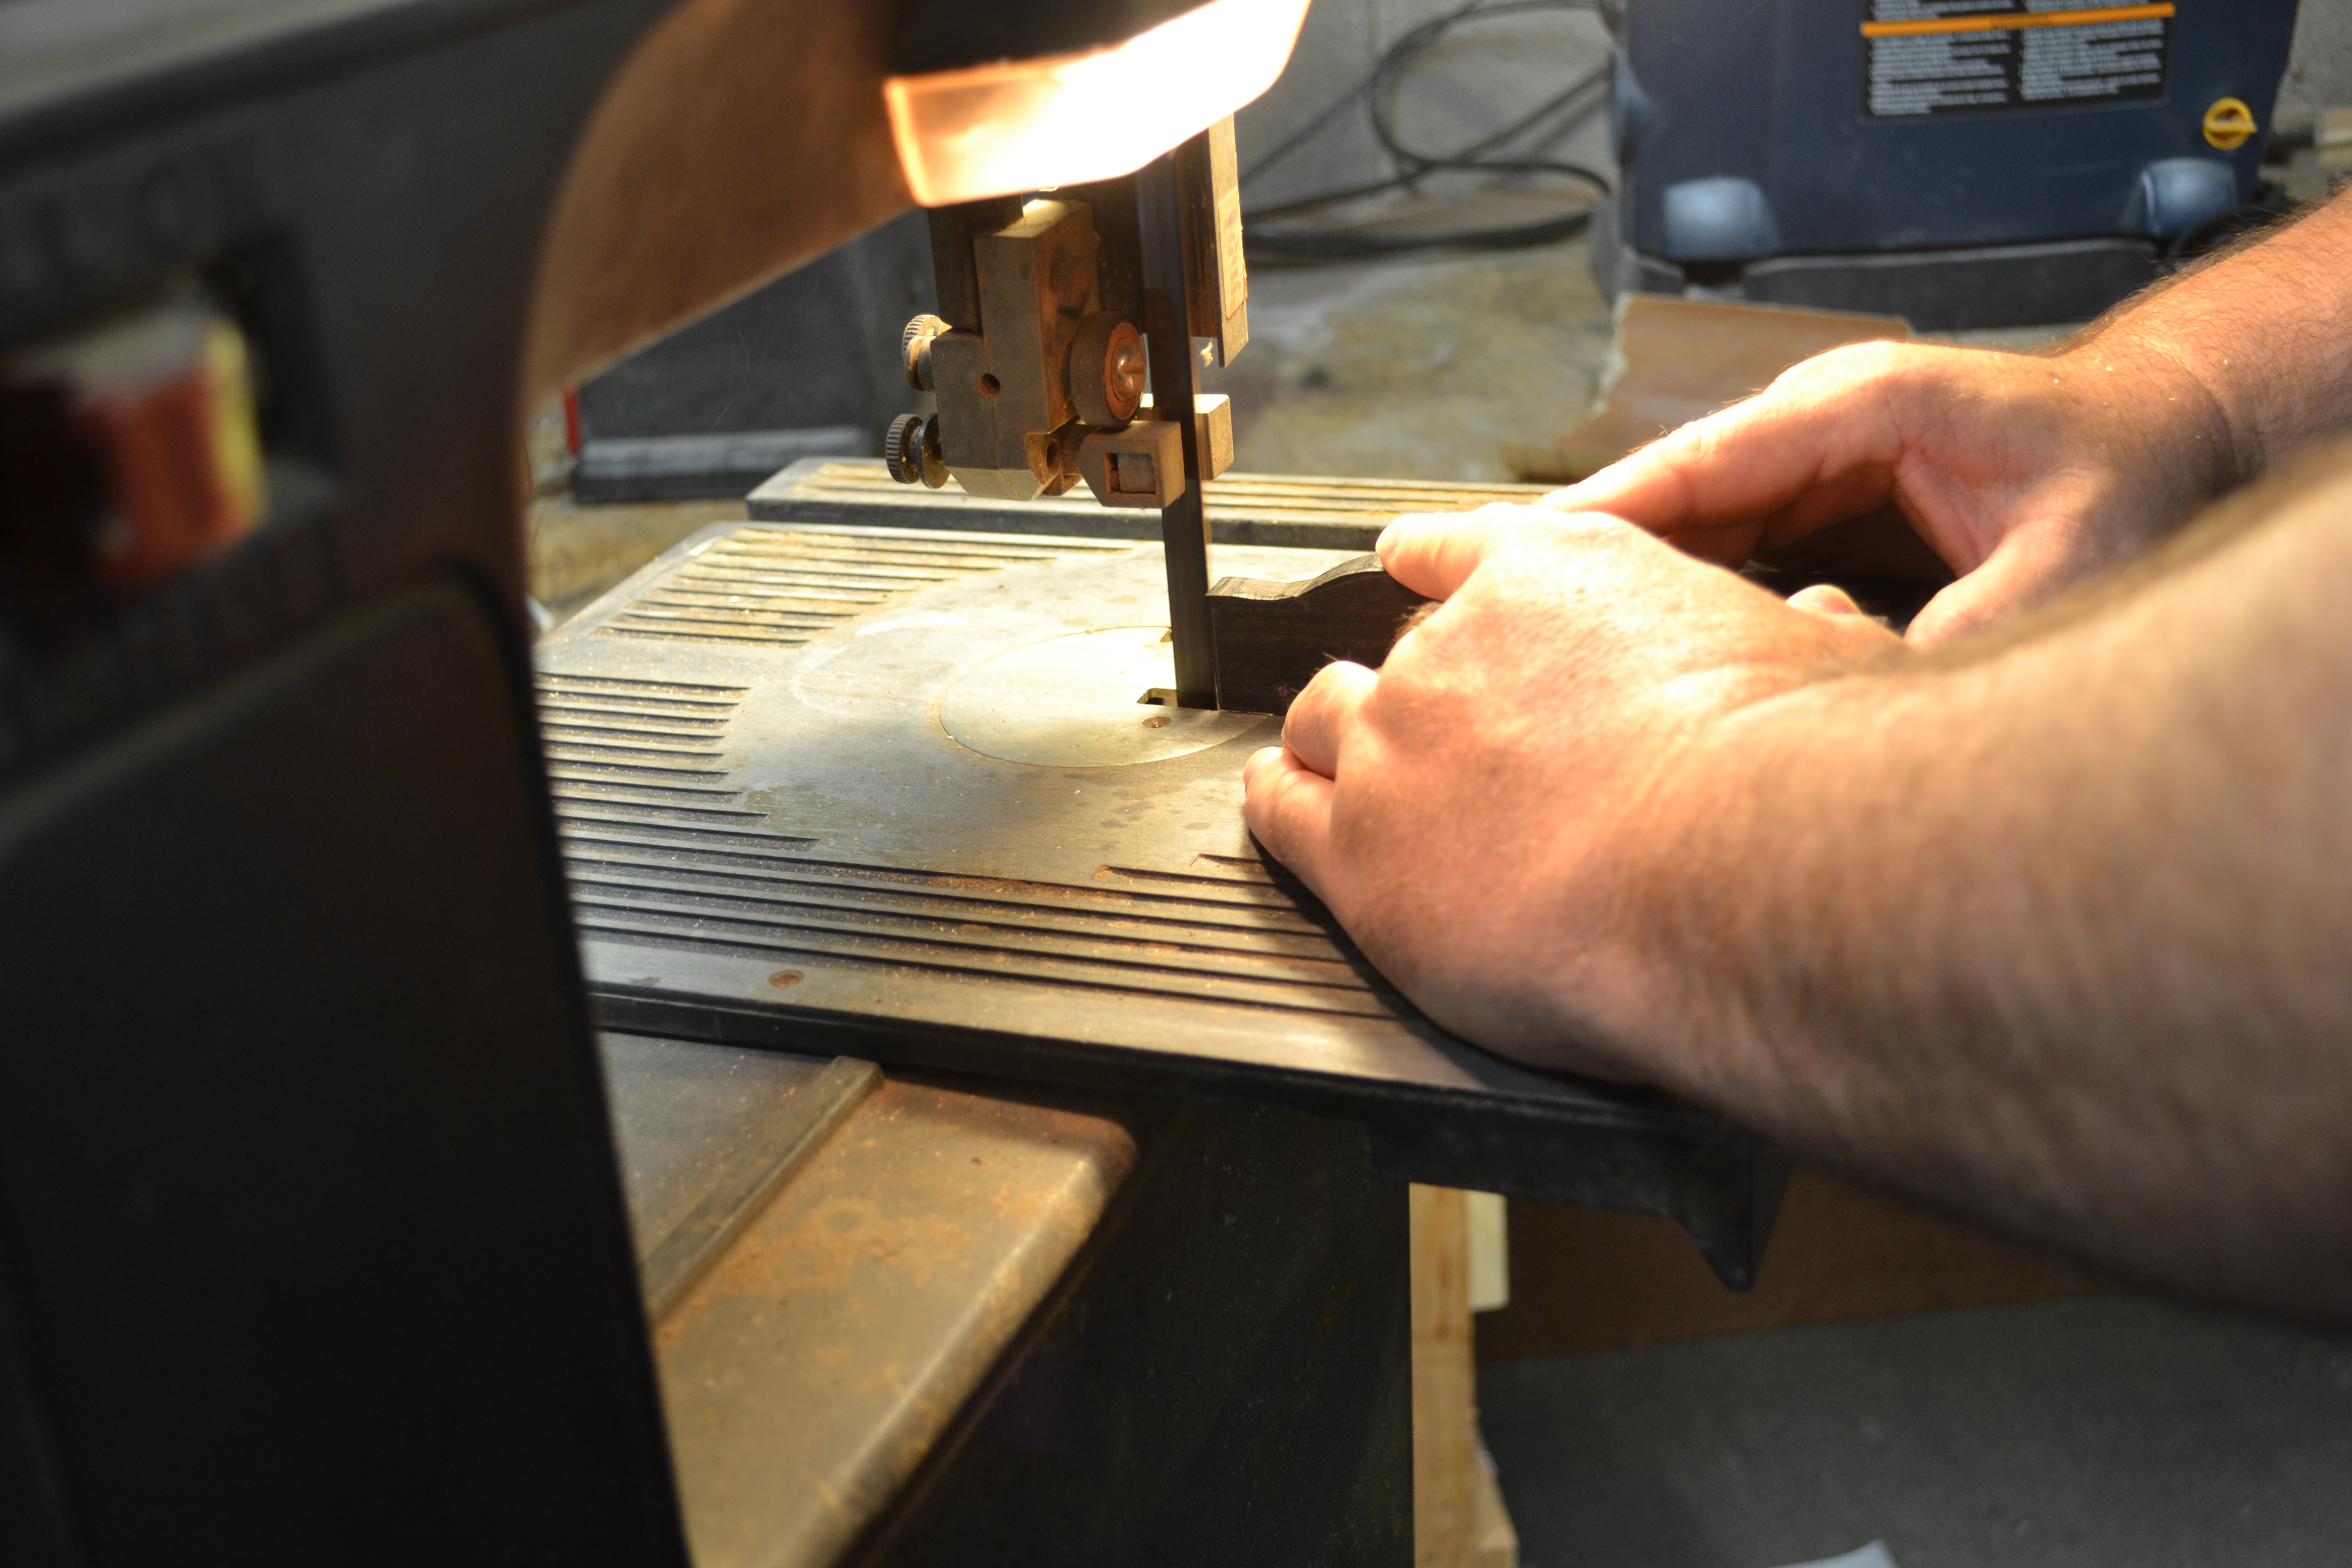
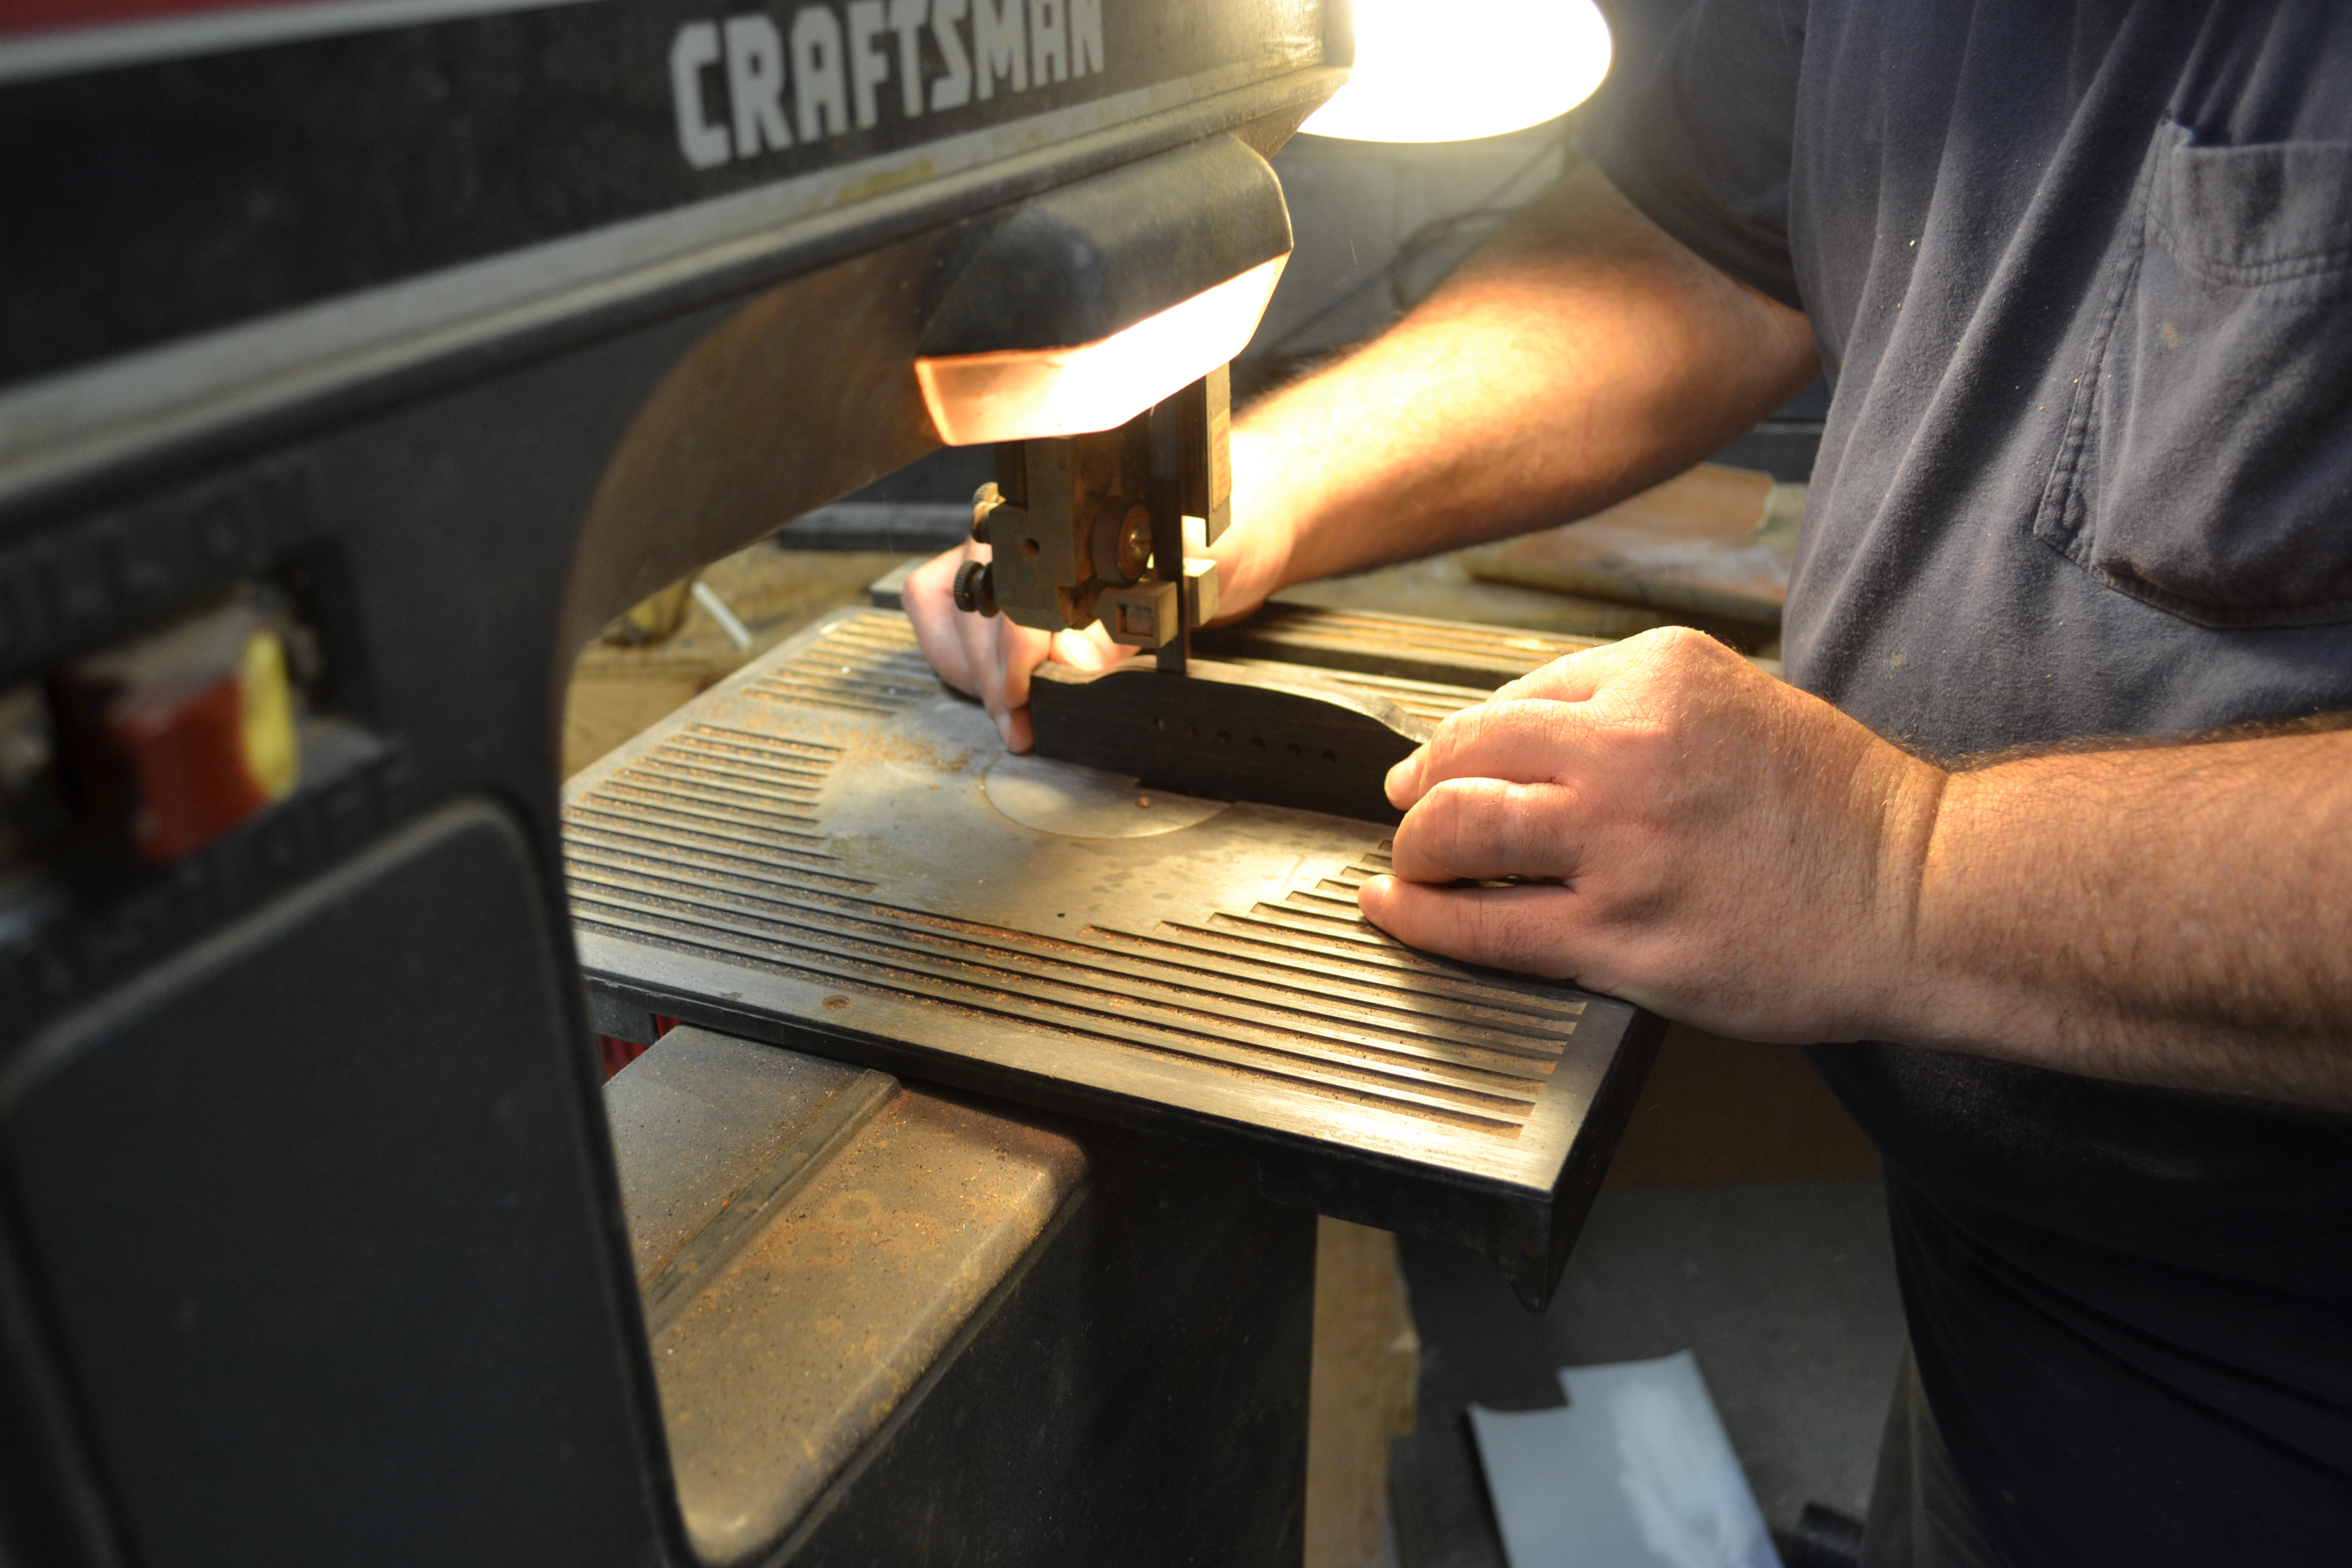
Once the bridge pin holes and accurately drilled and the profile has traced and cut out slightly over, the rest of the shaping. I trace the top profile and cut it out a little over sized. You have to work carefully when doing this as your fingers are working in close proximity to a sharp blade.
 |
 |
 |
 |
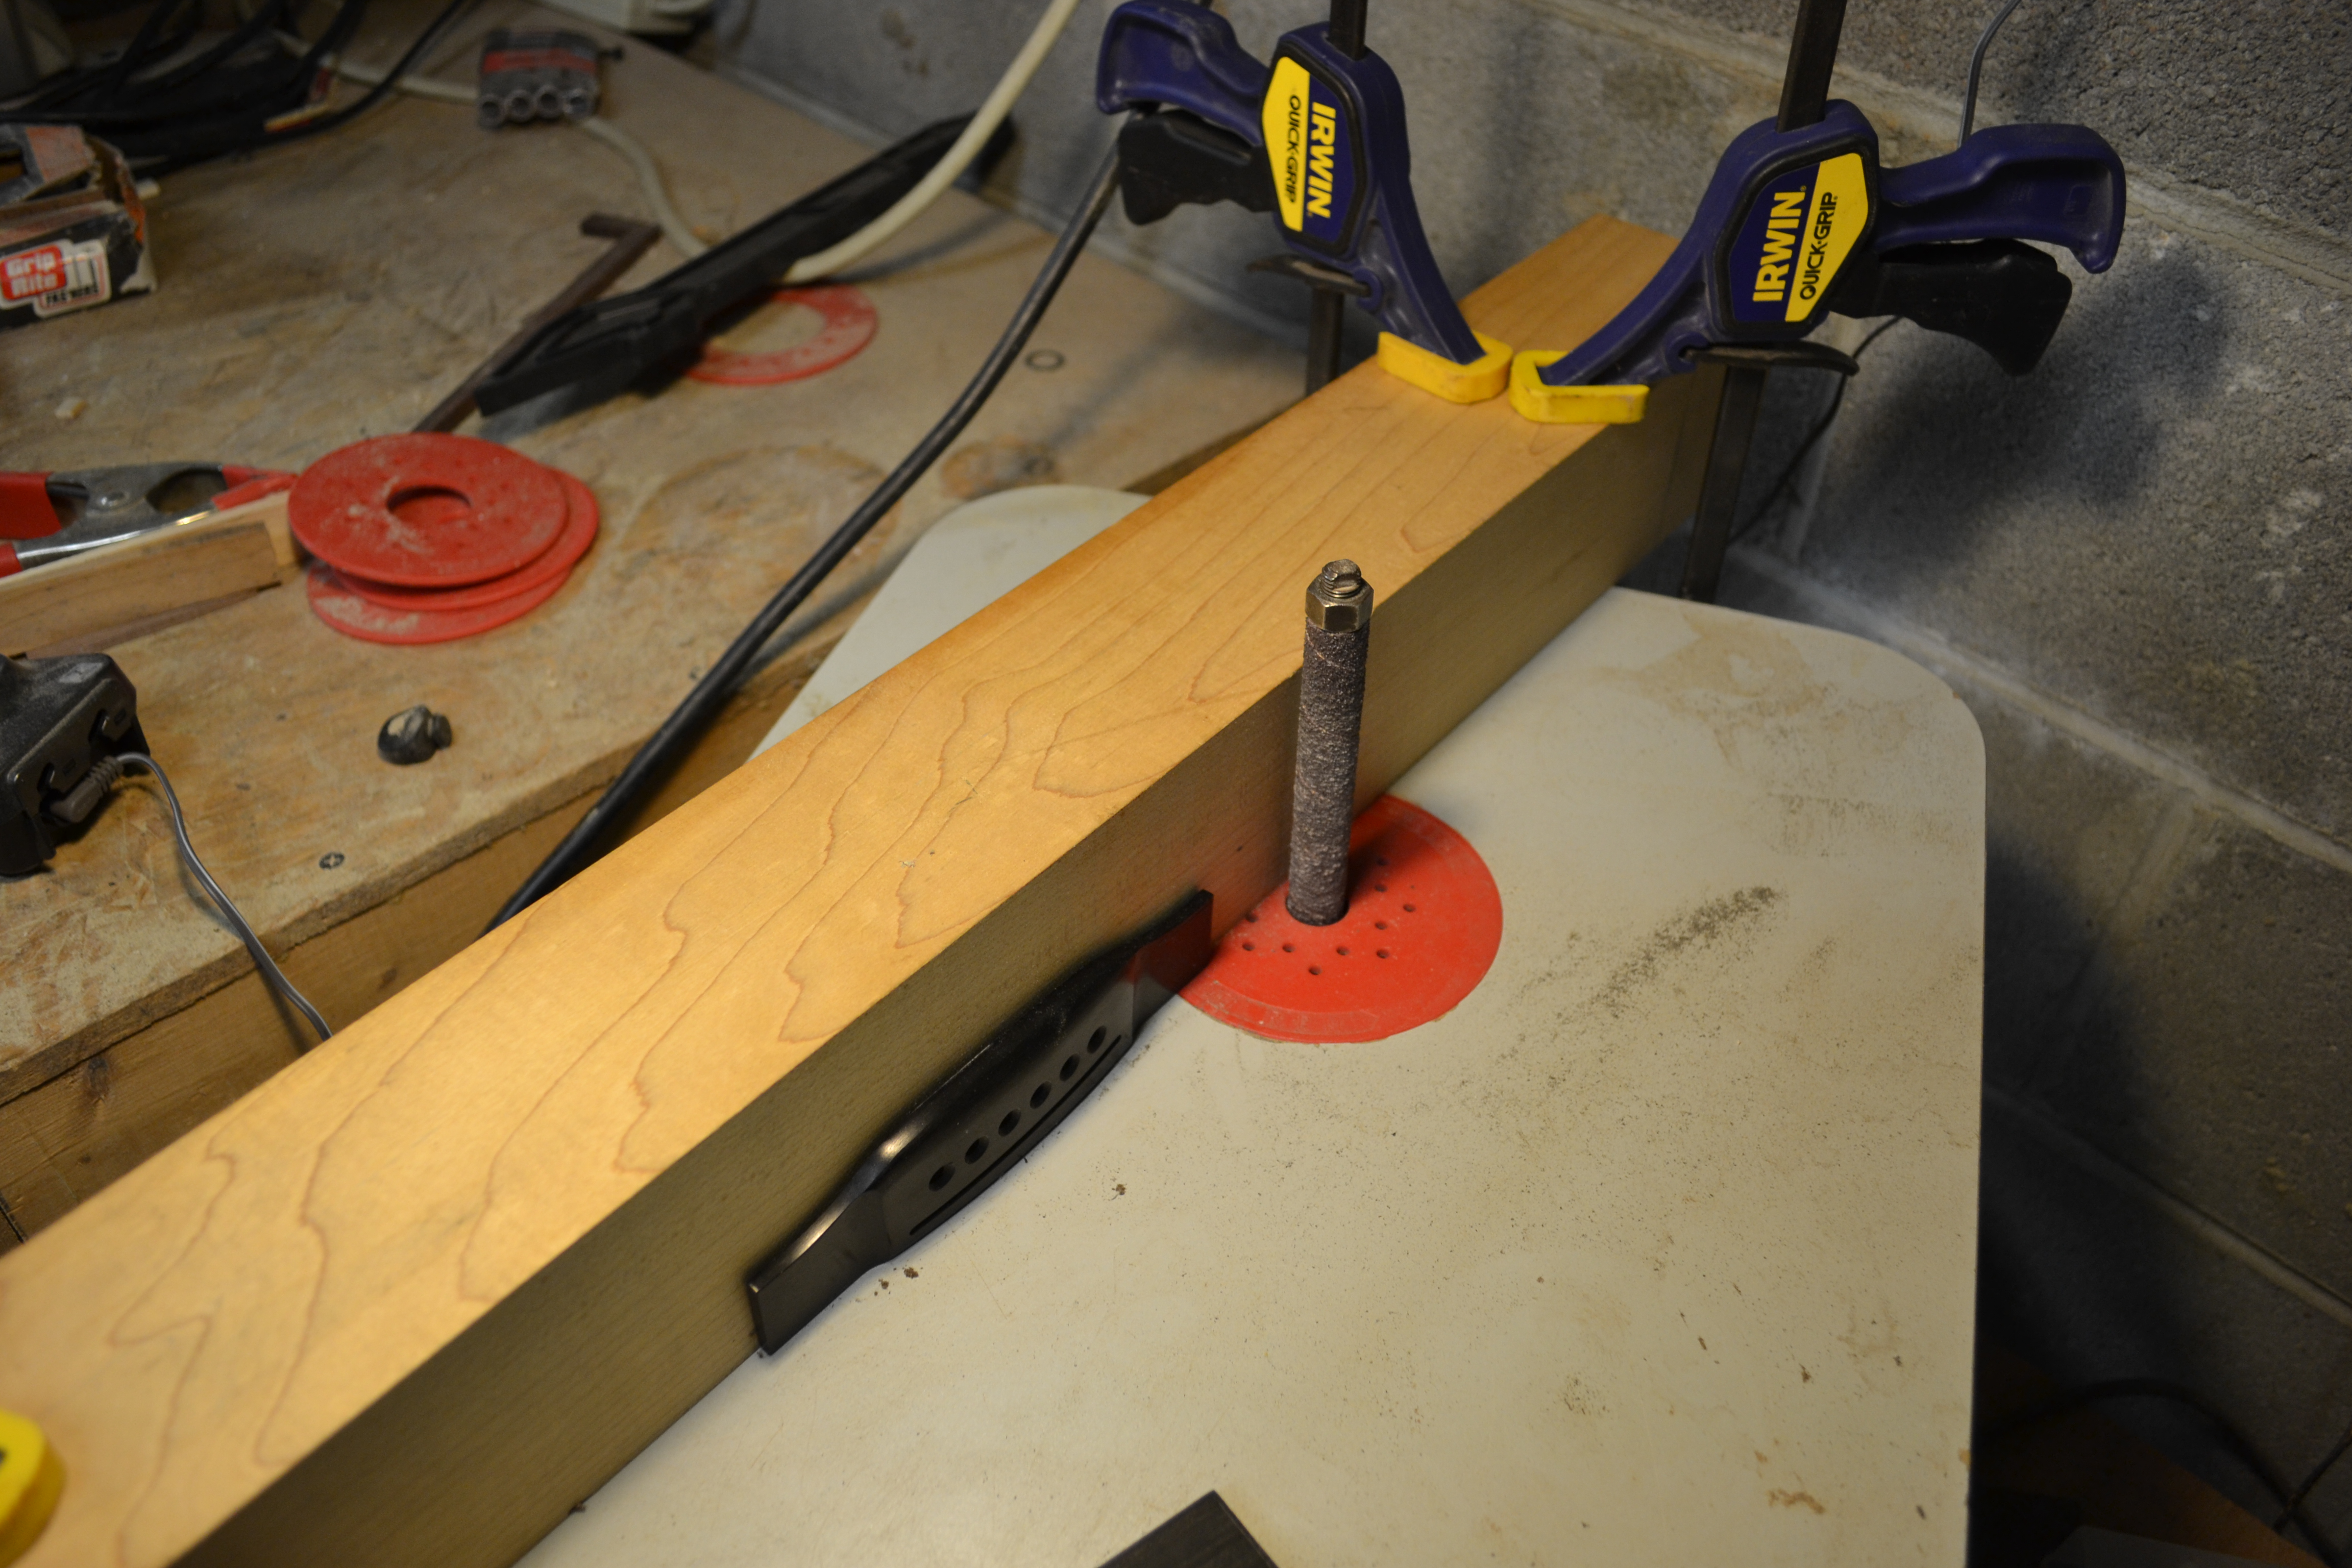
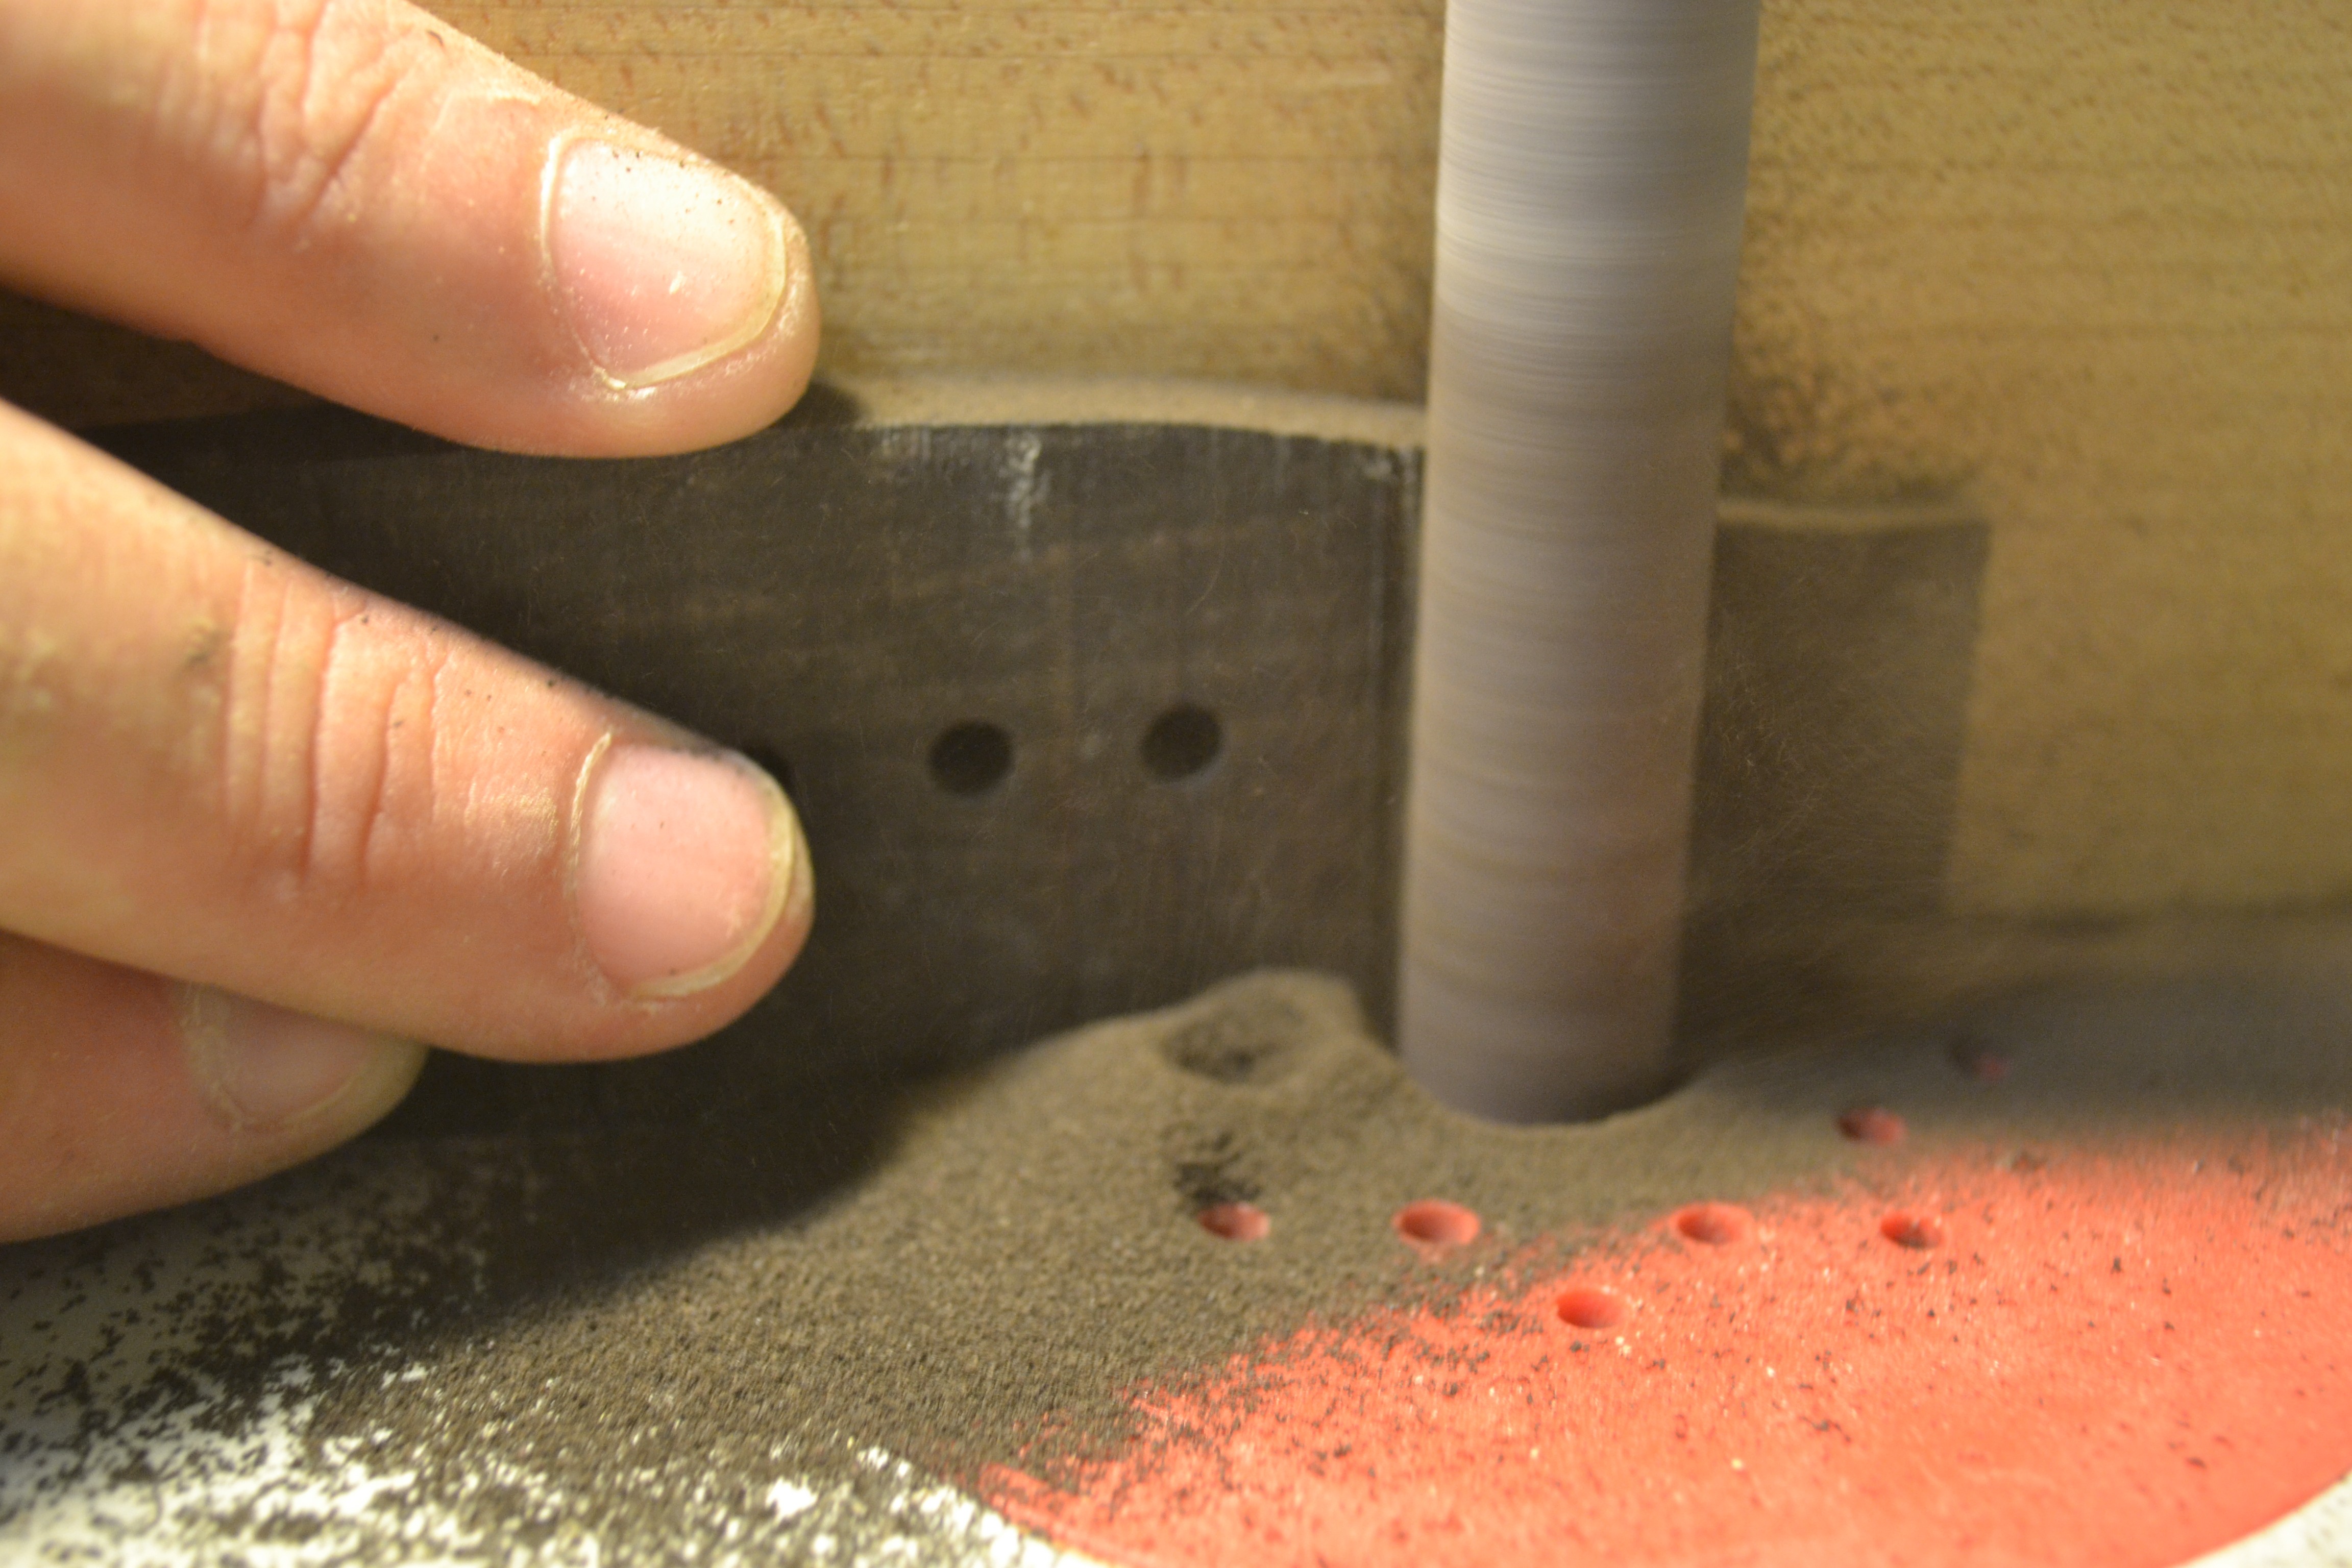
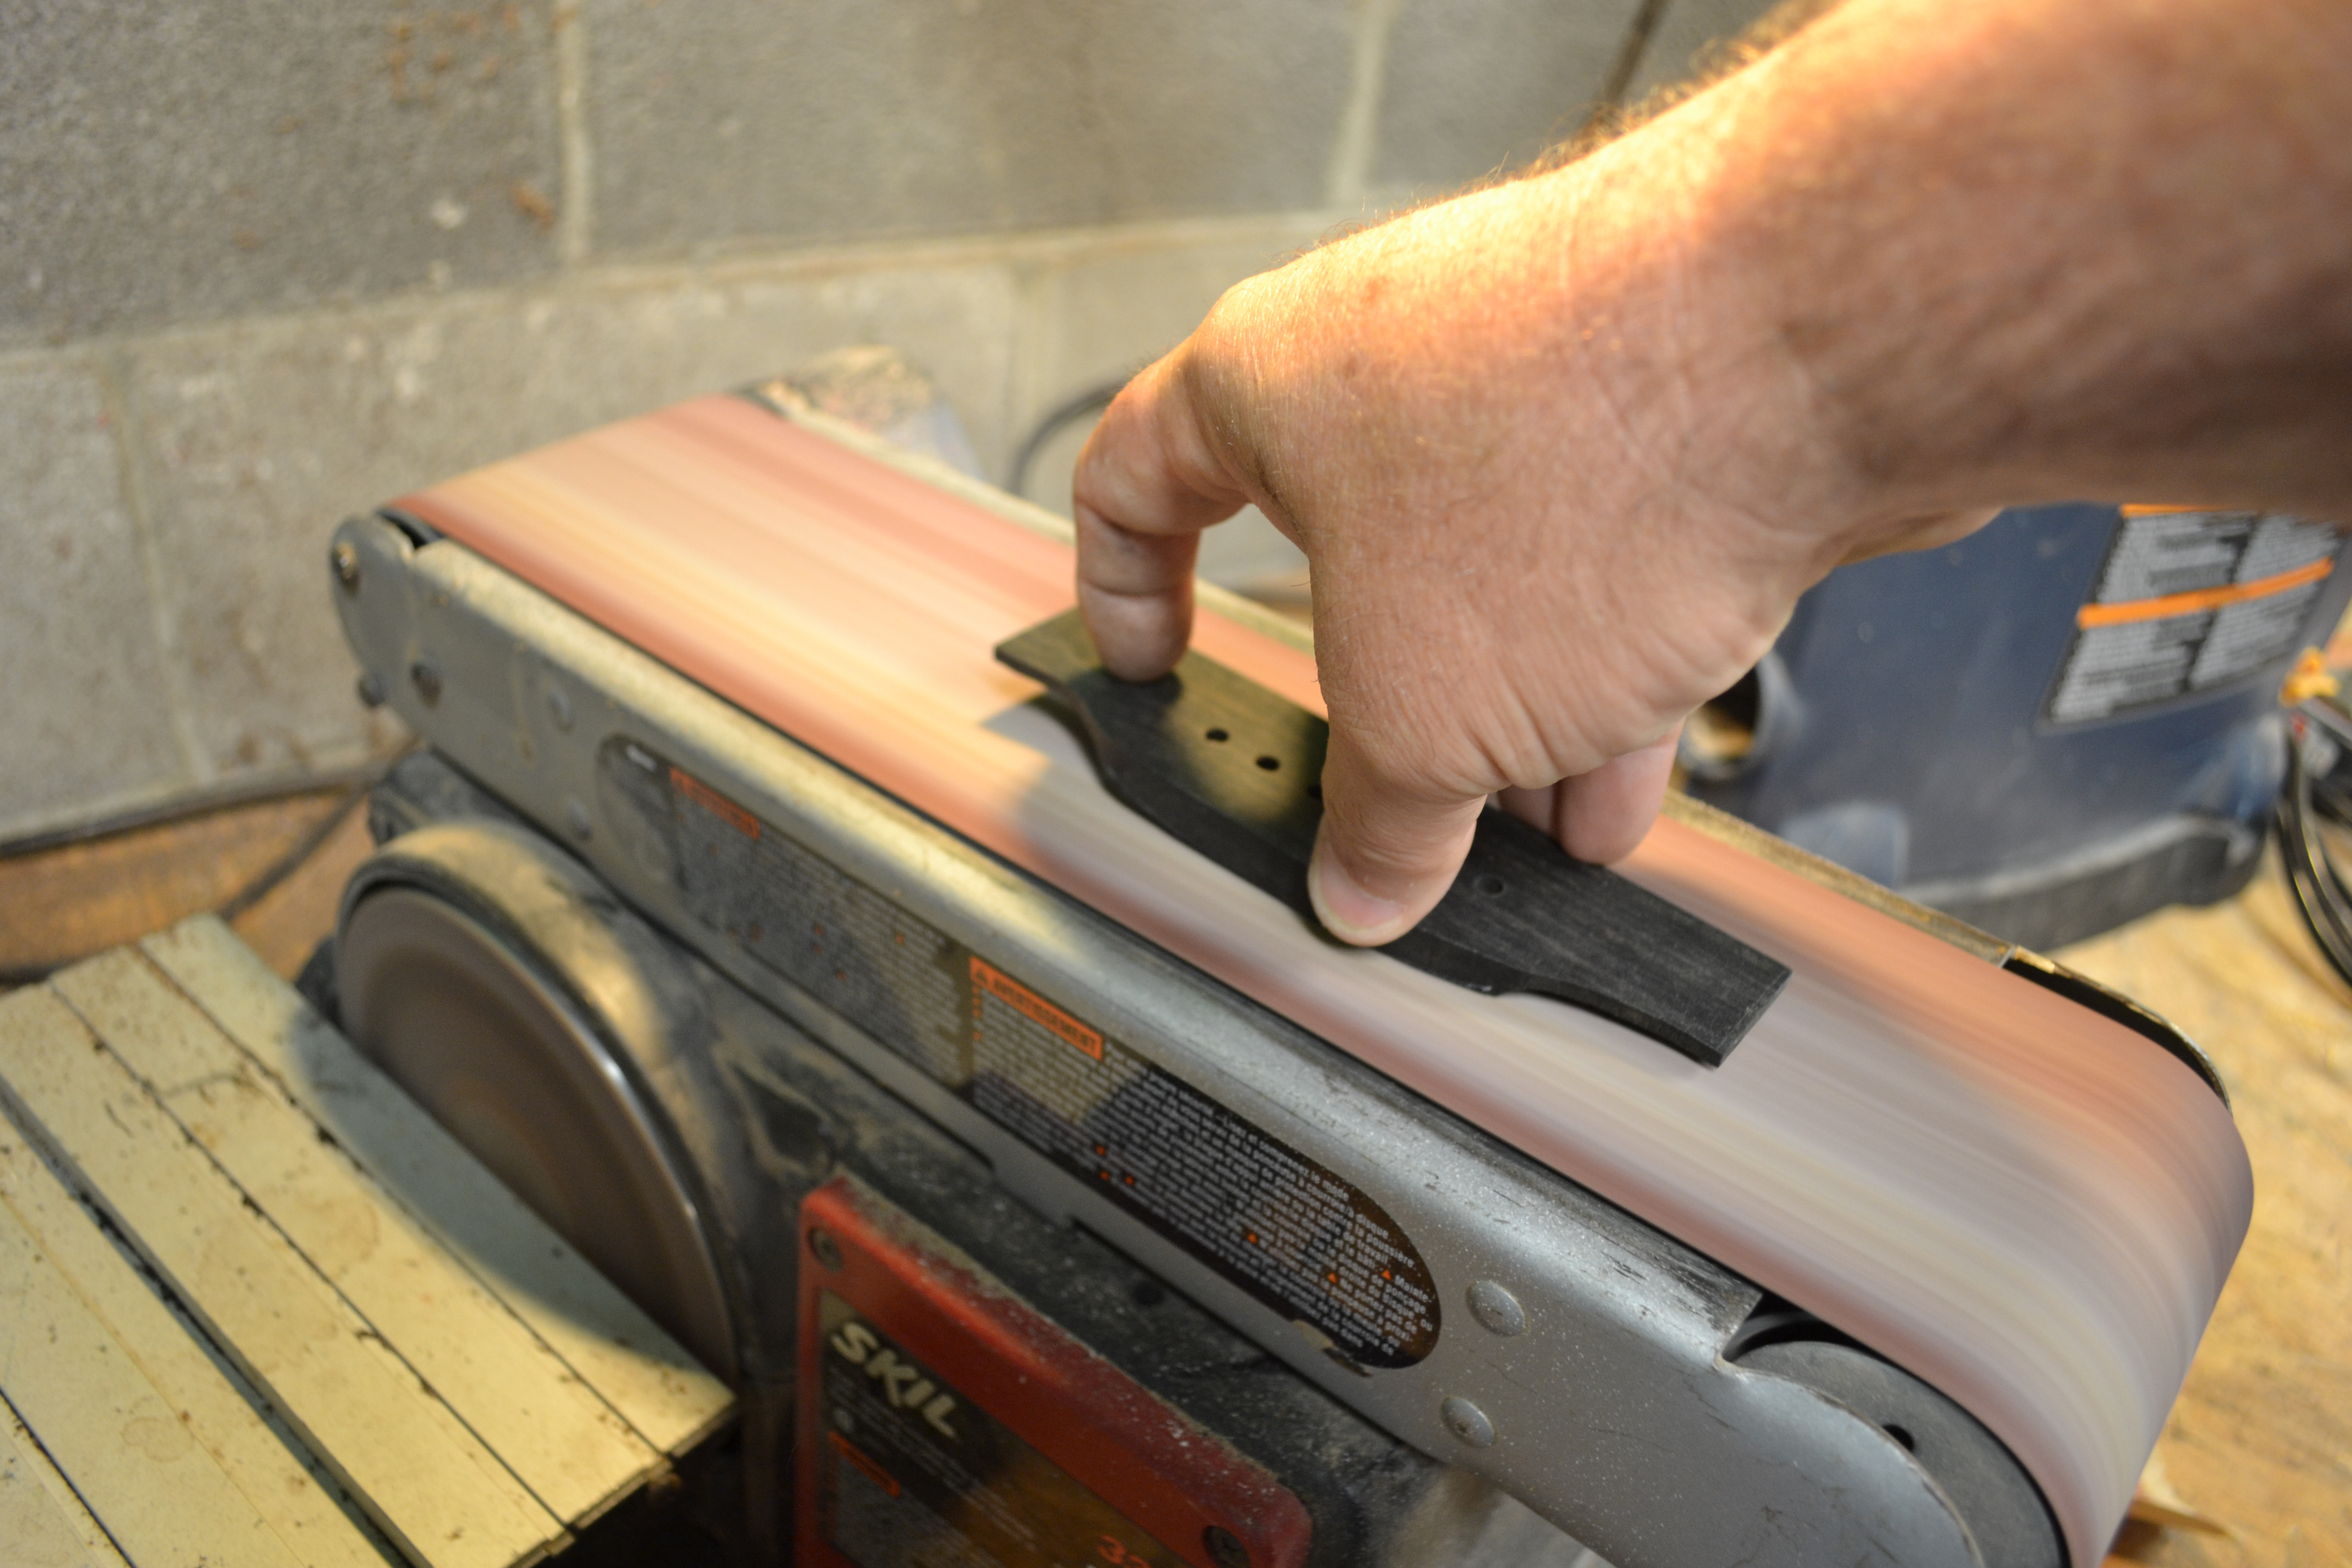
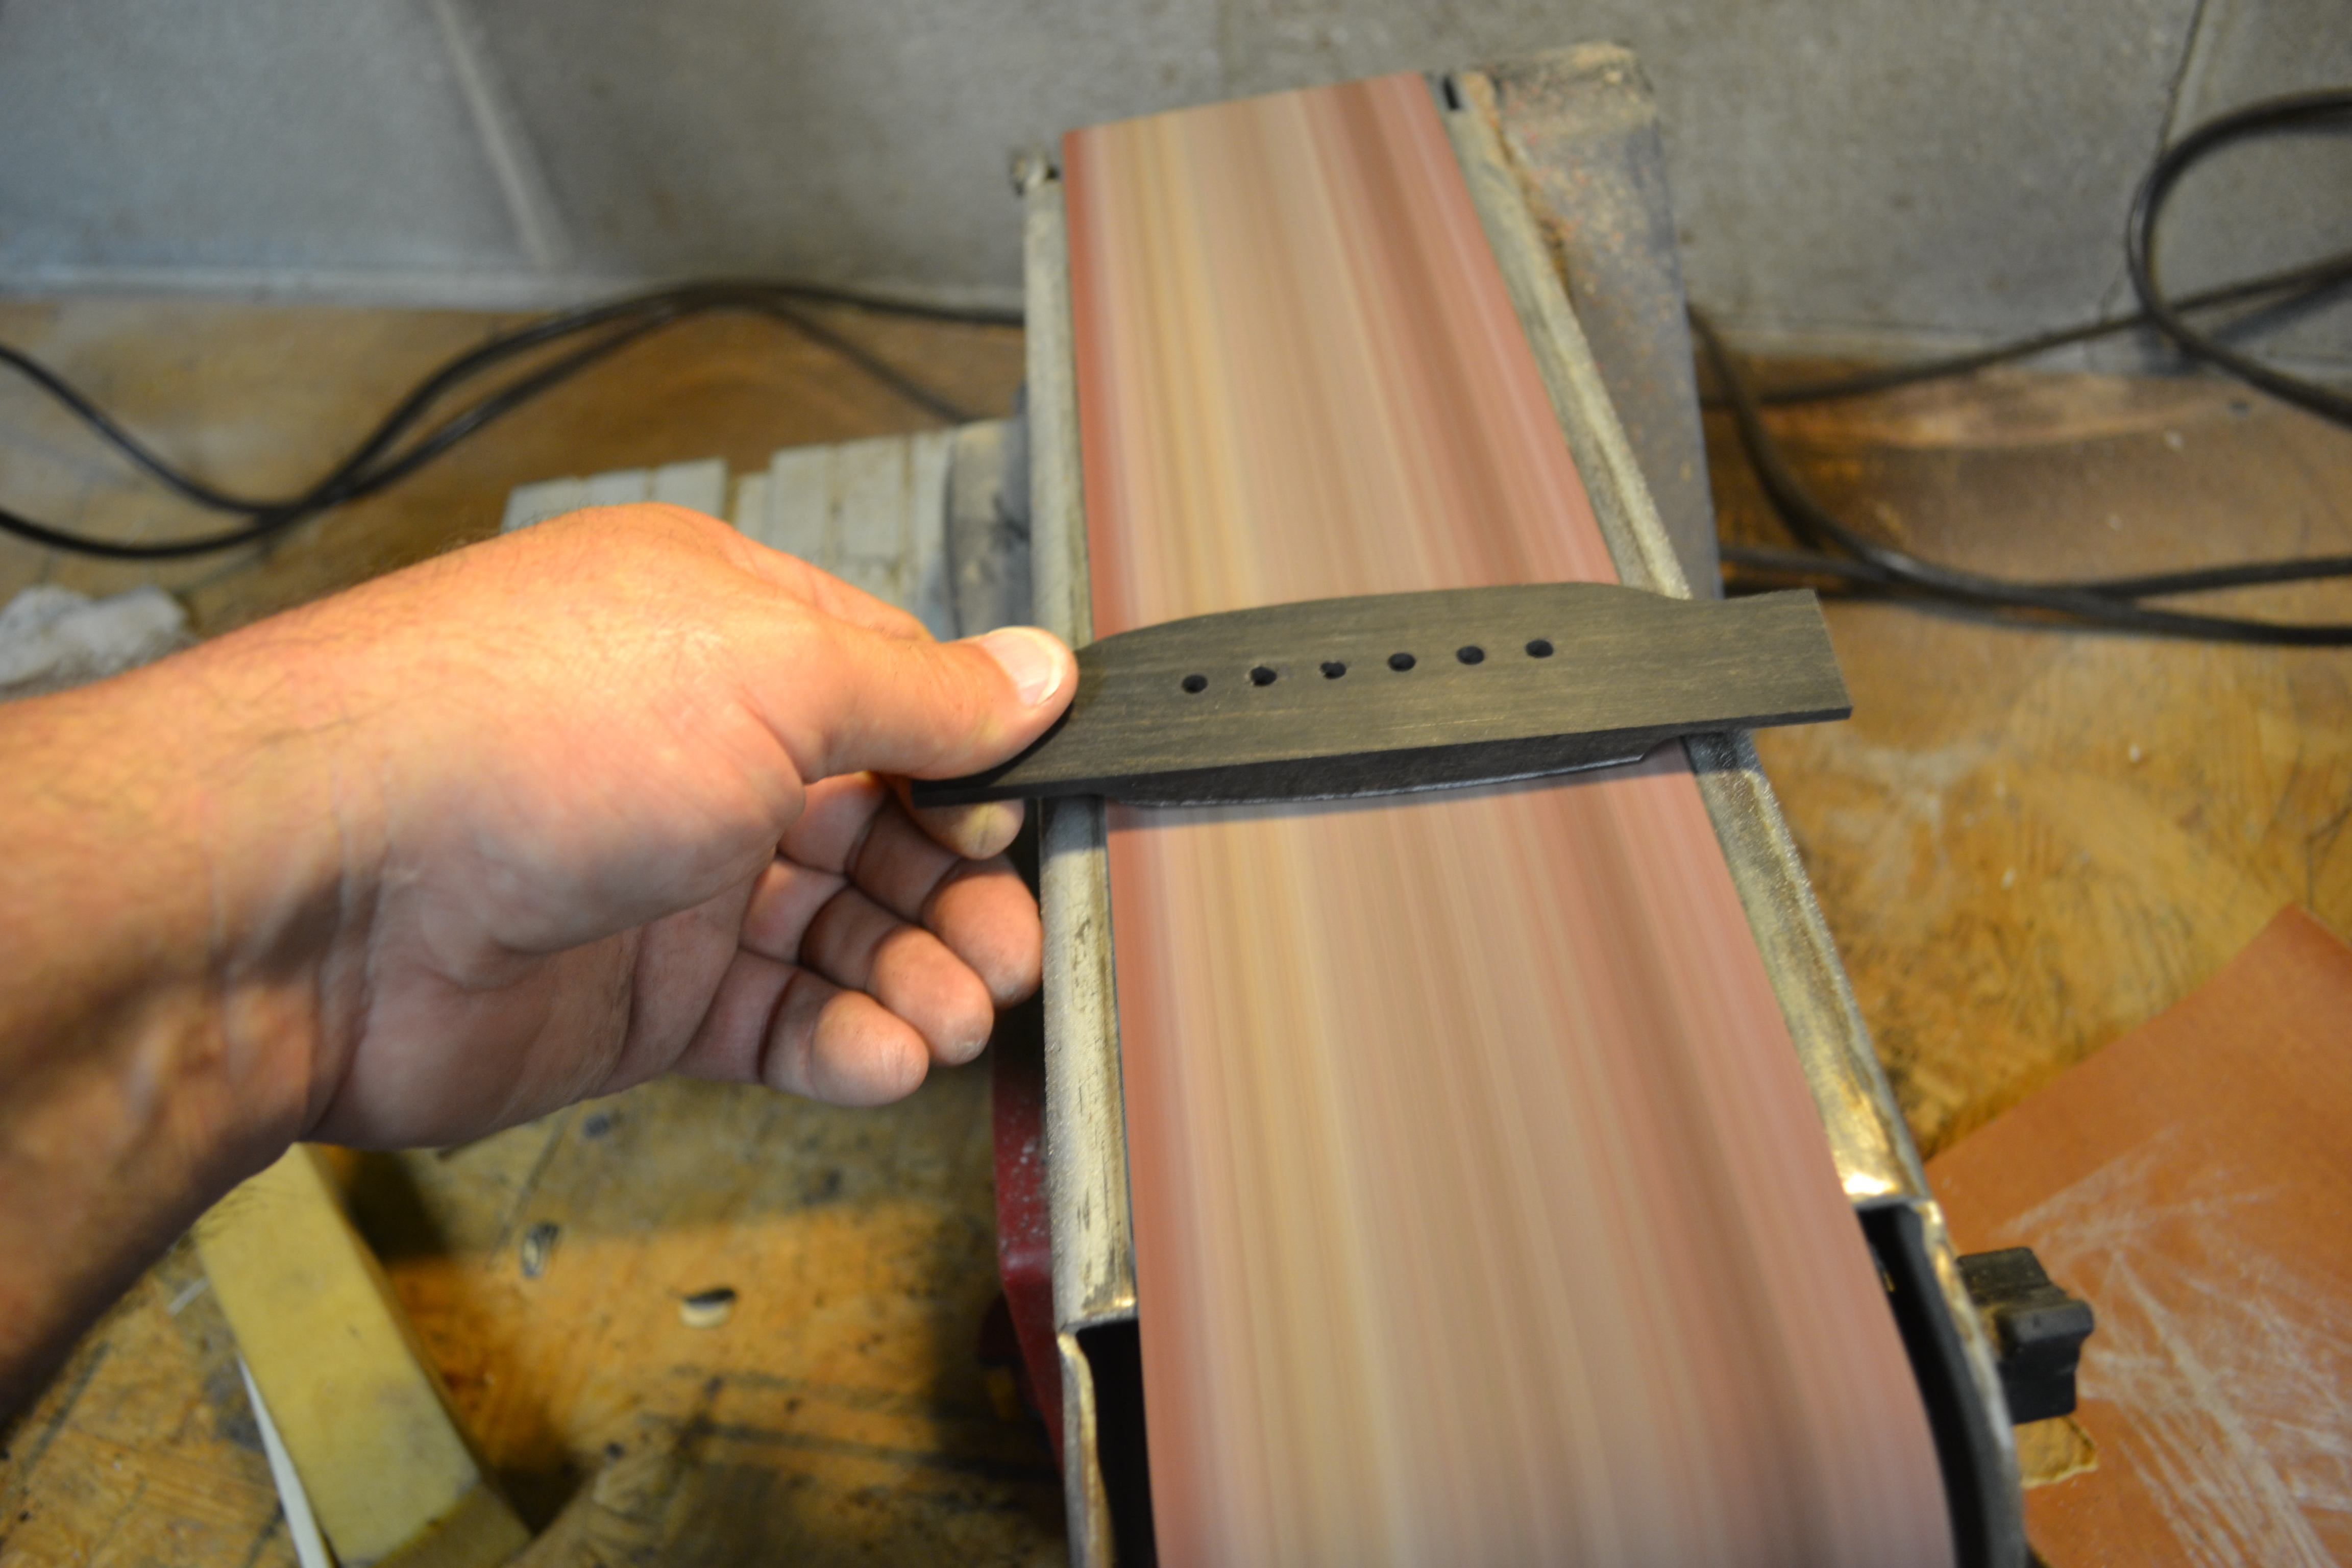
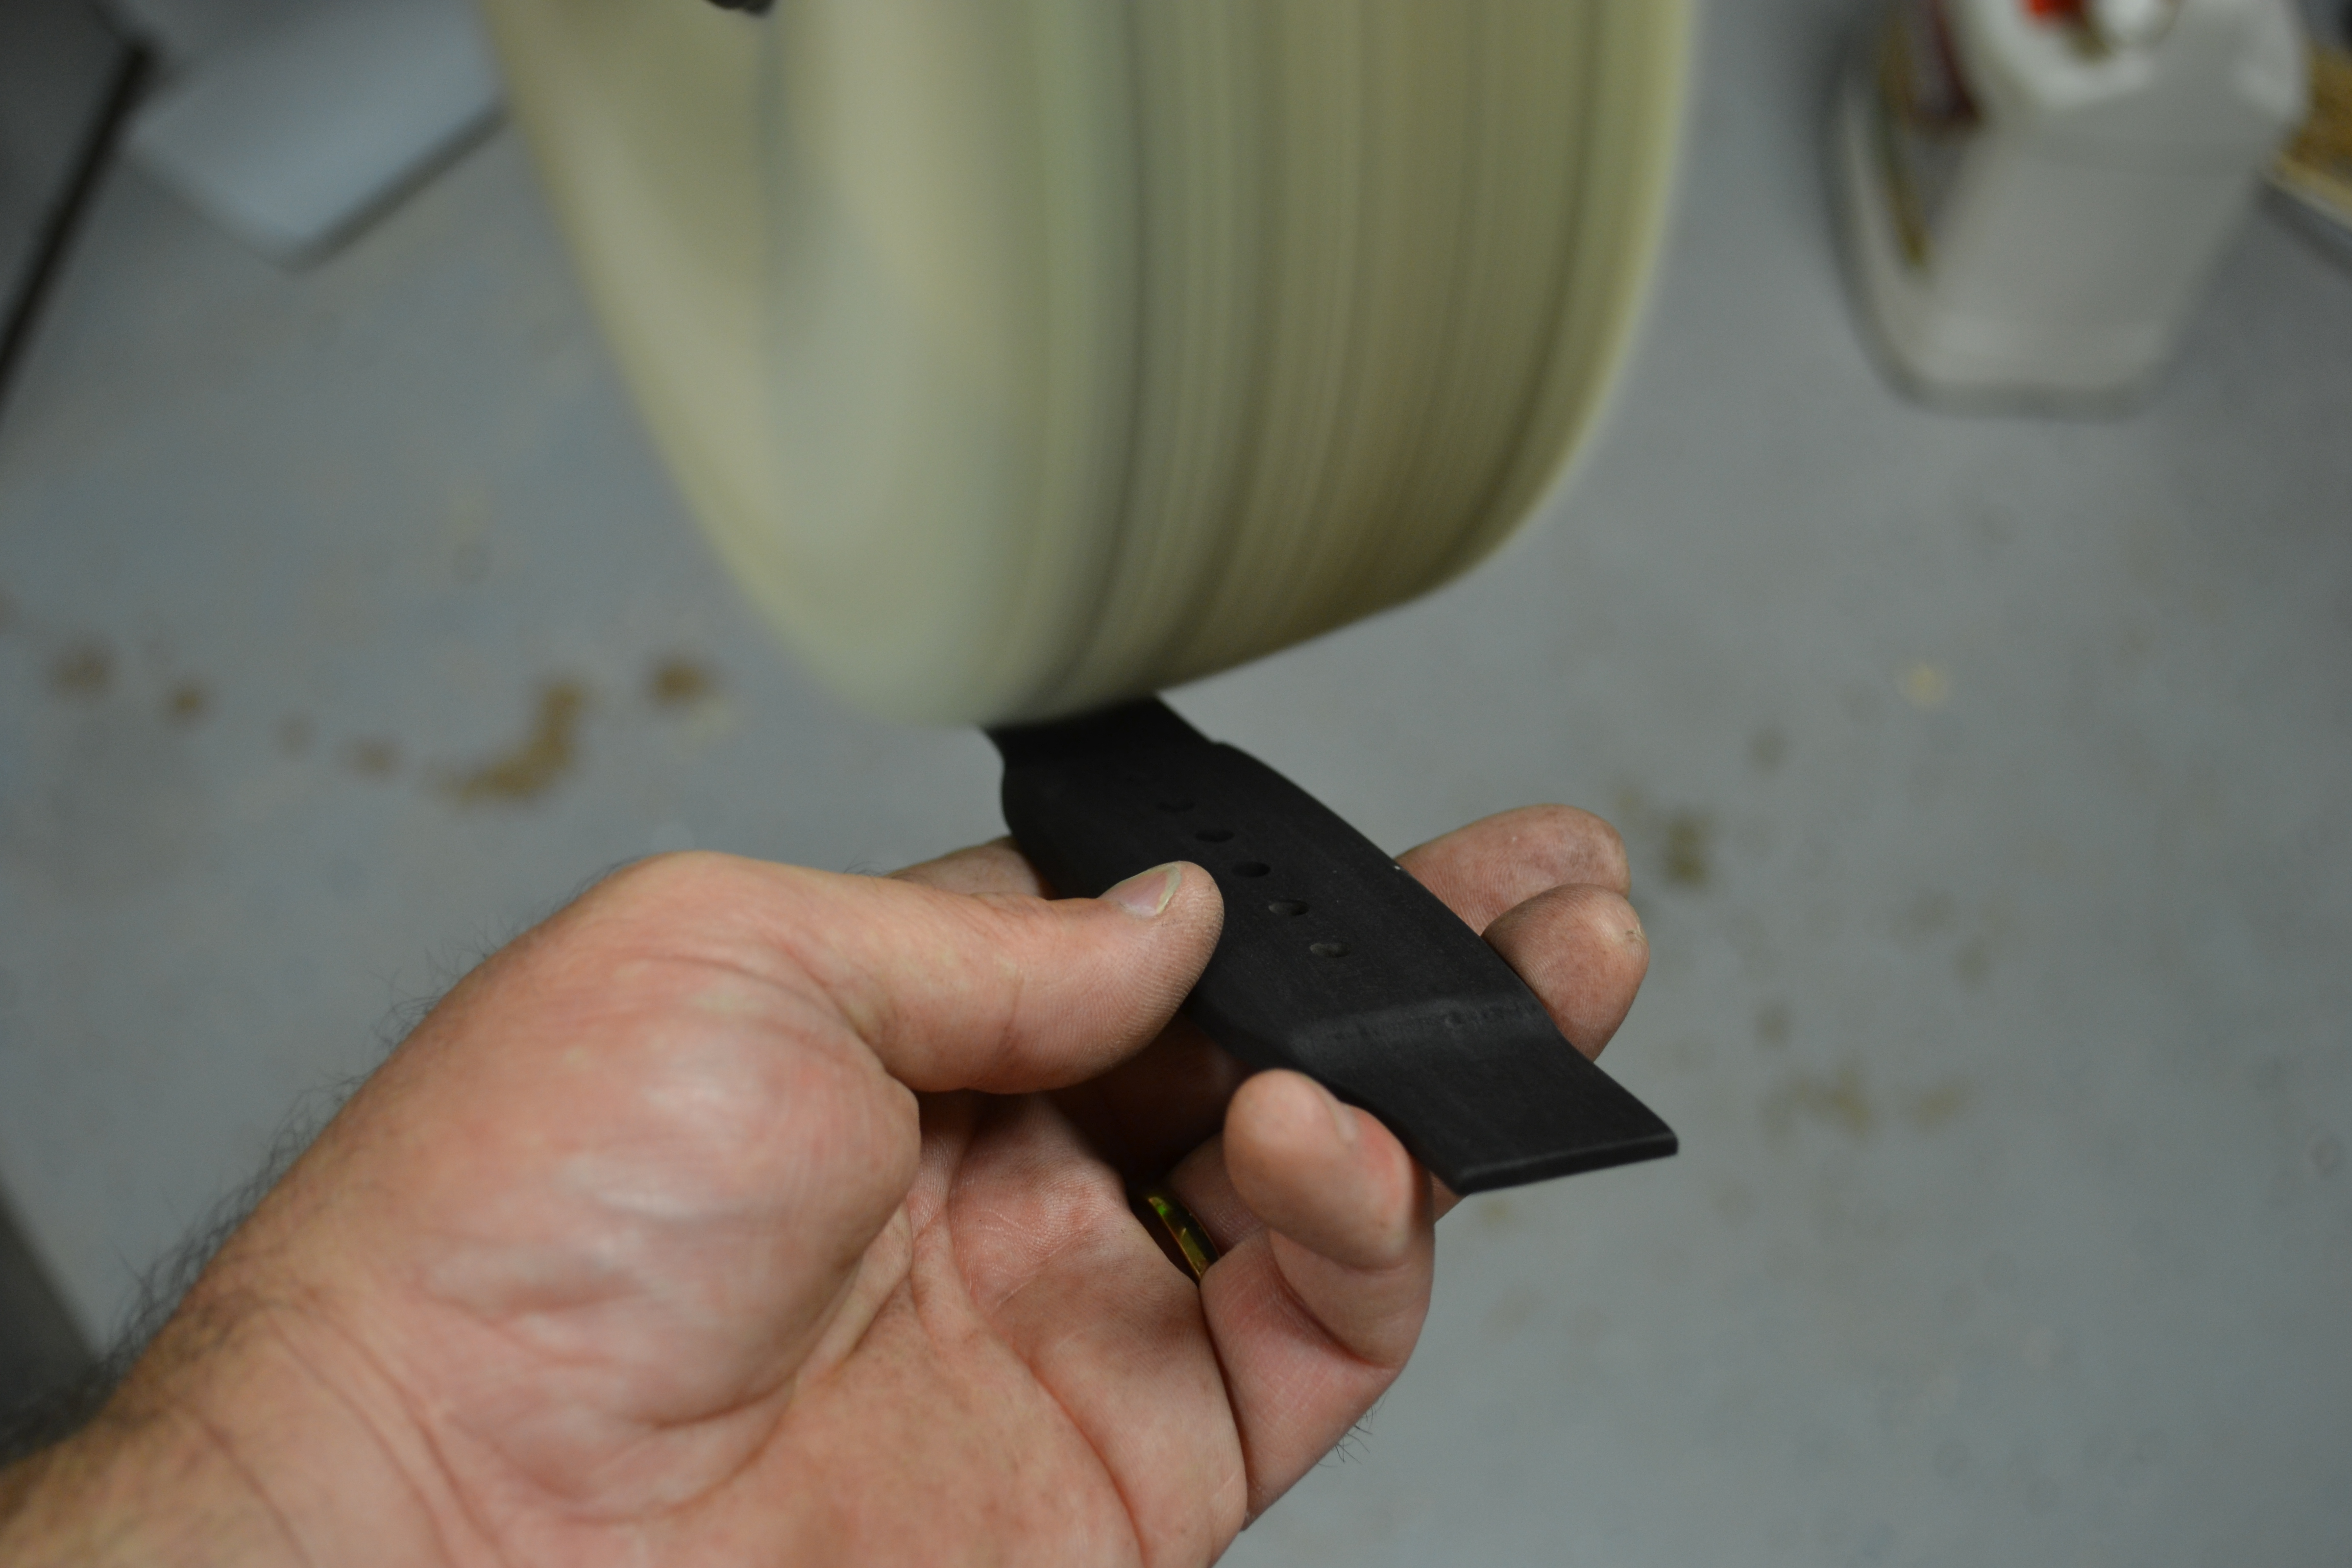
After the top profile is cut out a little oversized, I set up a wooden fence on my oscillating spindle sander with a course, 60 grit, 1/2″ sleeve and set the fence to match the height of the old bridge. I mark the bridge blank with a grease pencil so that I know exactly where to stop and then I size both bridge wings. After that I make certain that the bottom of the bridge is flat by using the bench sander and 60 grit as well. The speed at which they run doesn’t leave as rough a finish as you may think, but it does take off material pretty quickly if you allow the tool to do the work instead of pushing it.
 |
 |
 |
 |
 |
 |
 |
 |
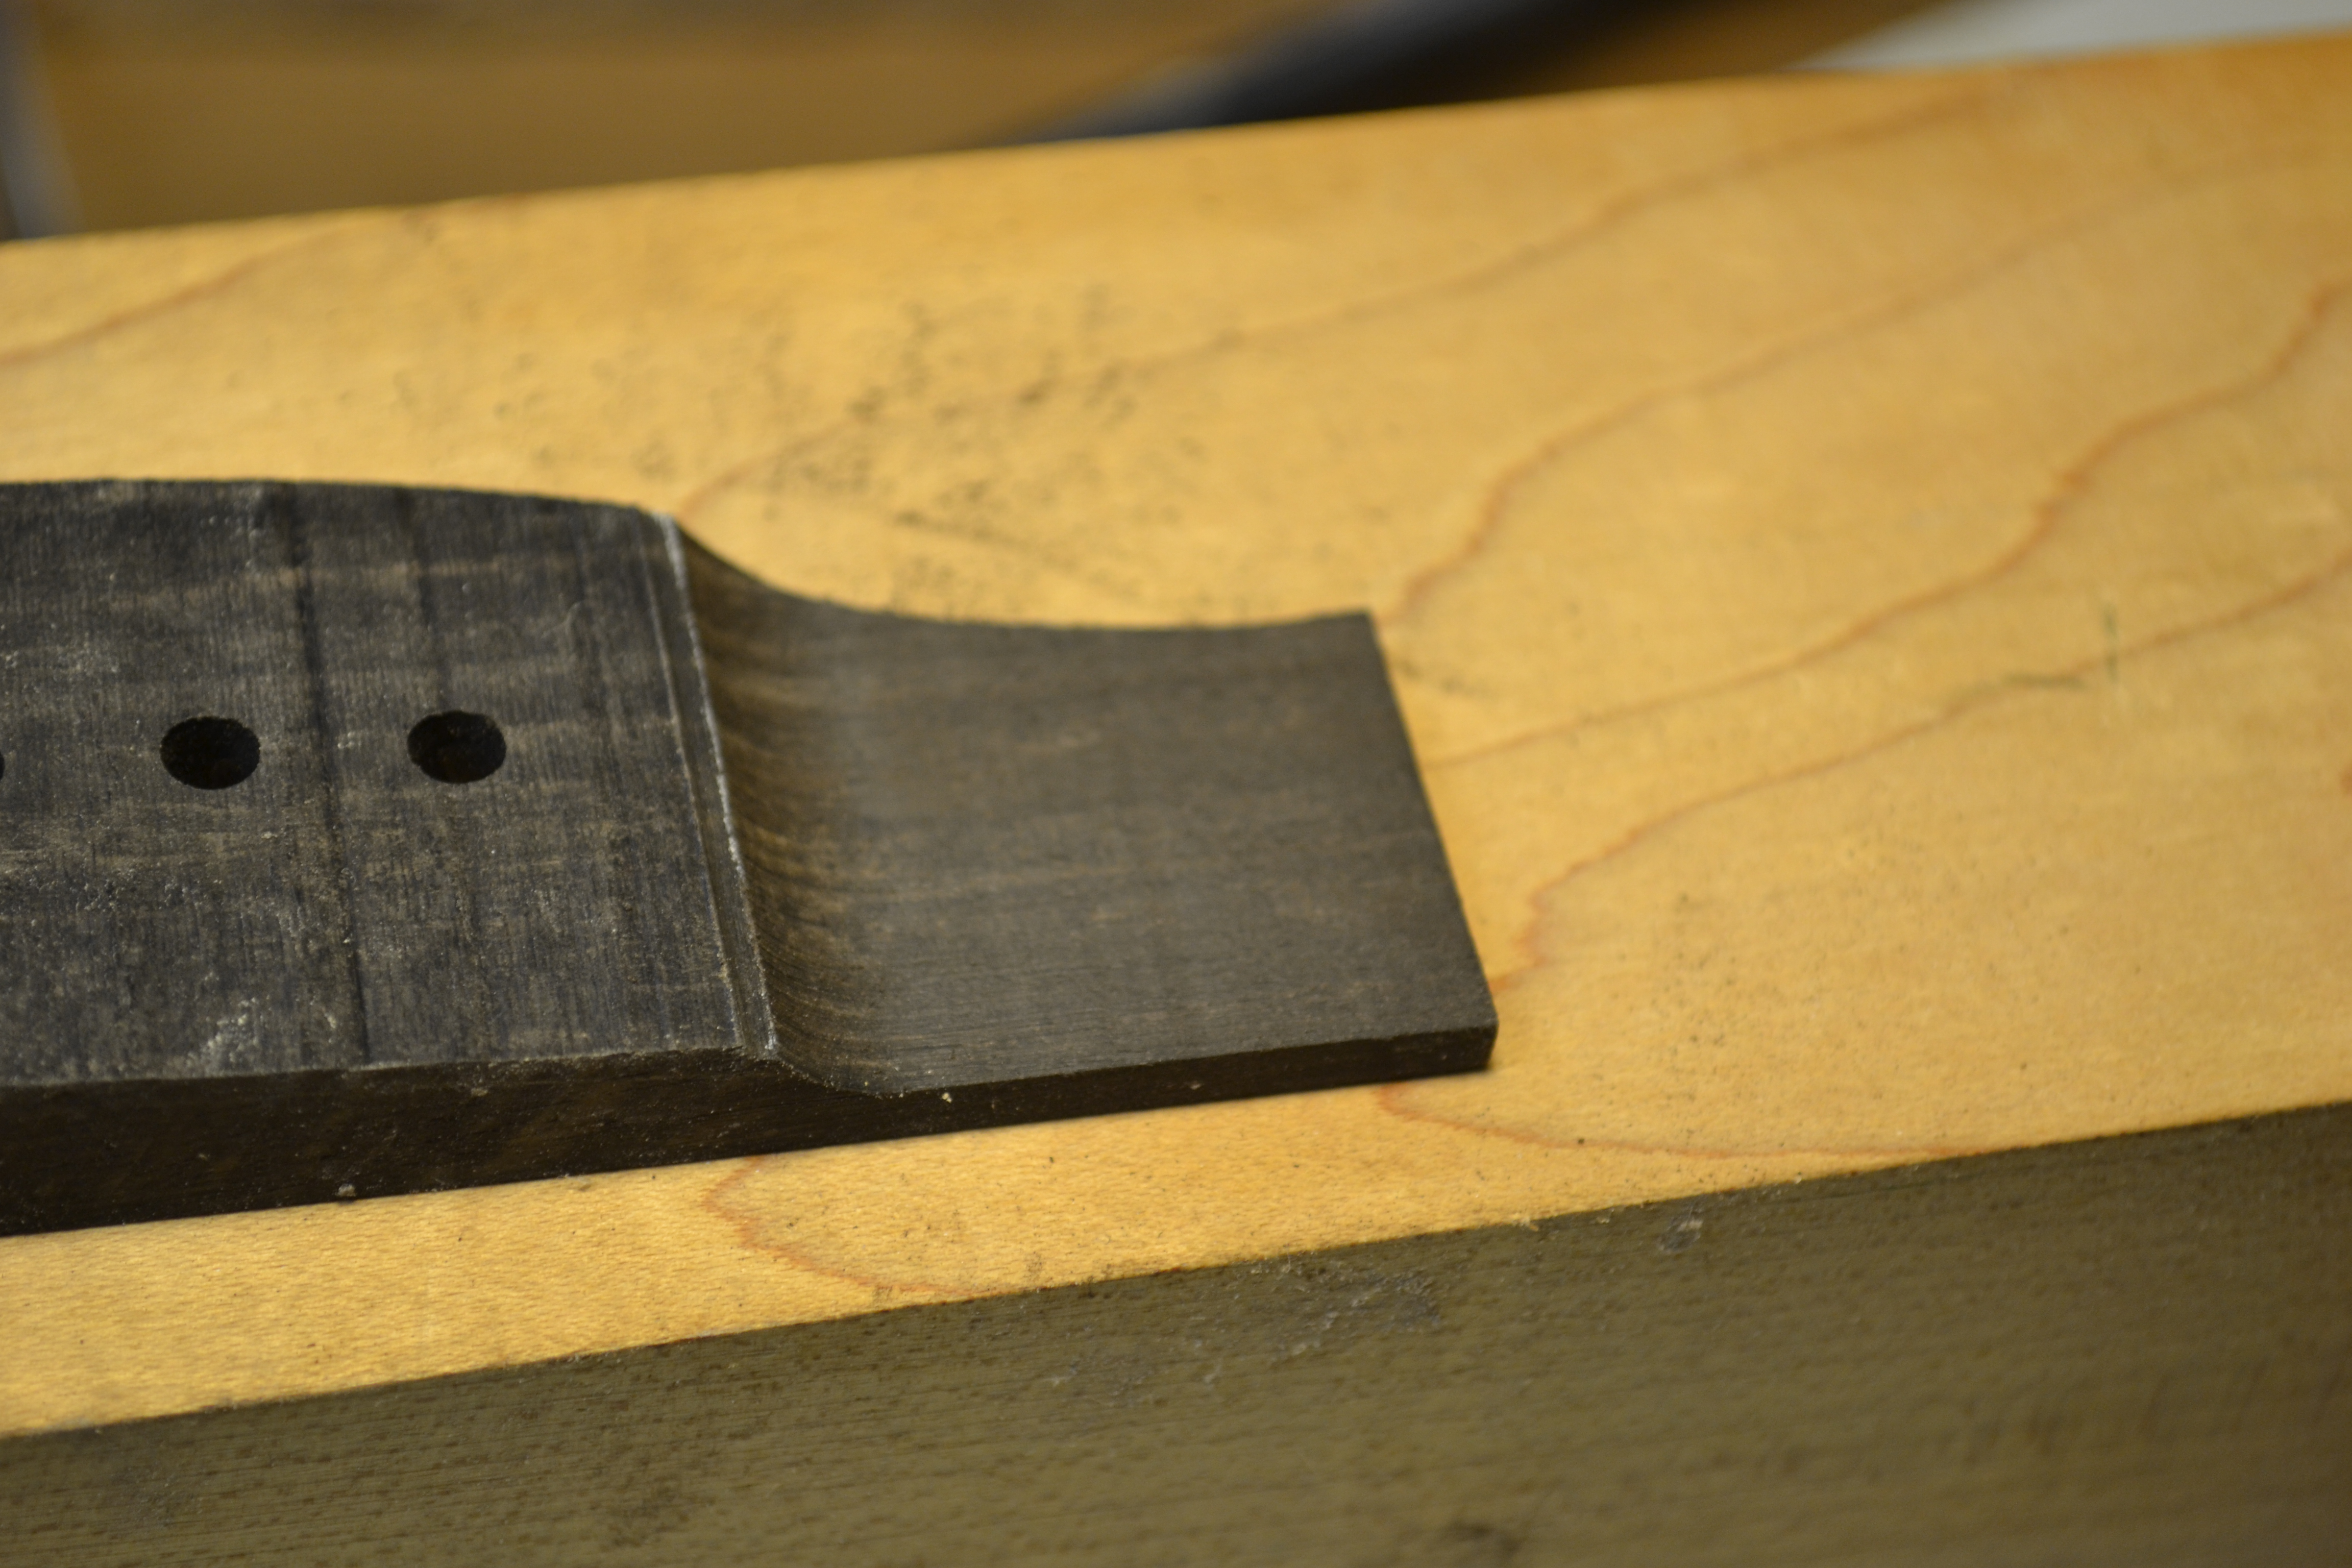
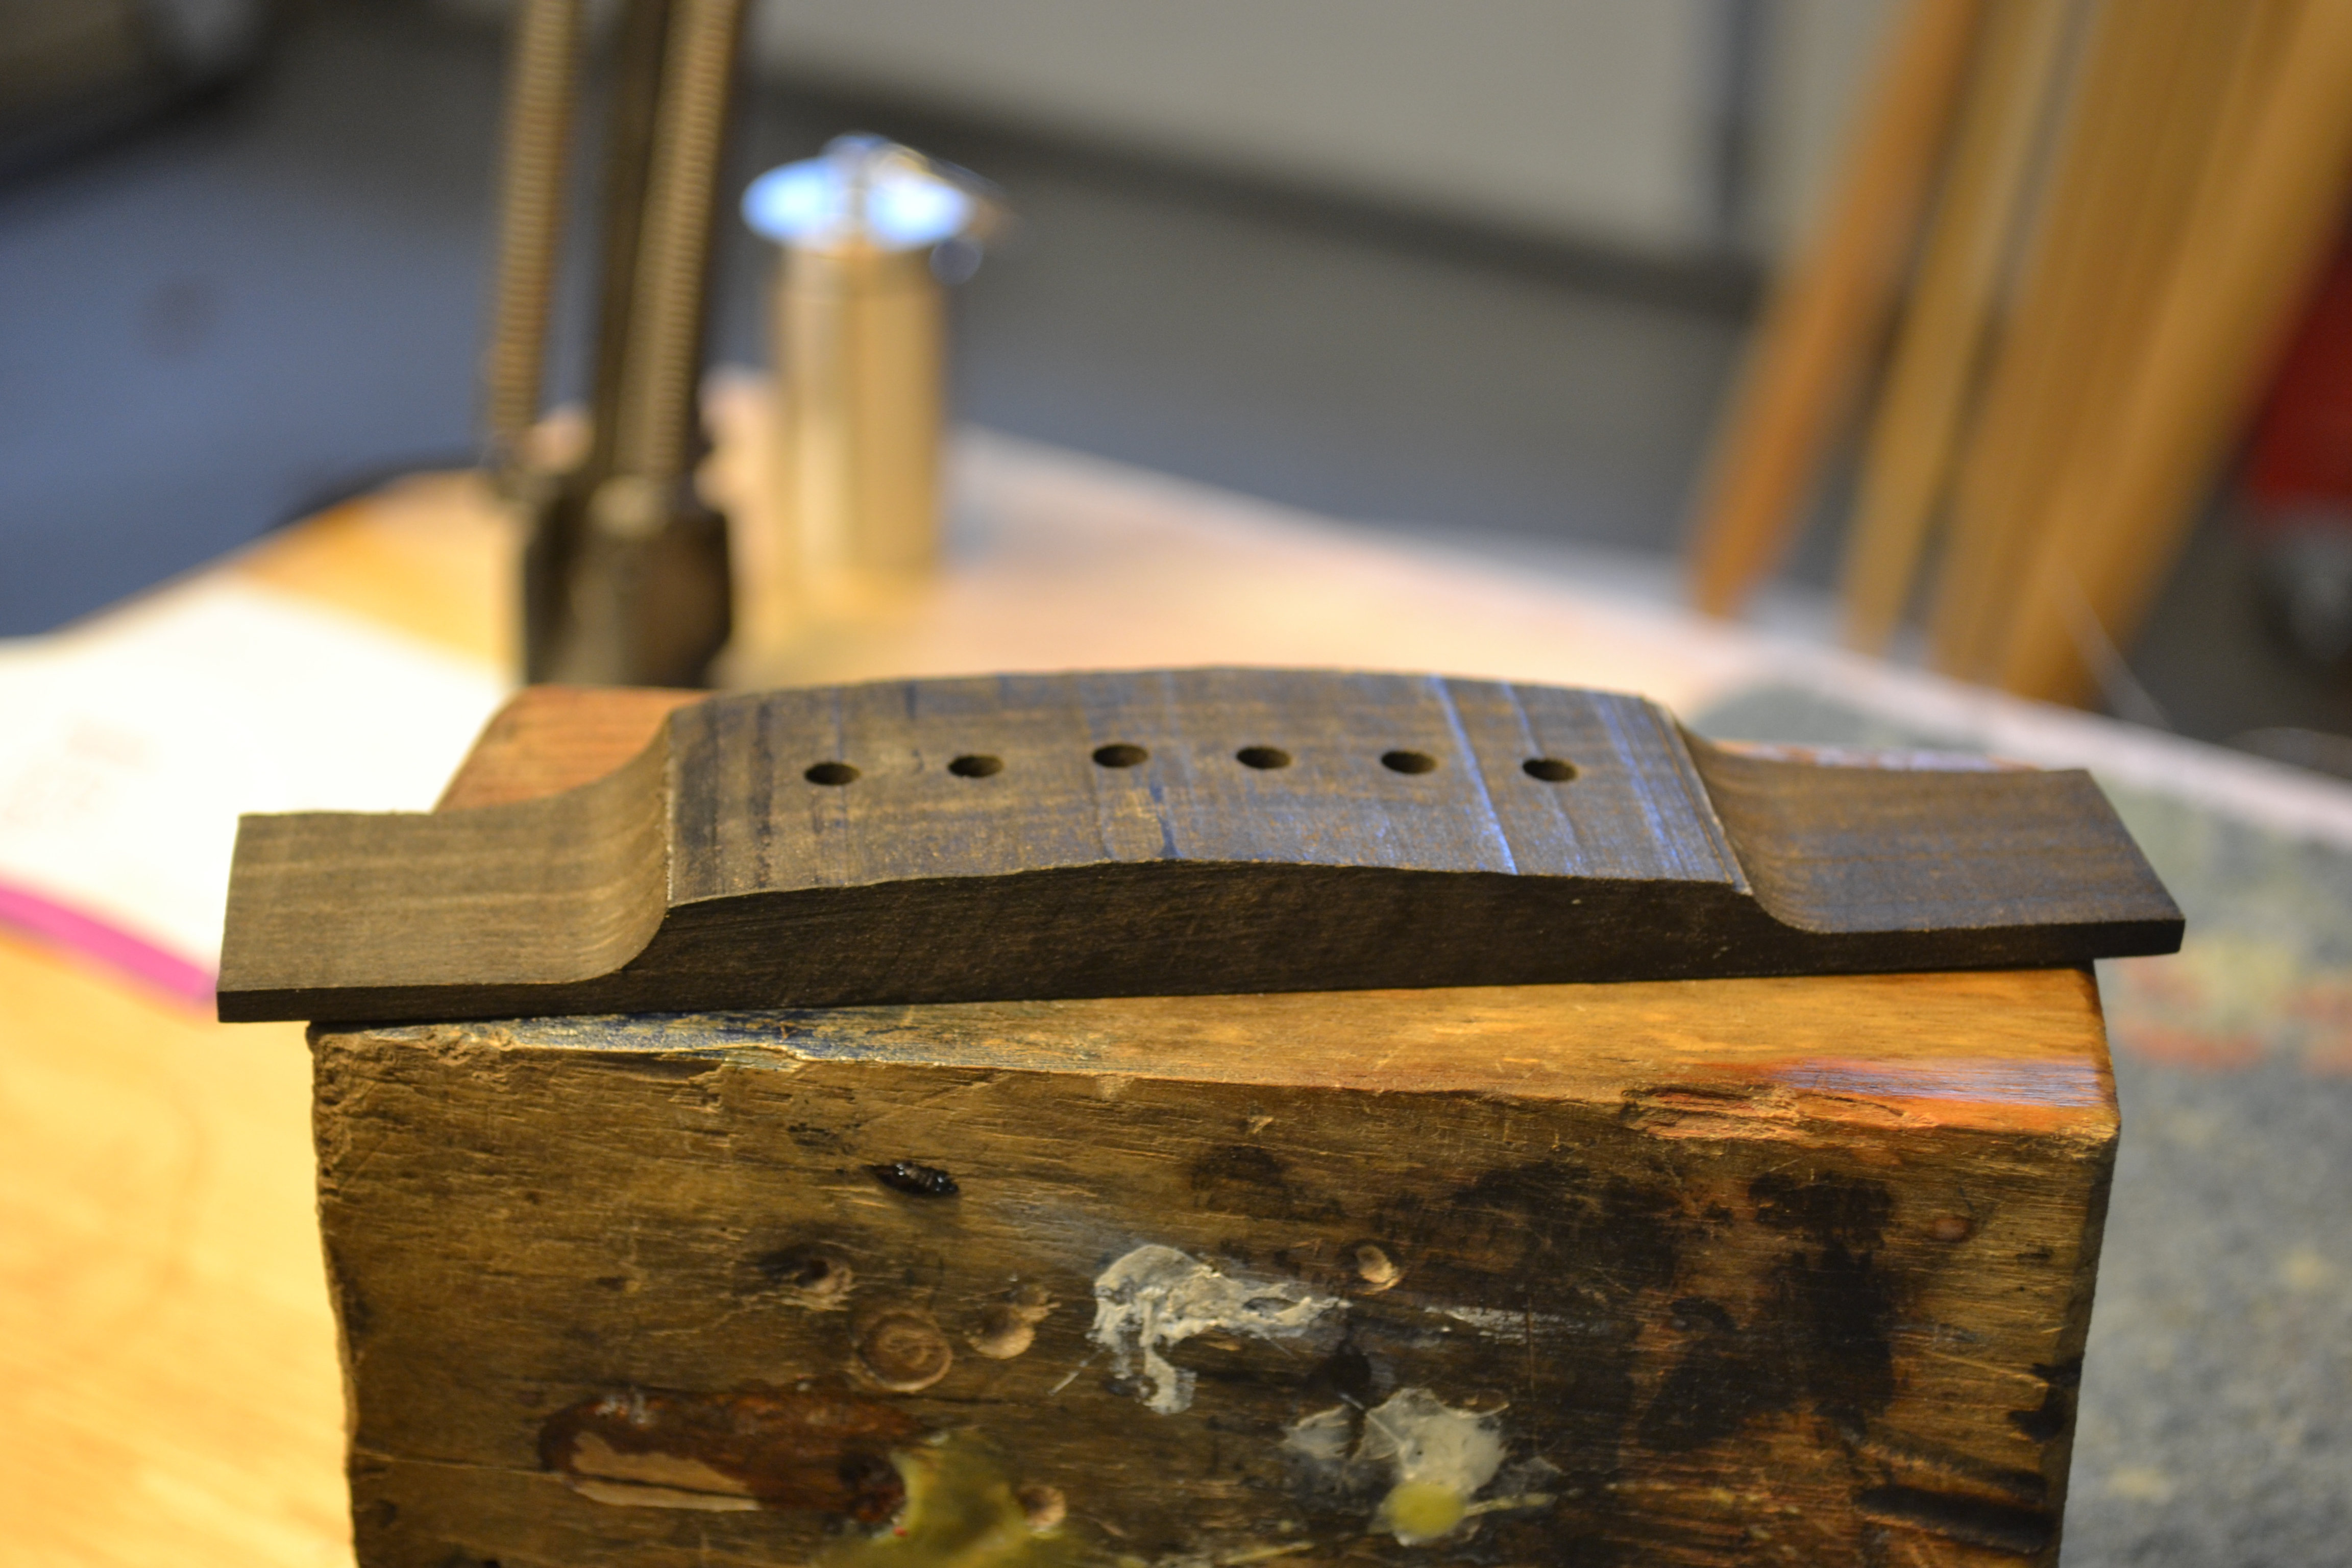
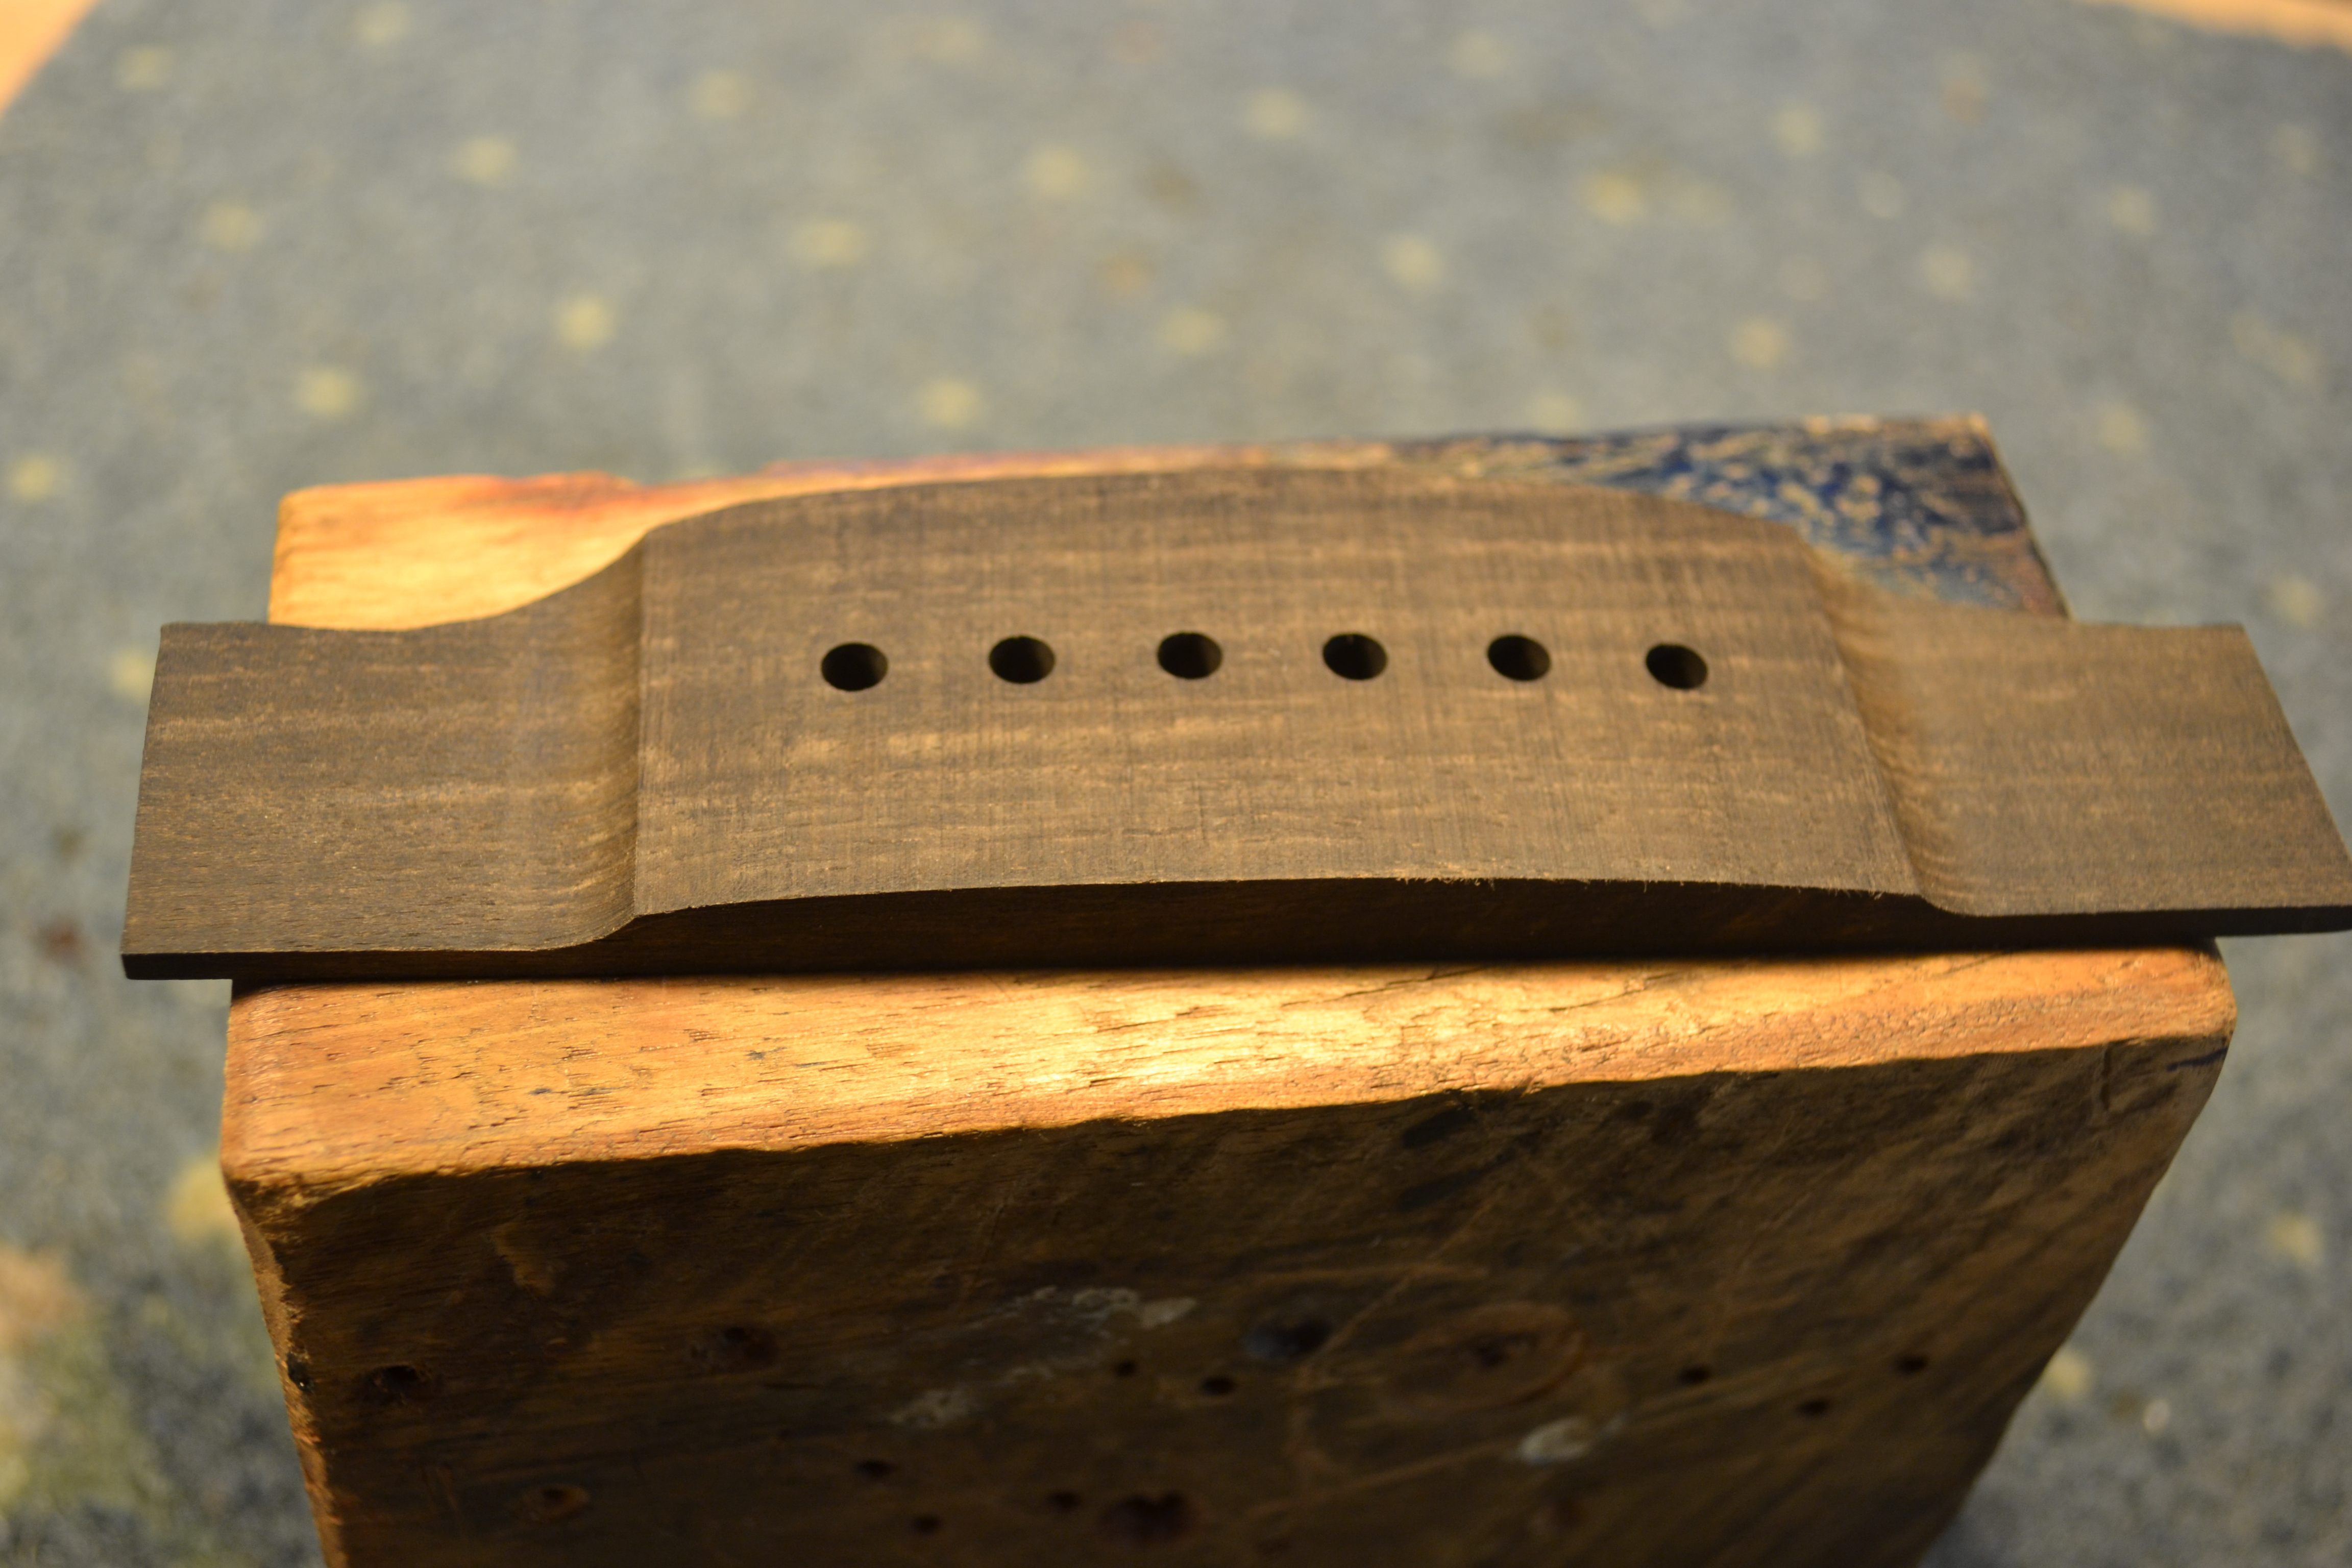
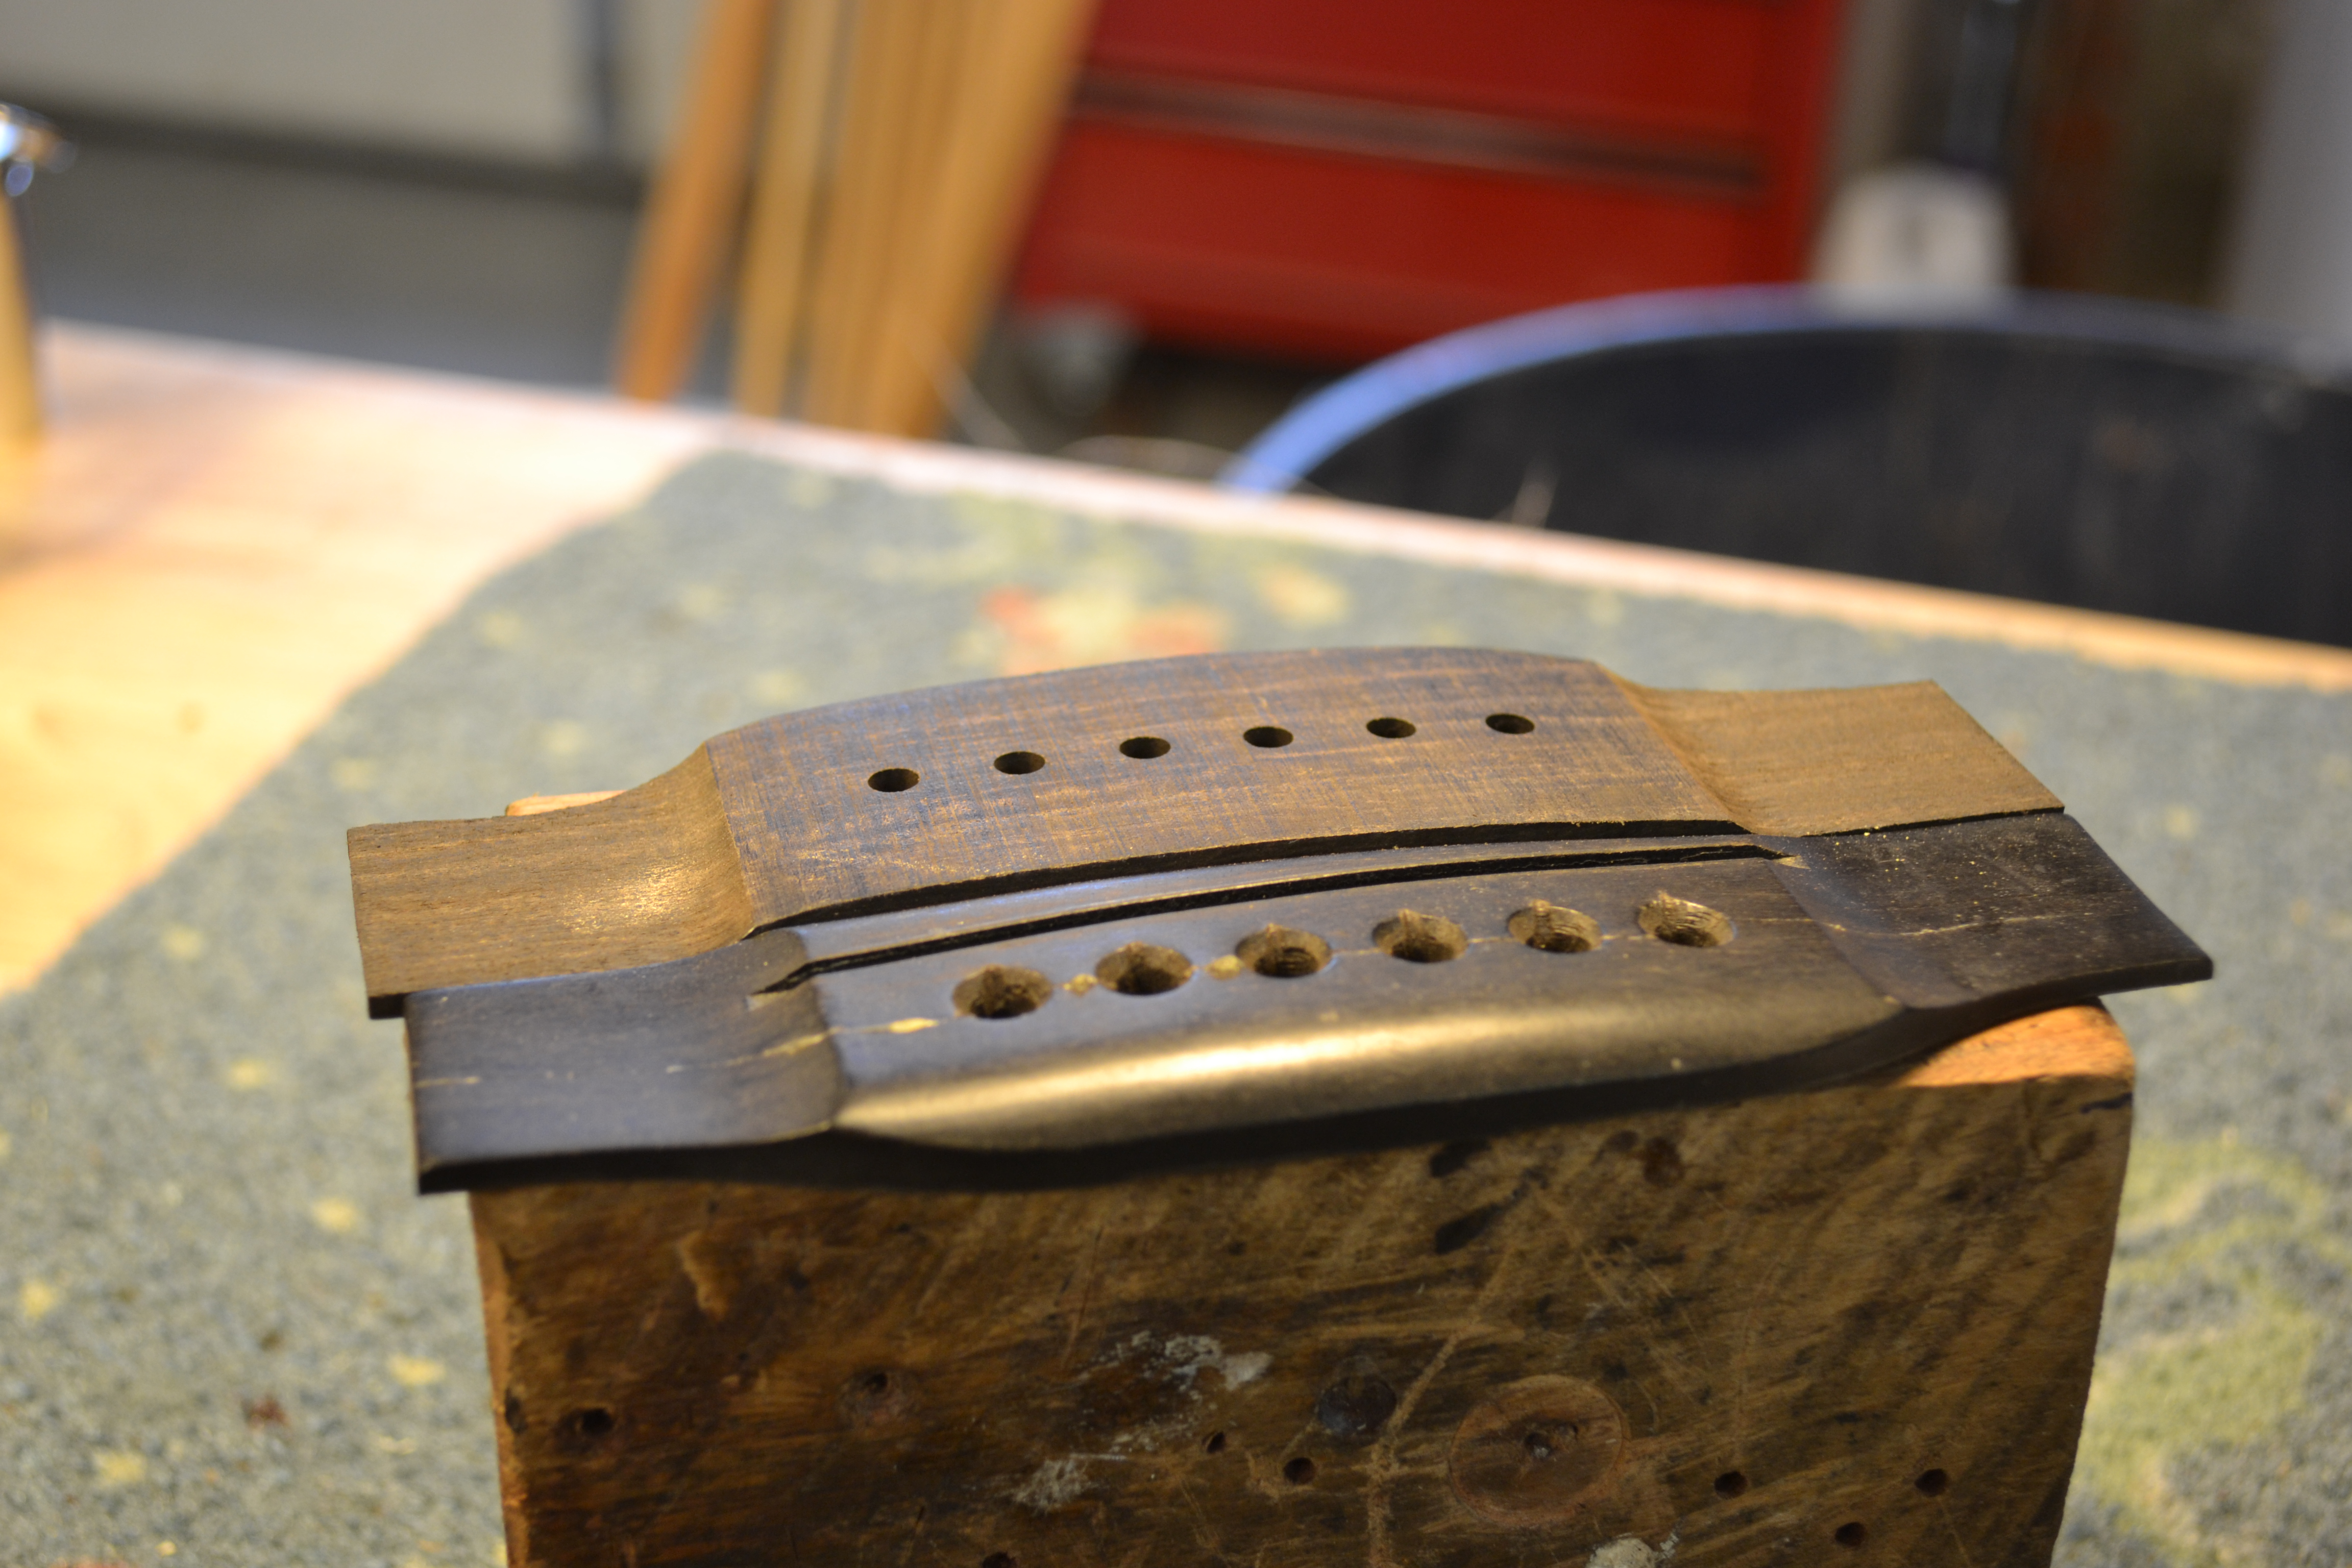
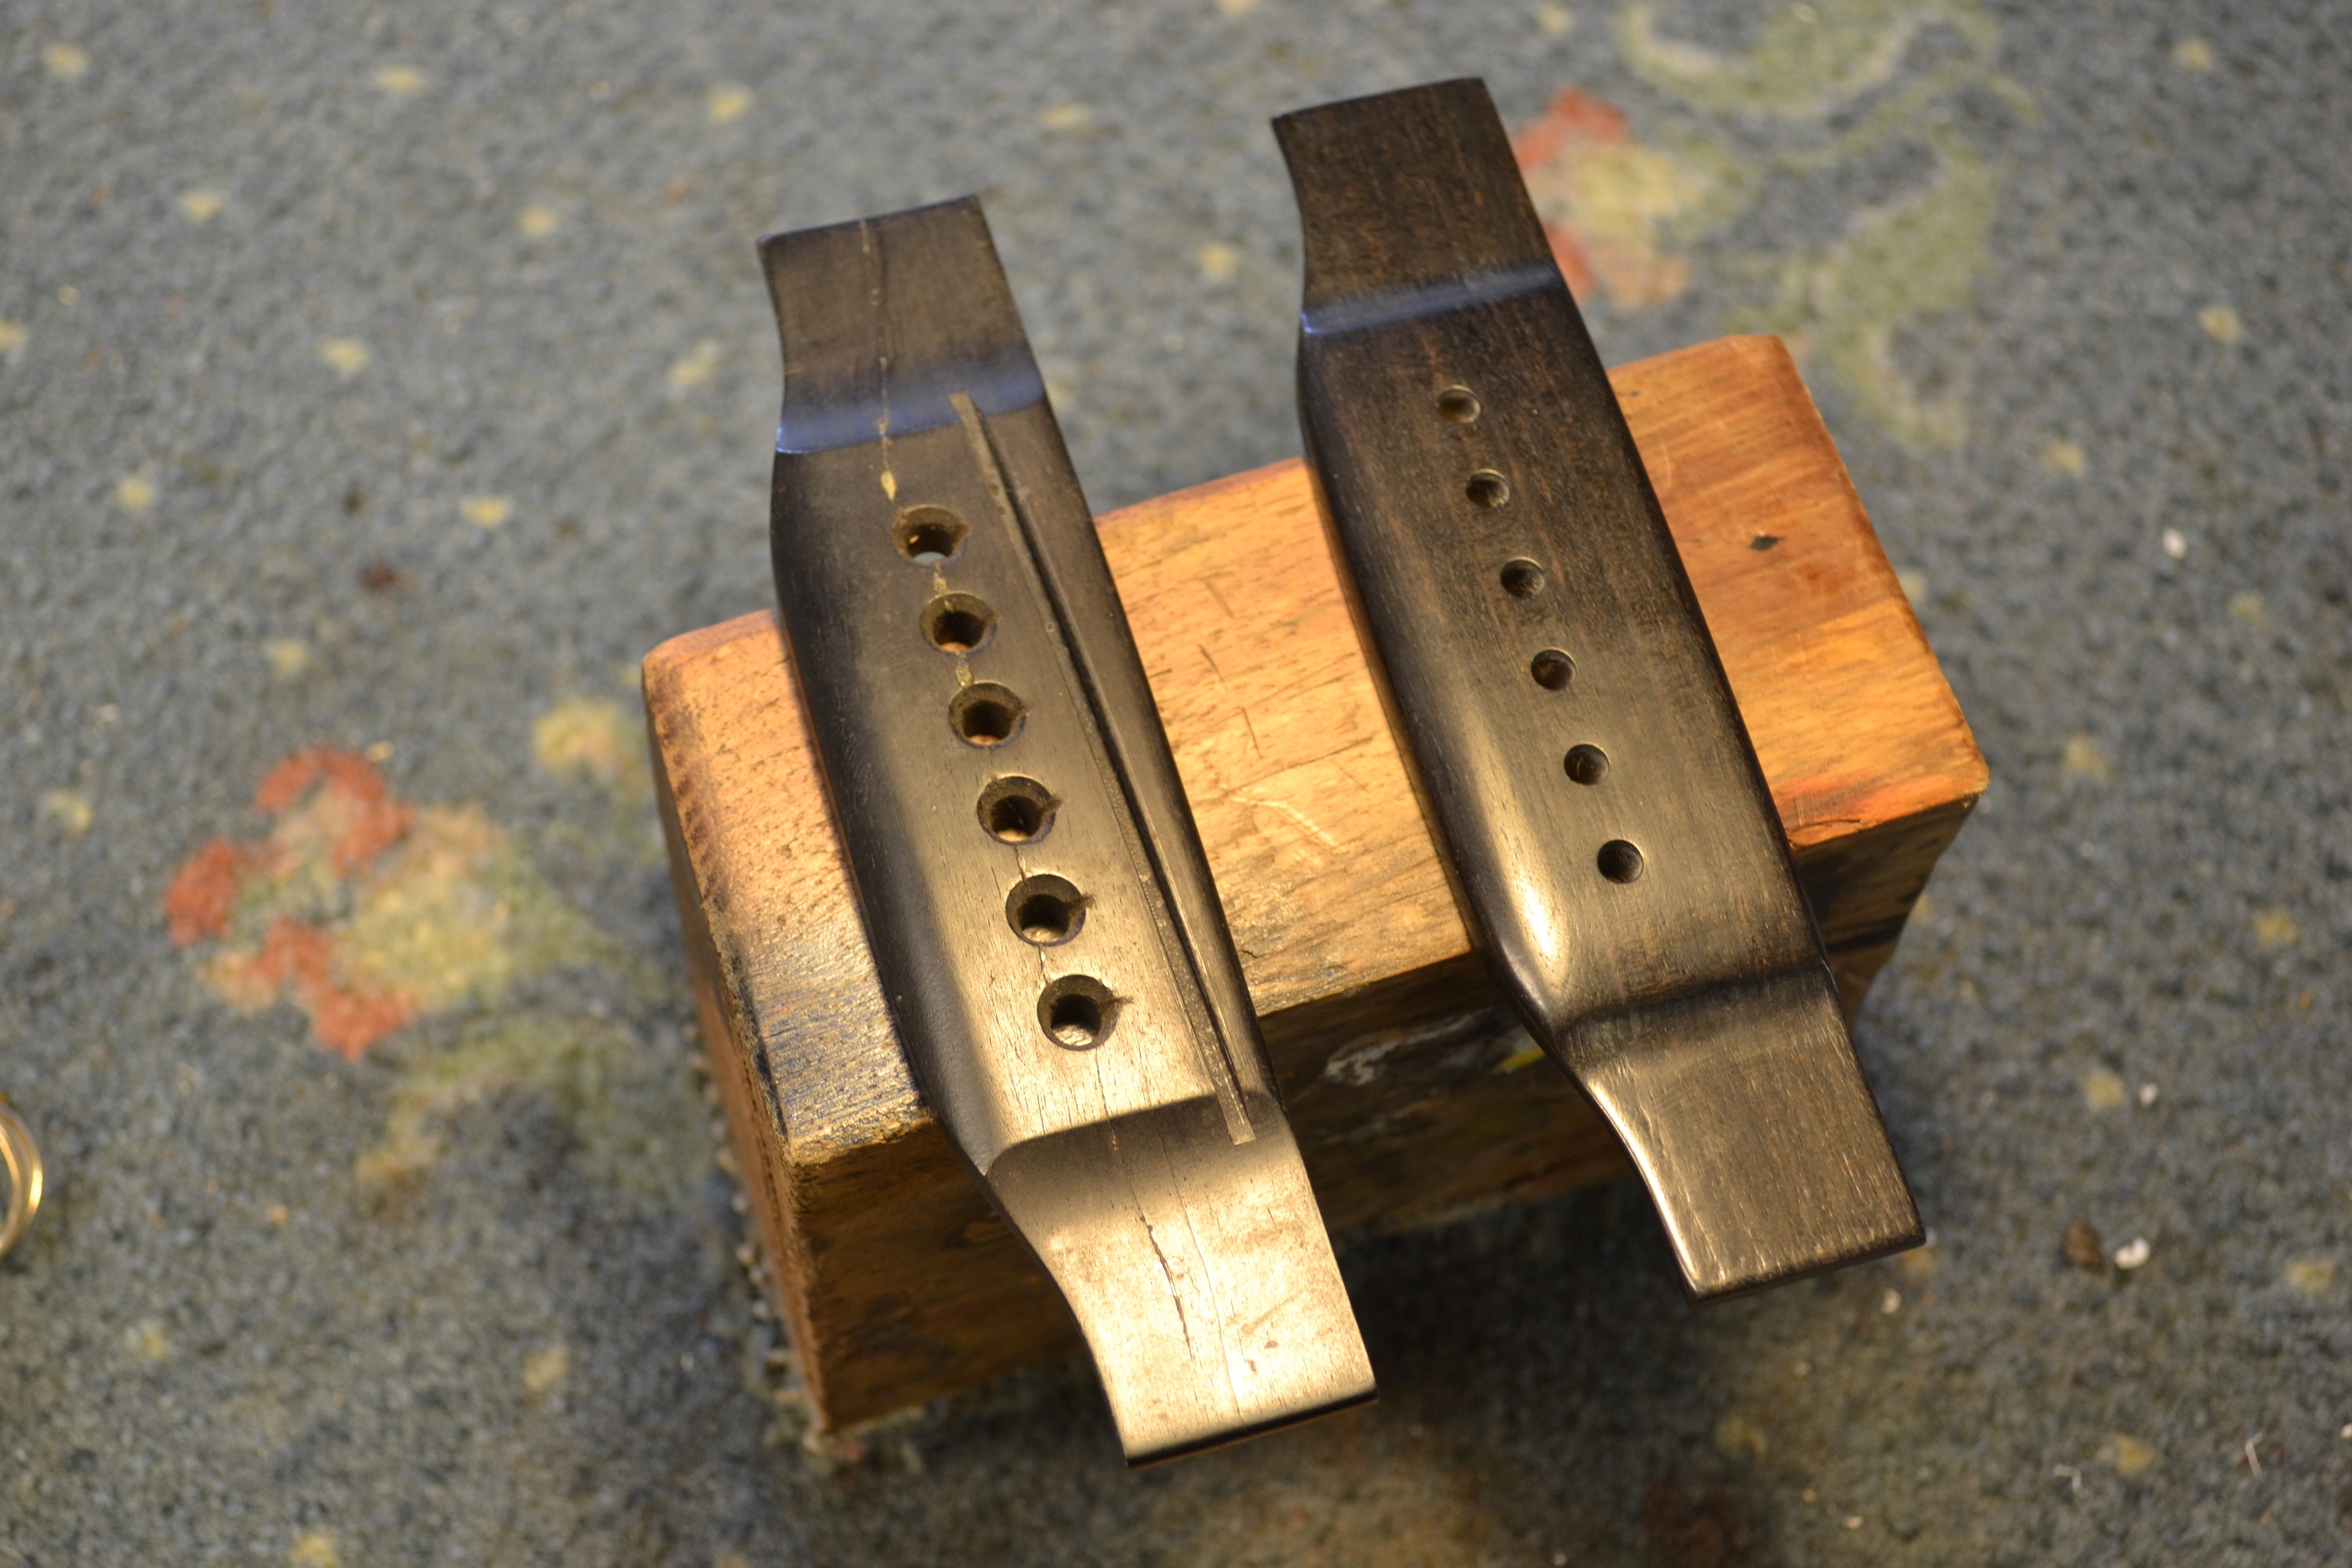
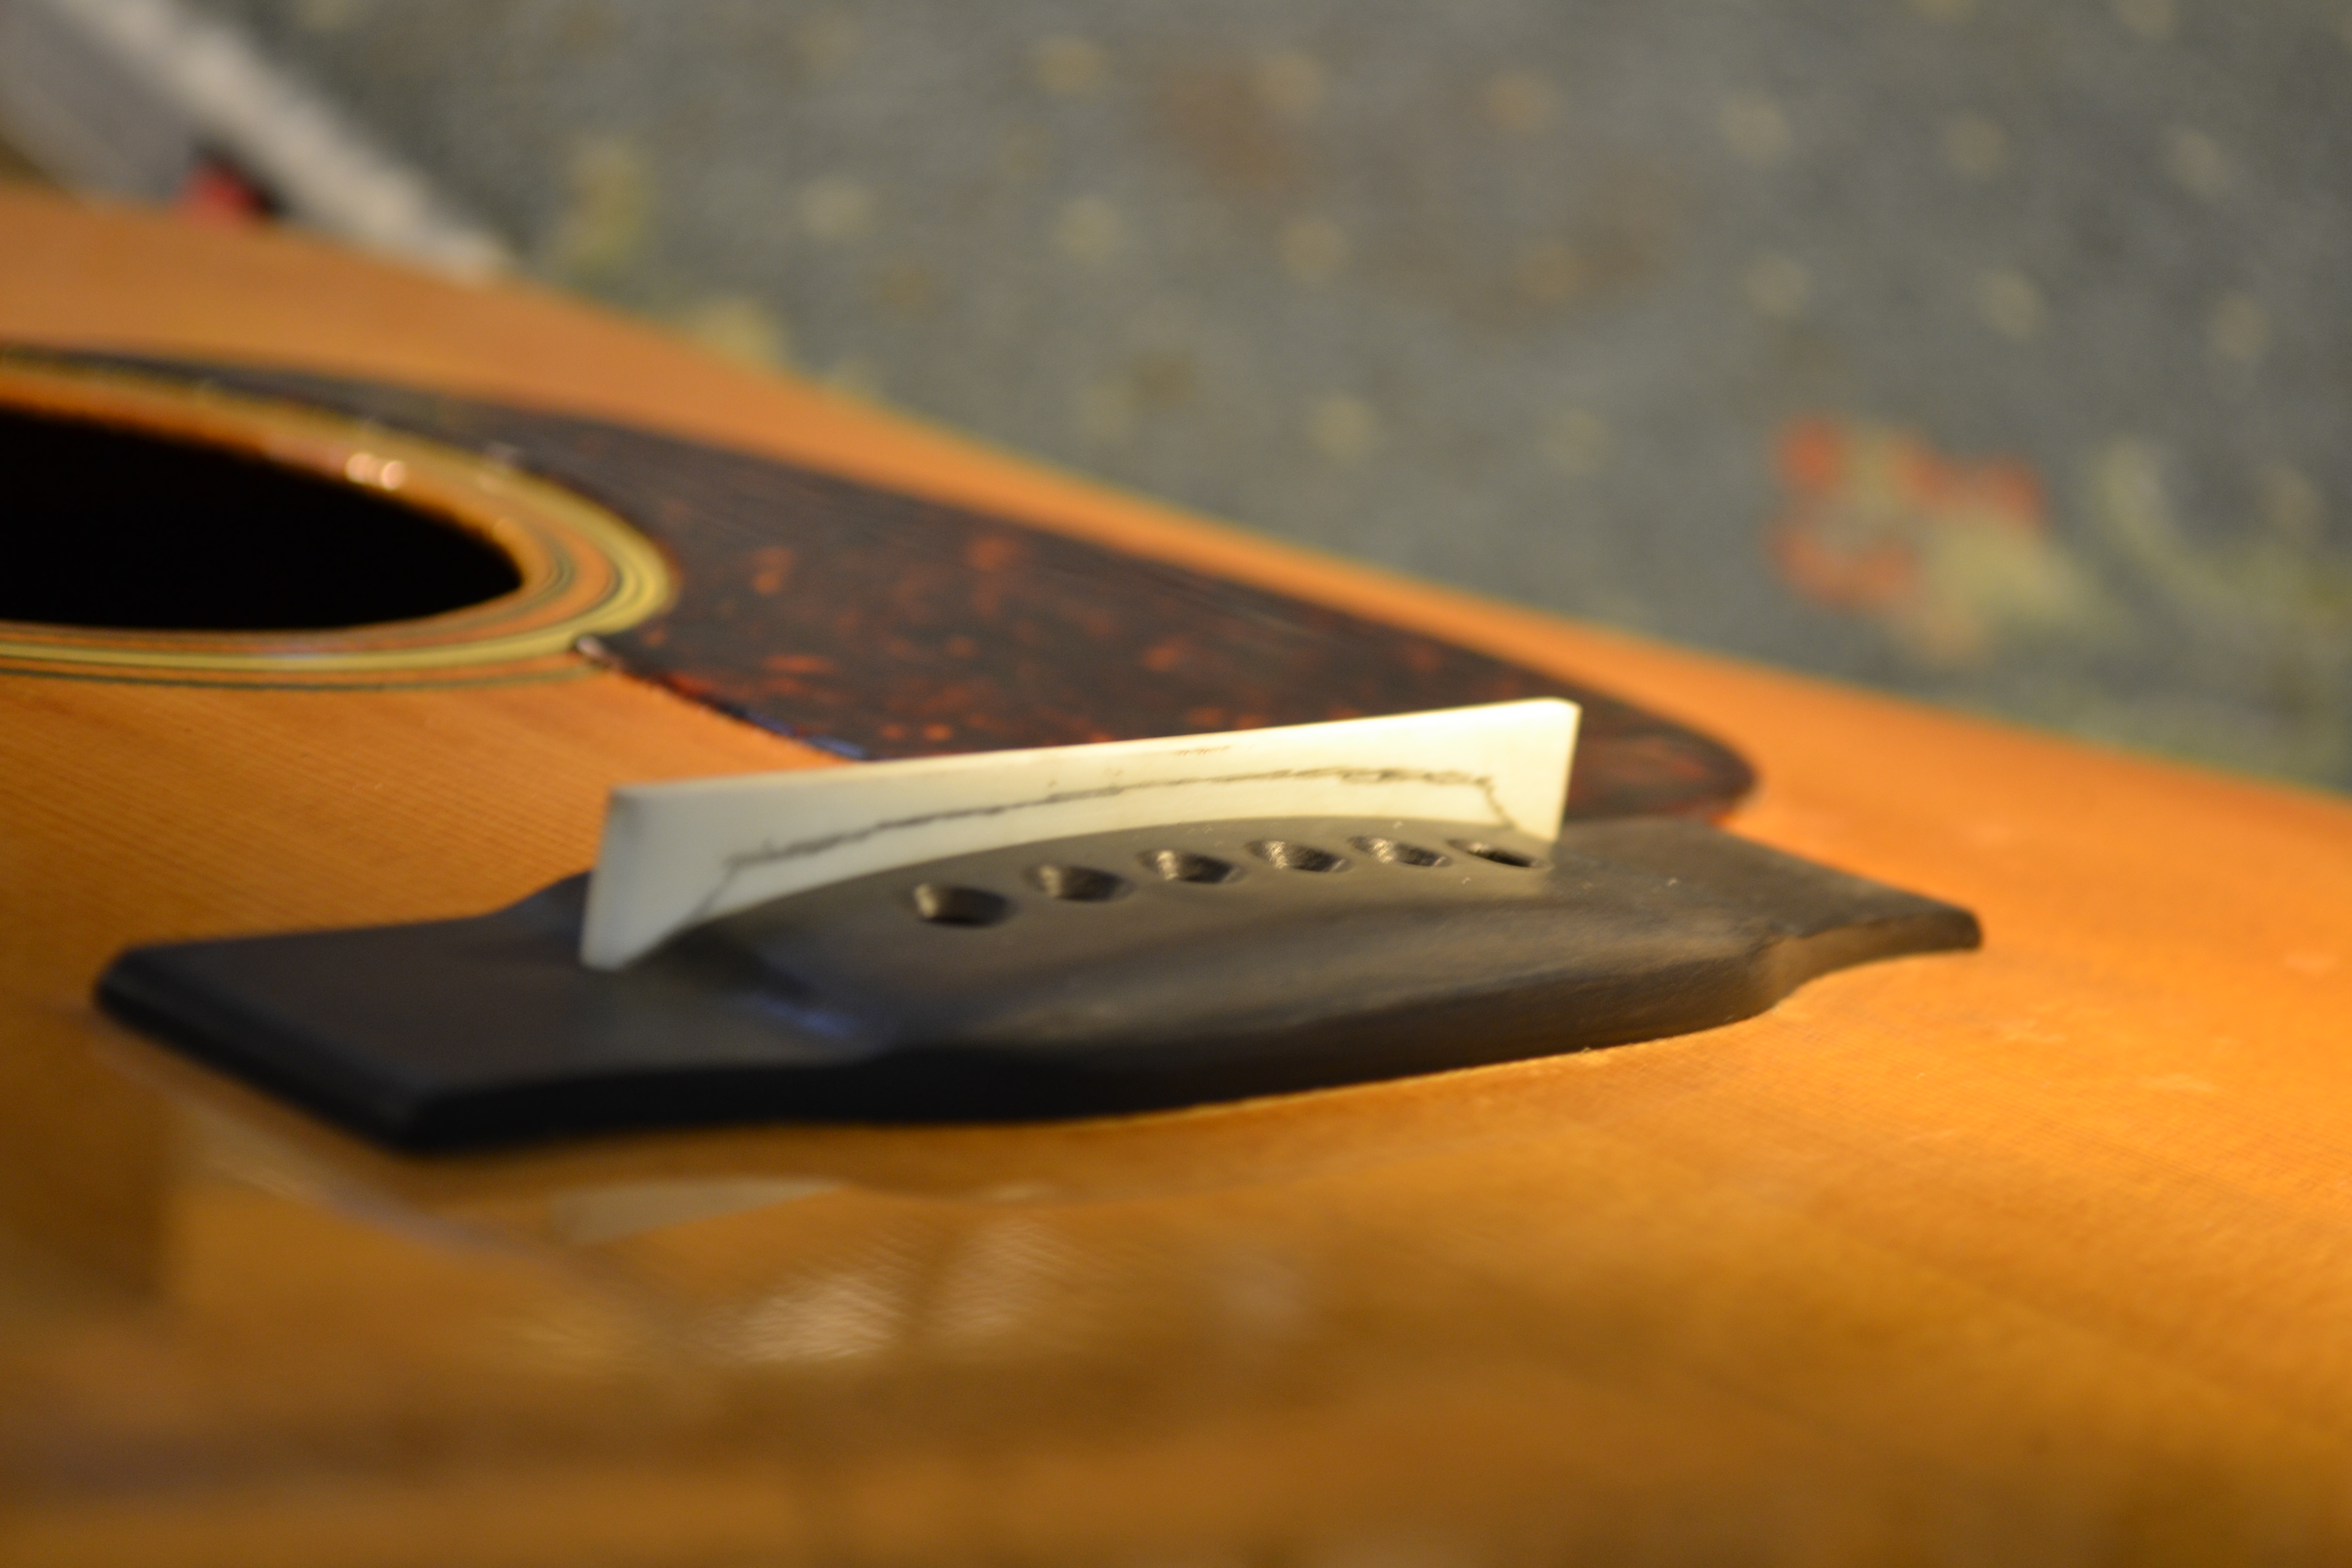
After the wings are sized I move on to the shaping of the top of the bridge. This is done in 3 phases: the overall radius from side to side, the back radius and the more conservatively rounded front edge.
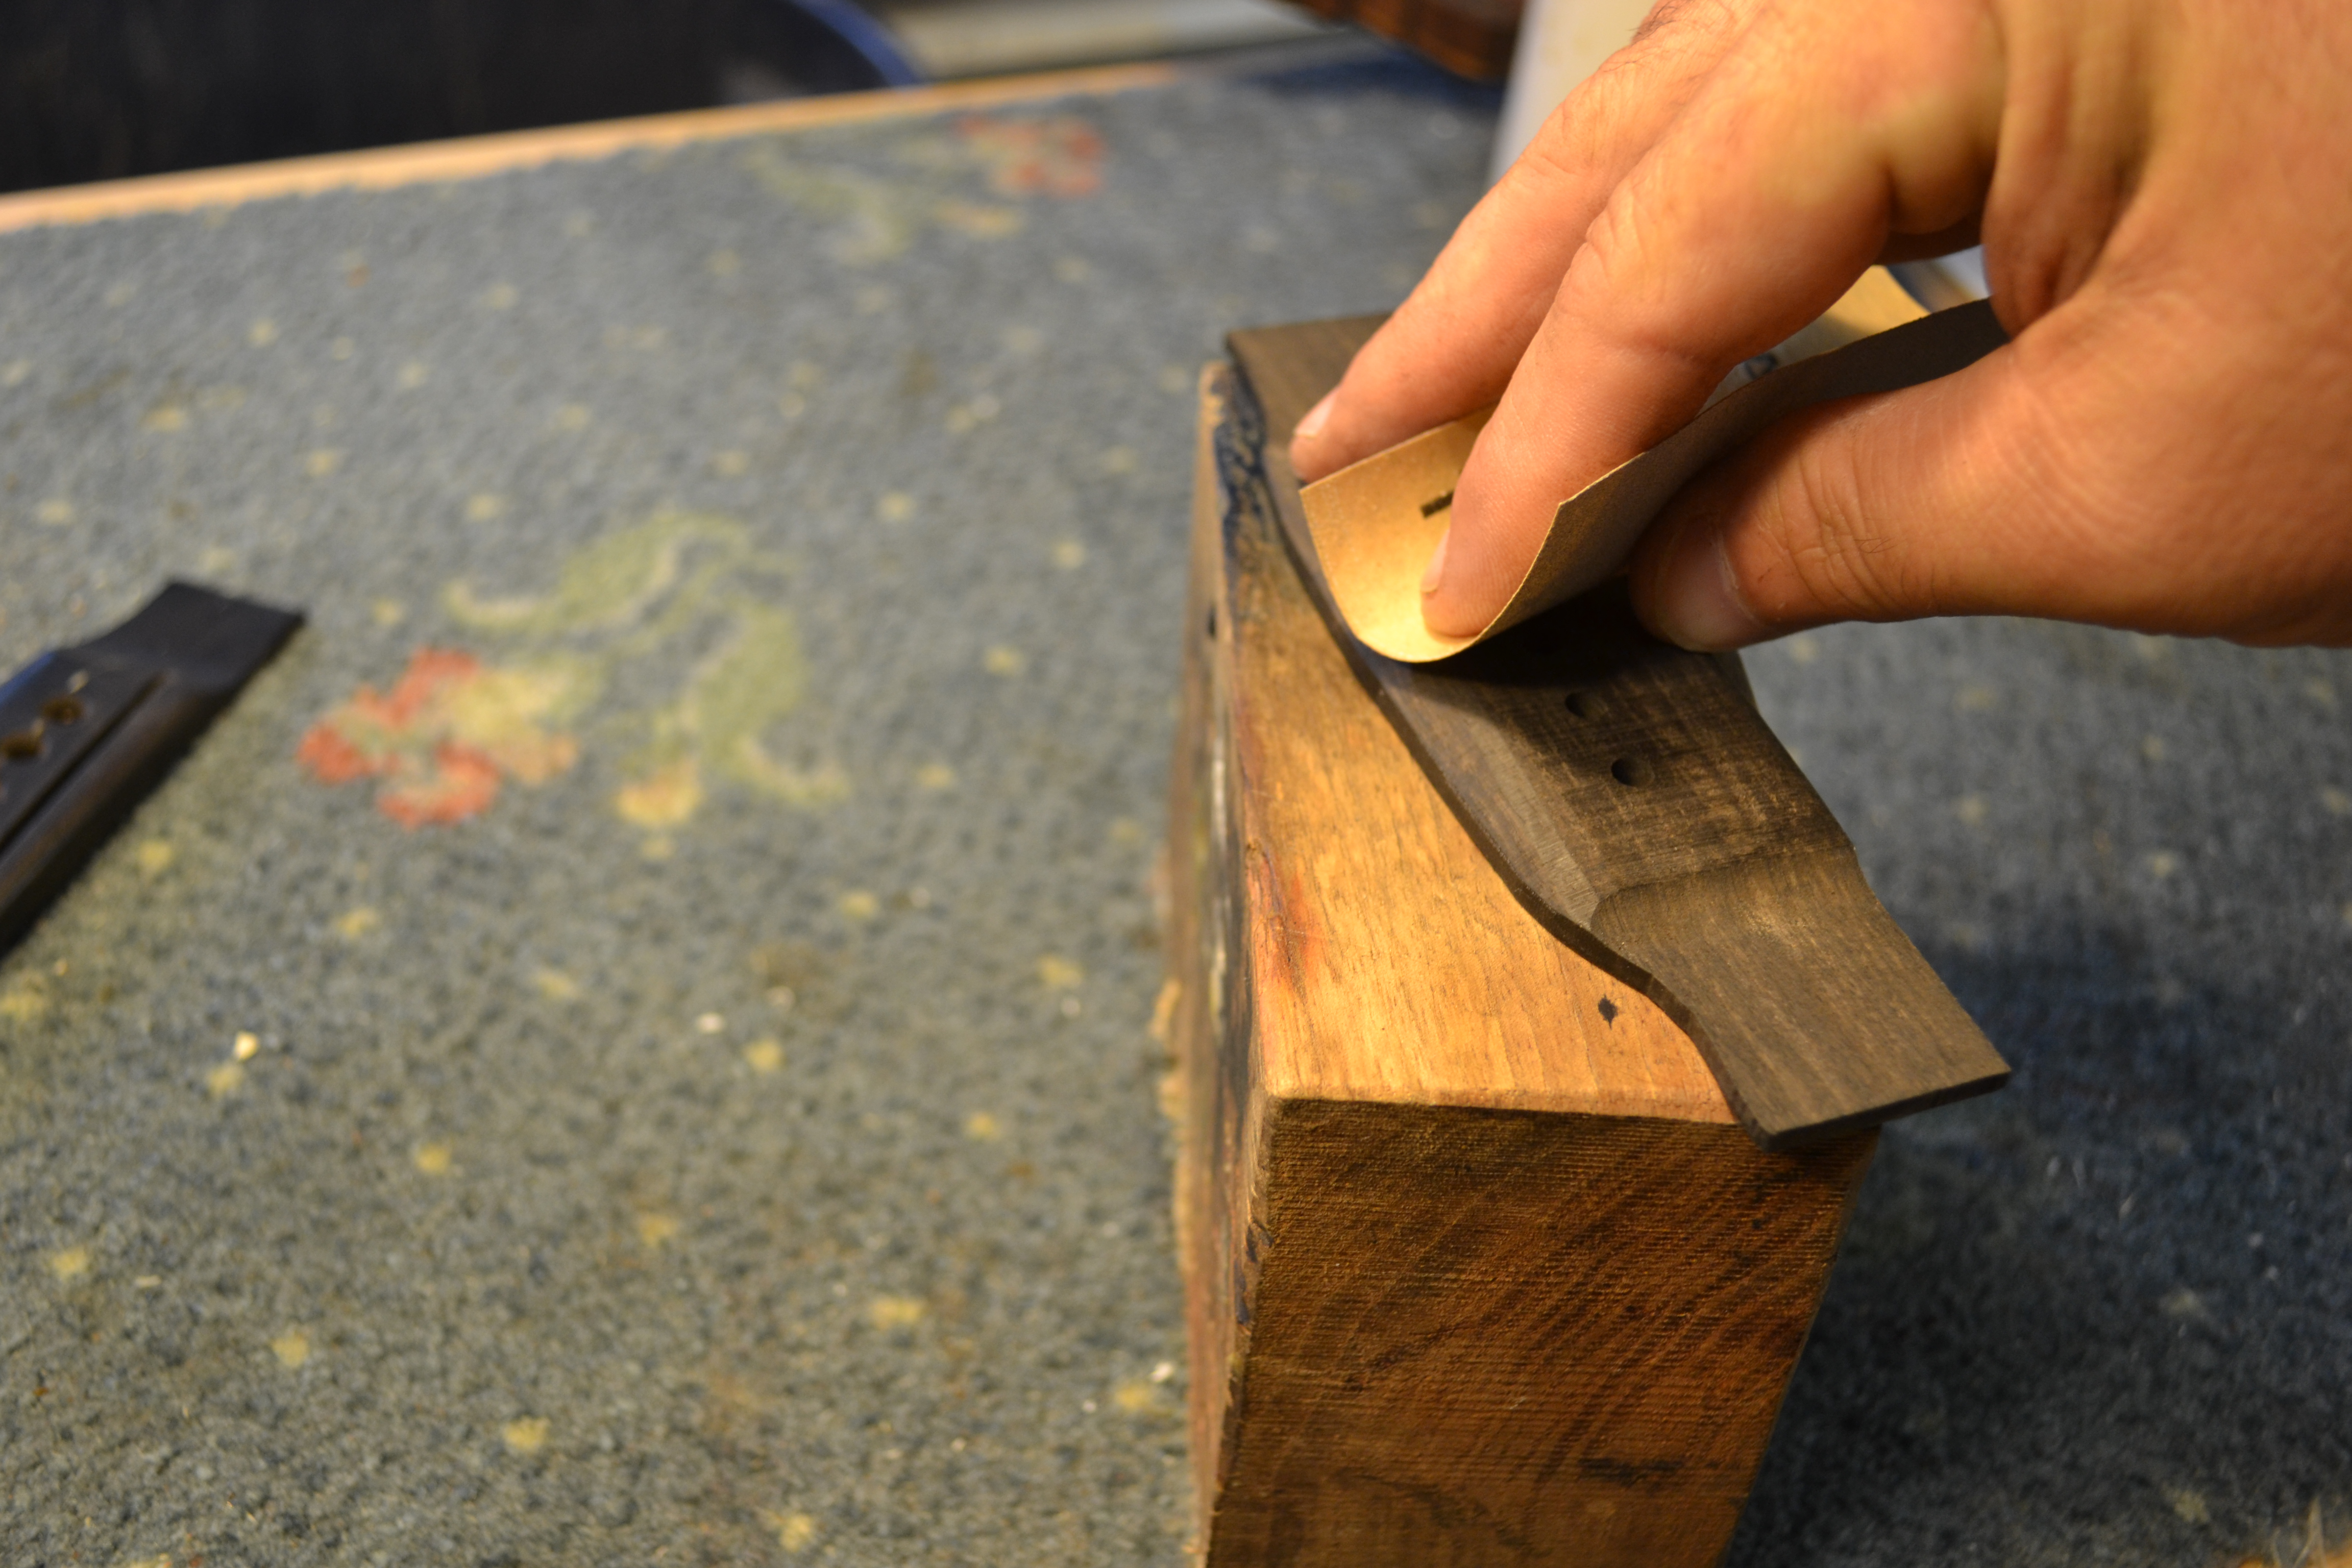
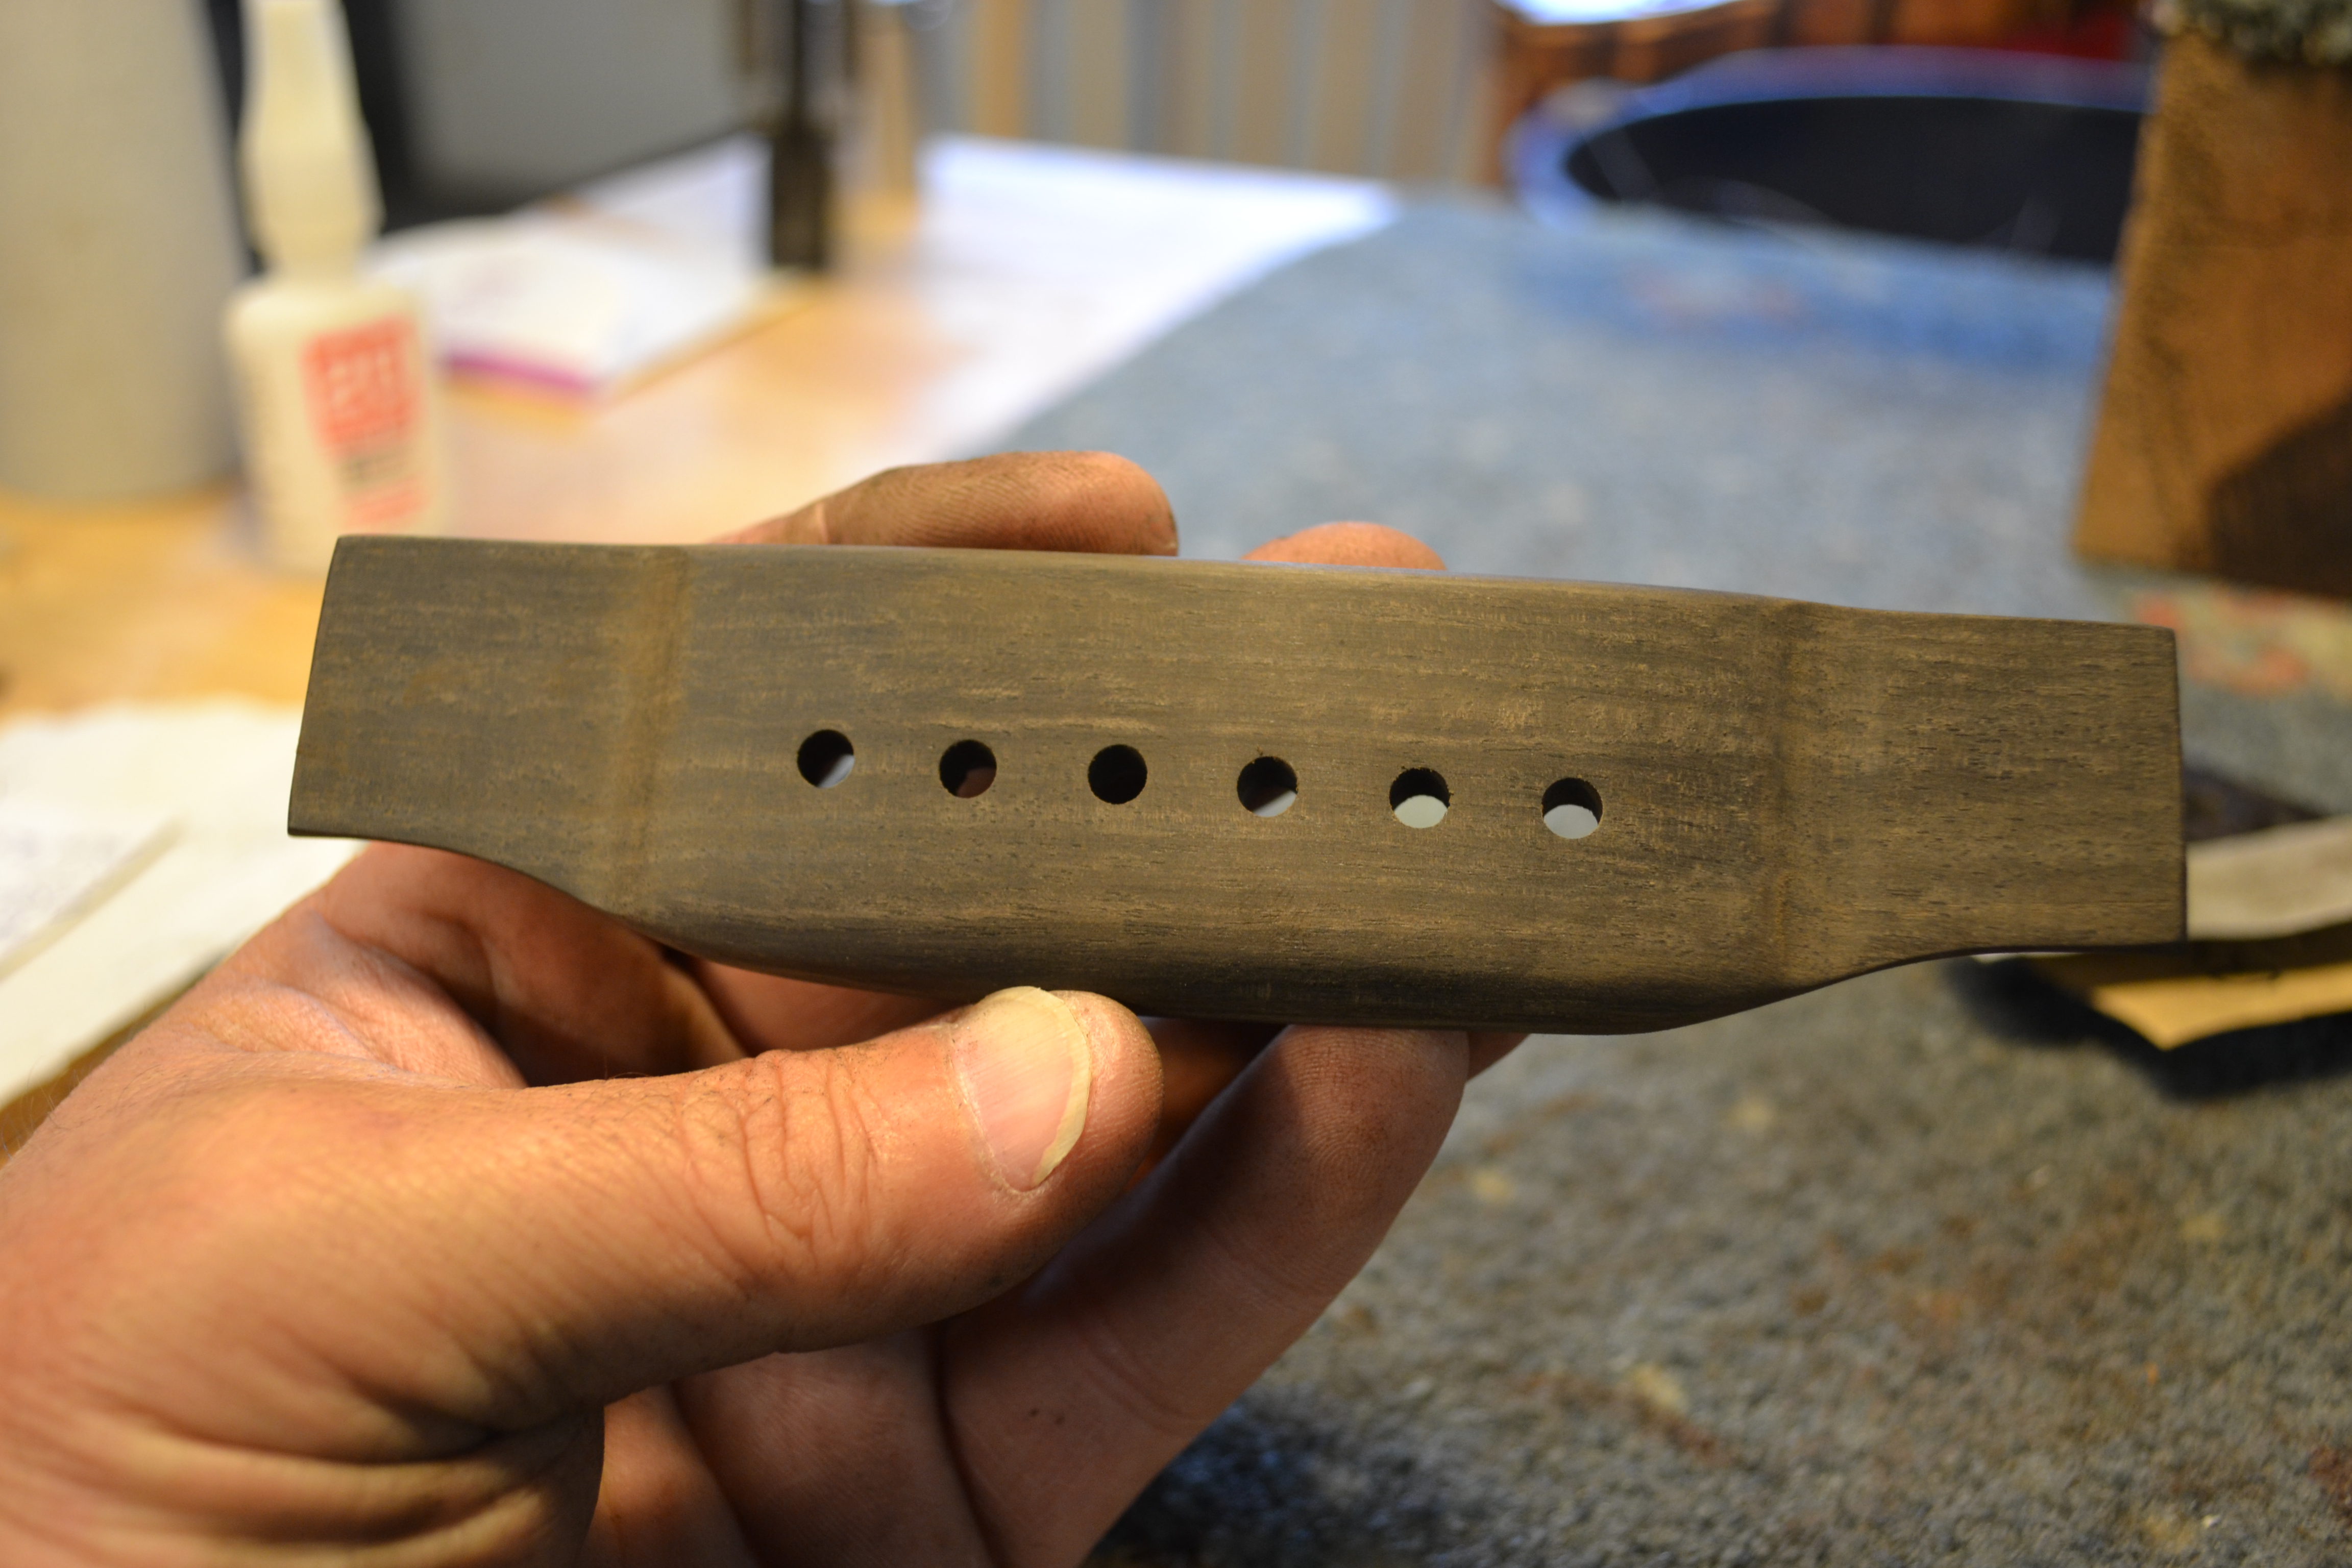
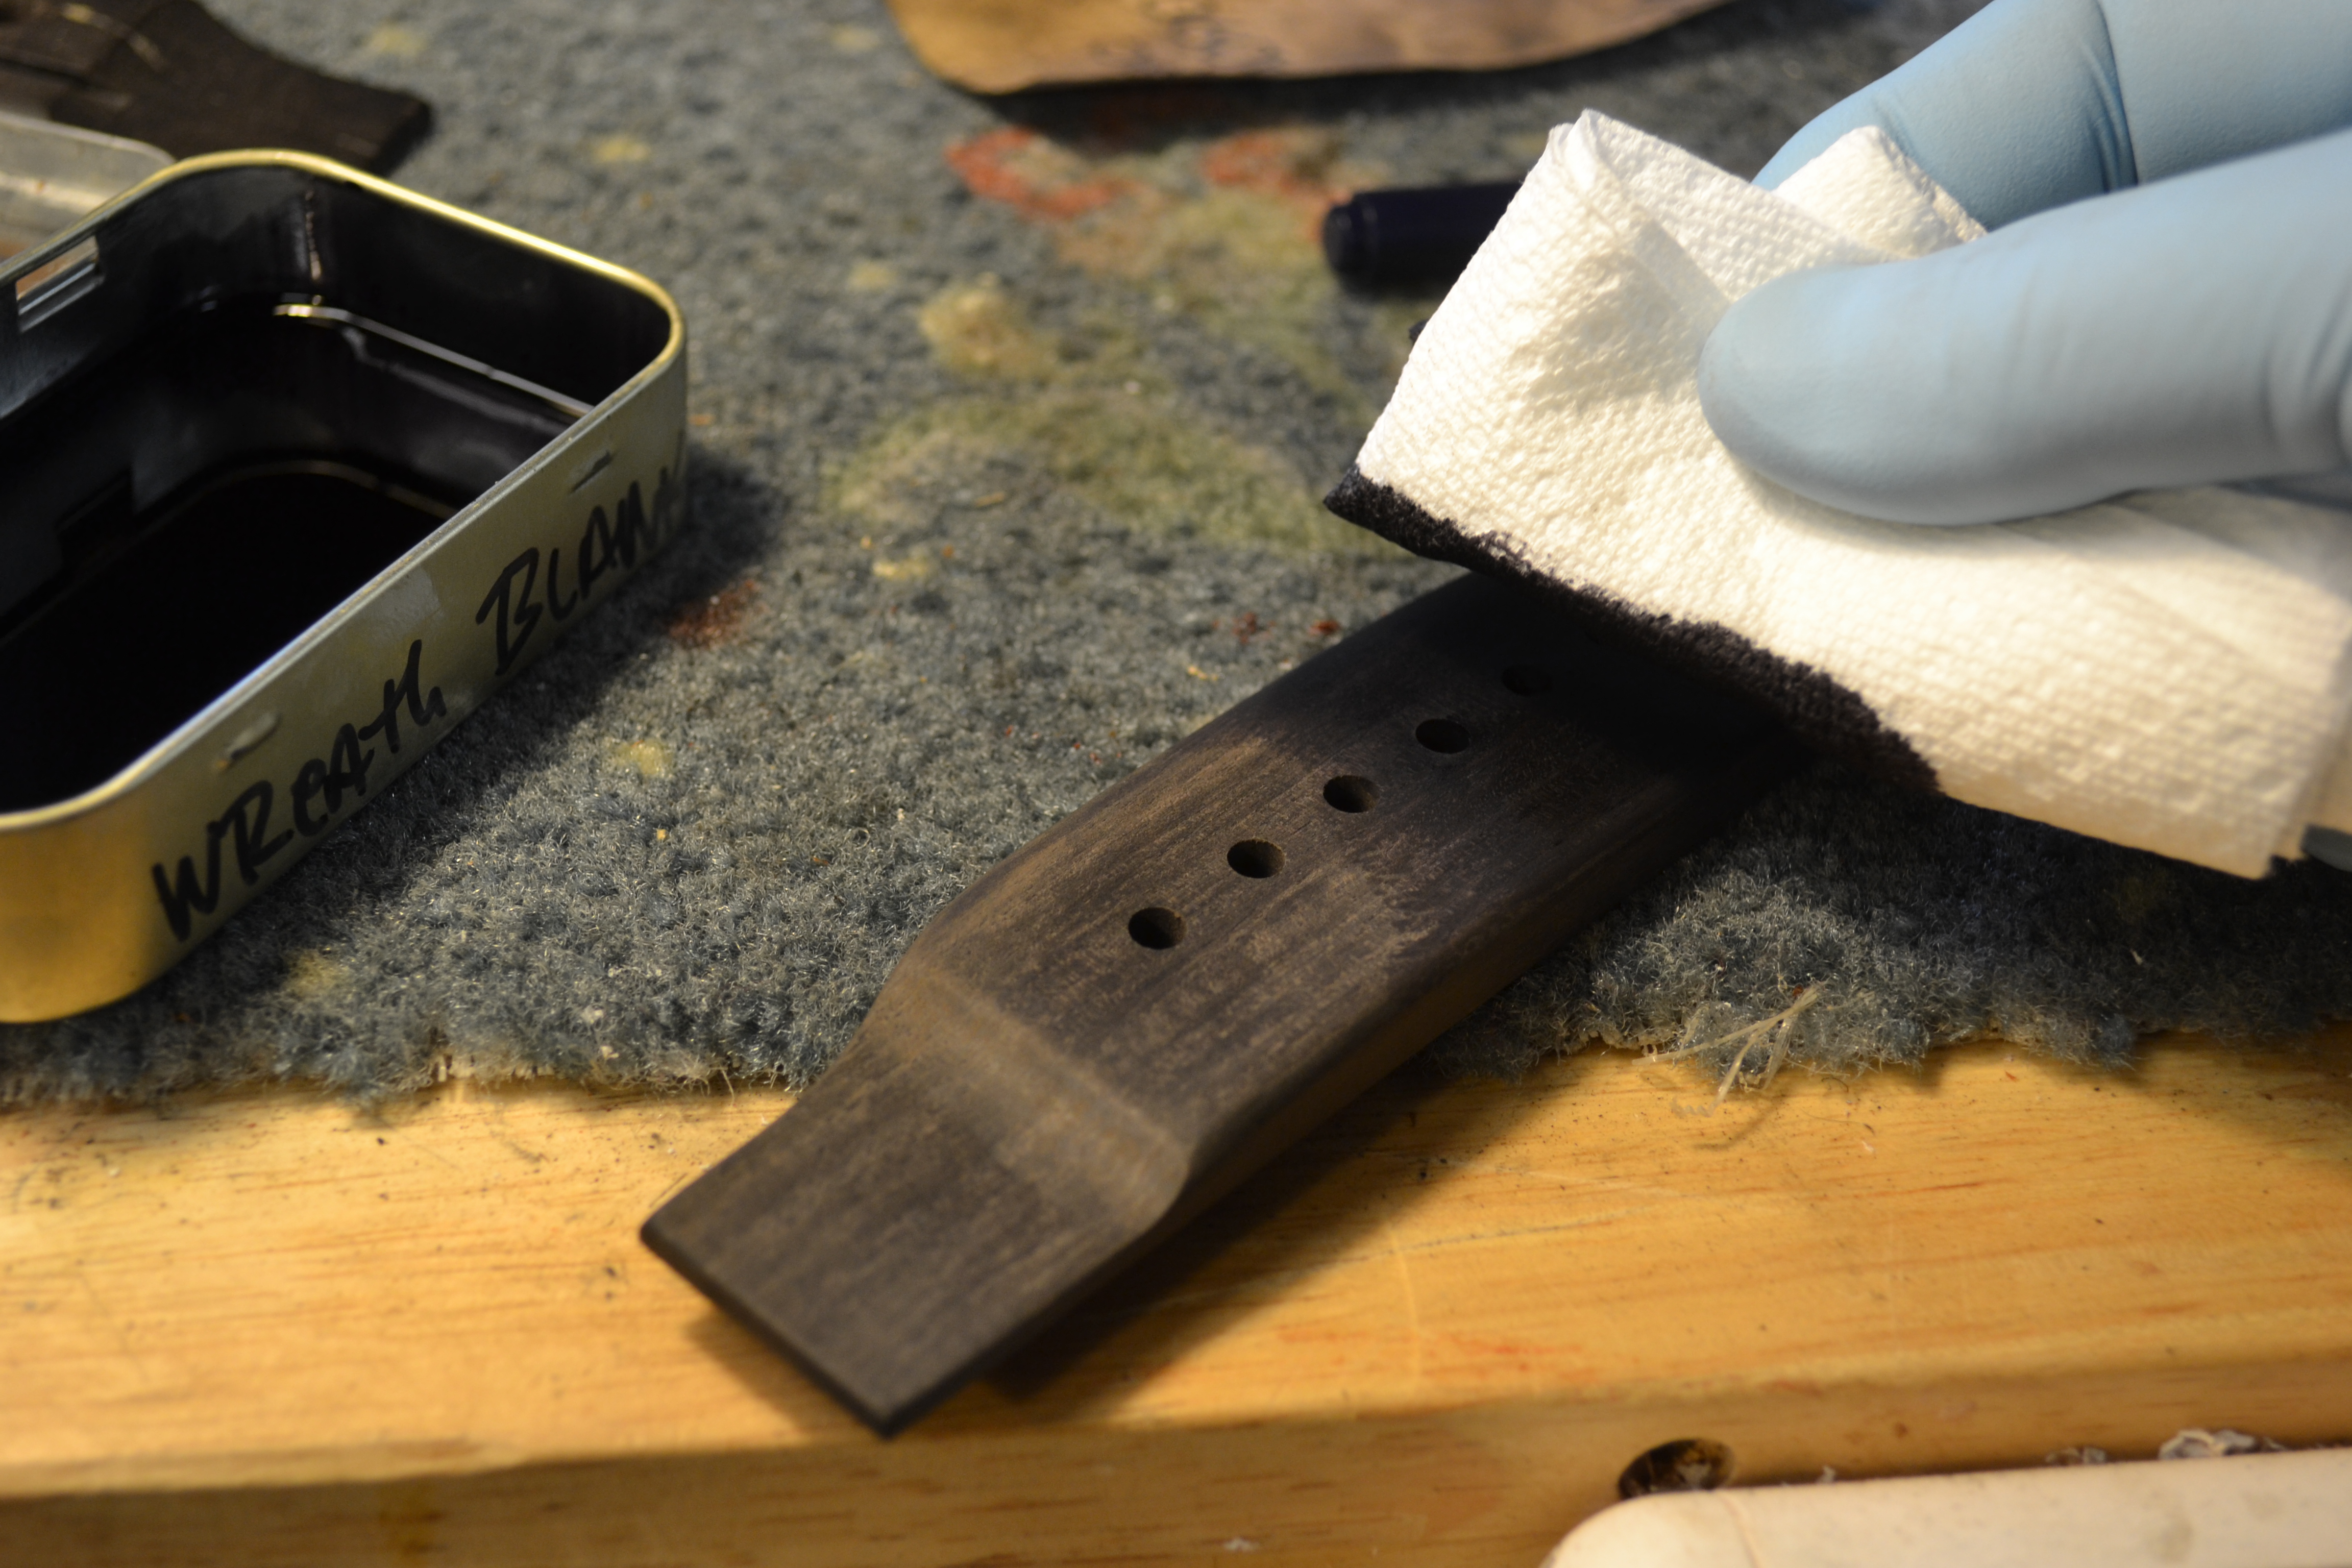
After everything looks perfect I can more exactly size the footprint and hand sand , dye and buff the bridge to match the sheen of the old bridge.
 |
 |
 |
 |
 |
 |
 |
 |
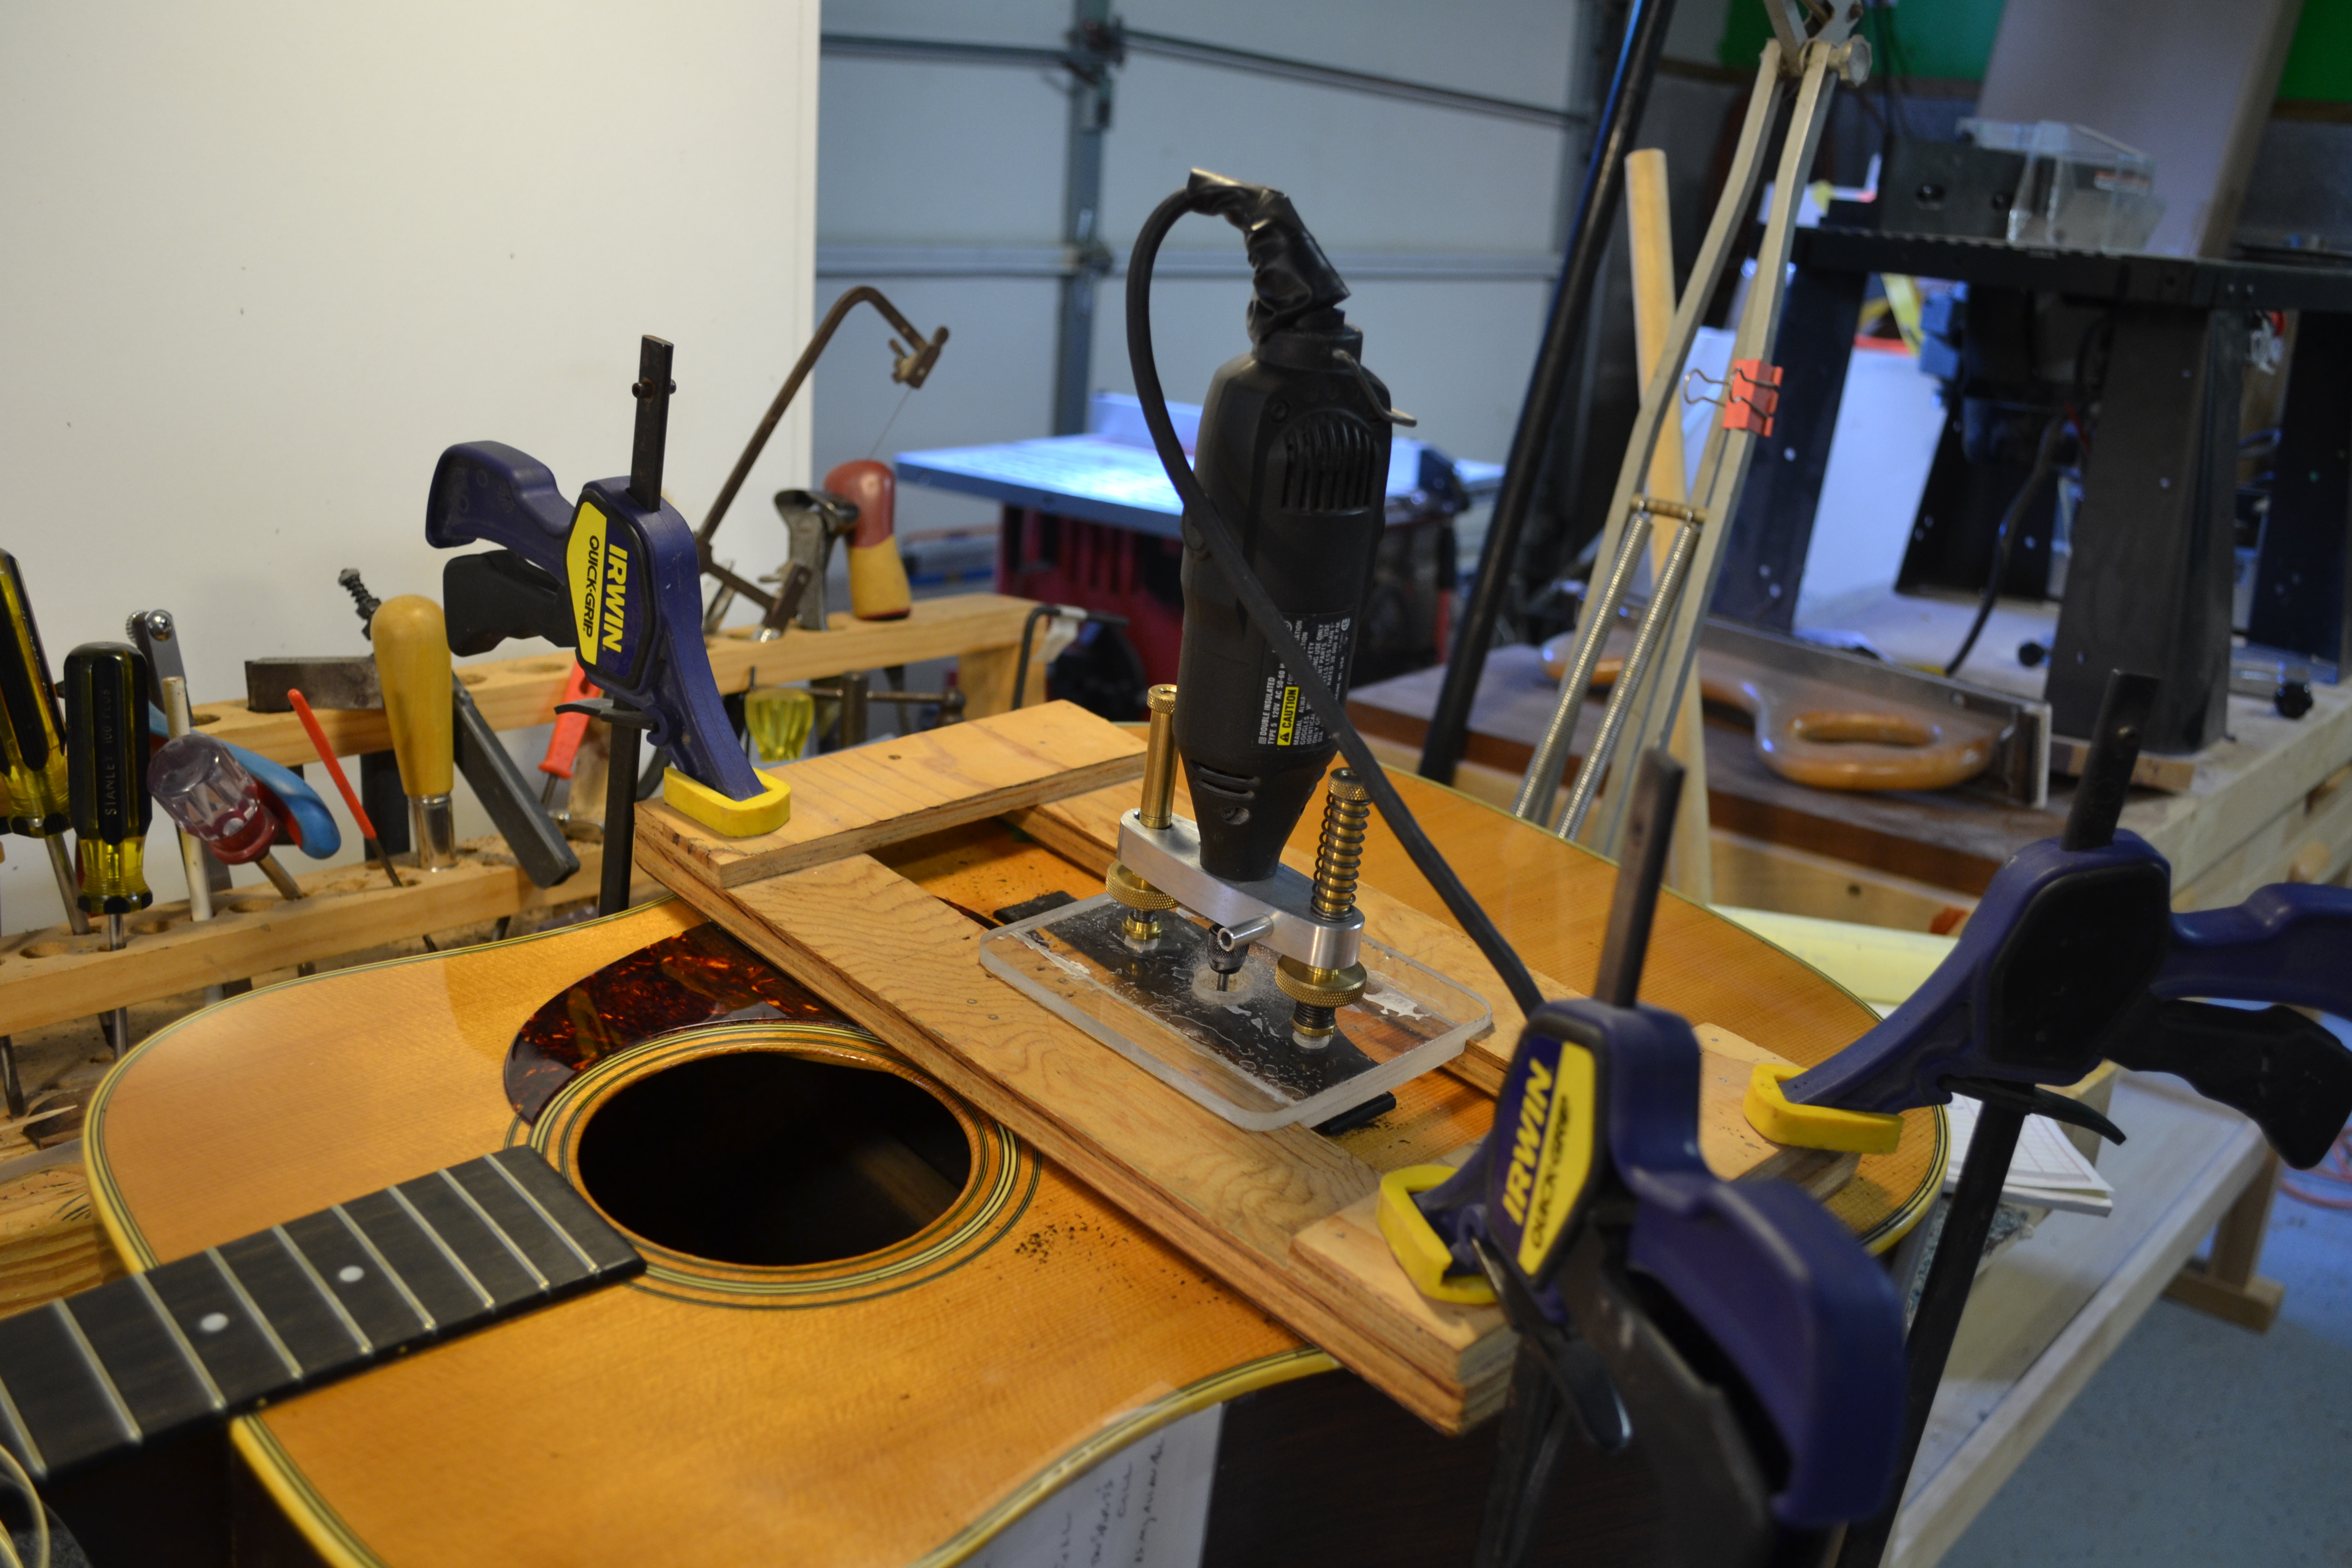
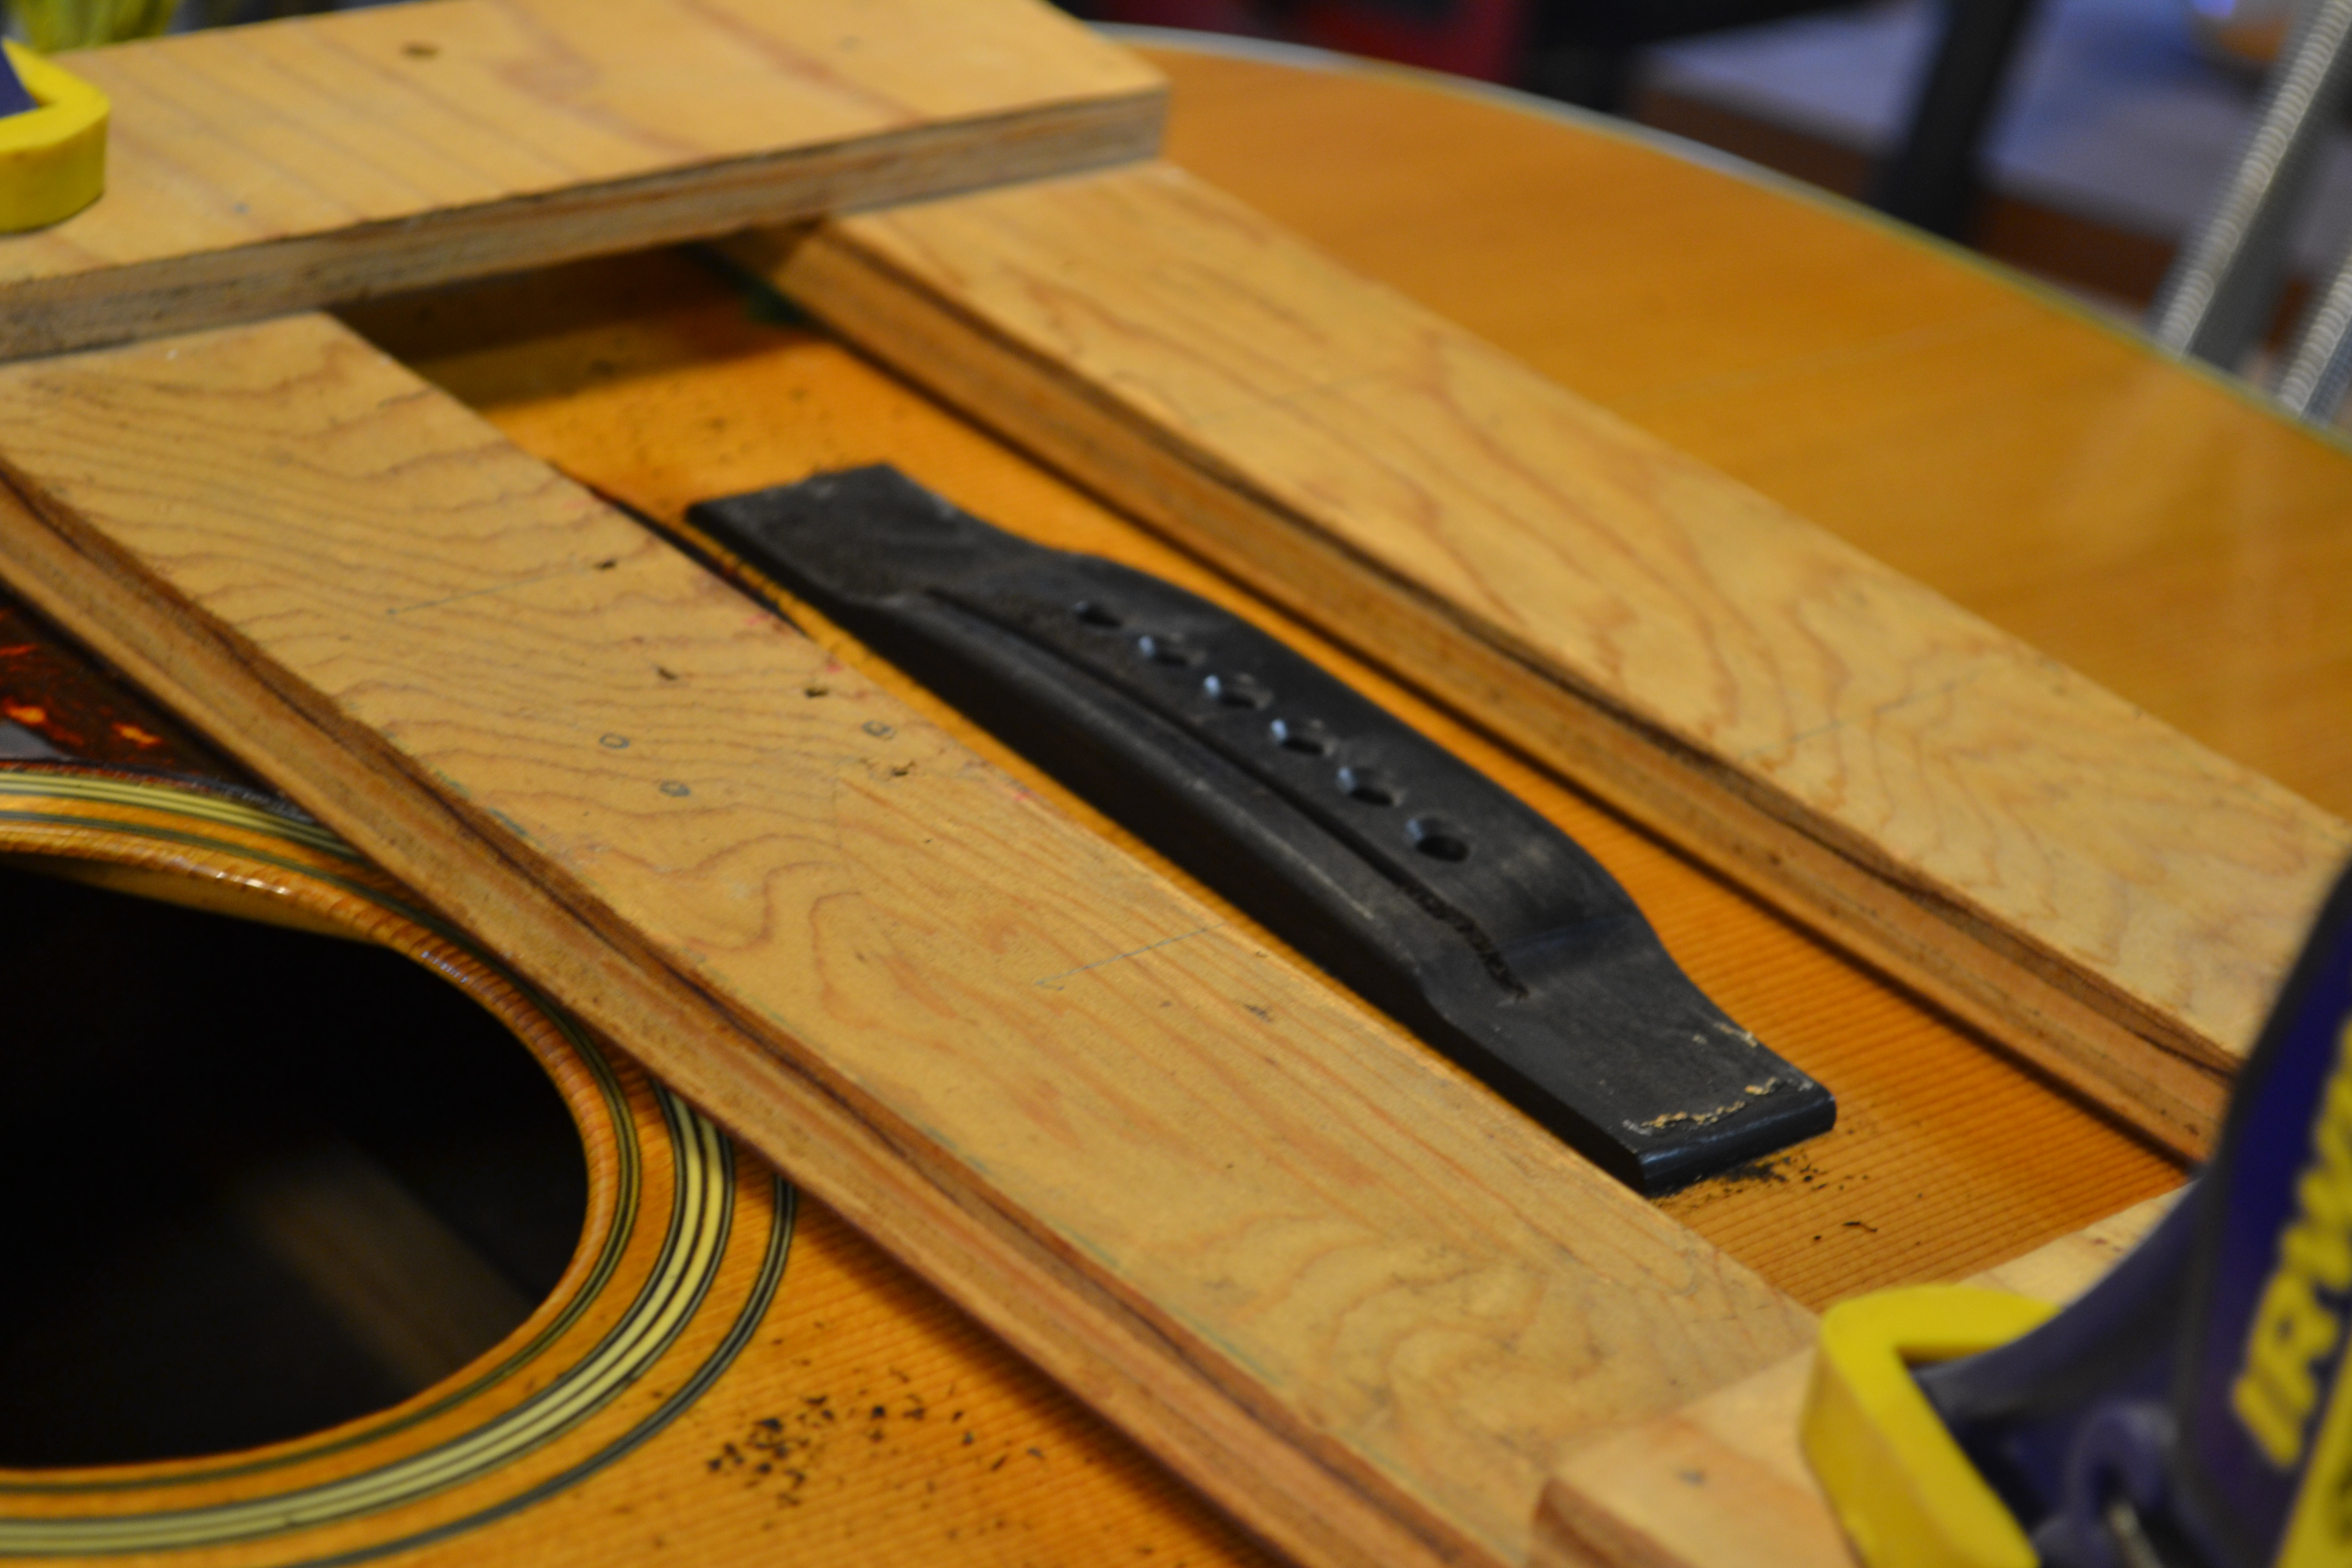
I always install the bridge onto the guitar before I bevel the bridge pin holes and cut the saddle slot. The saddle slot needs to be in the correct place in order for the guitar to play in tune, so I like to take my time and do the math before committing to the location of the saddle.
 |
 |
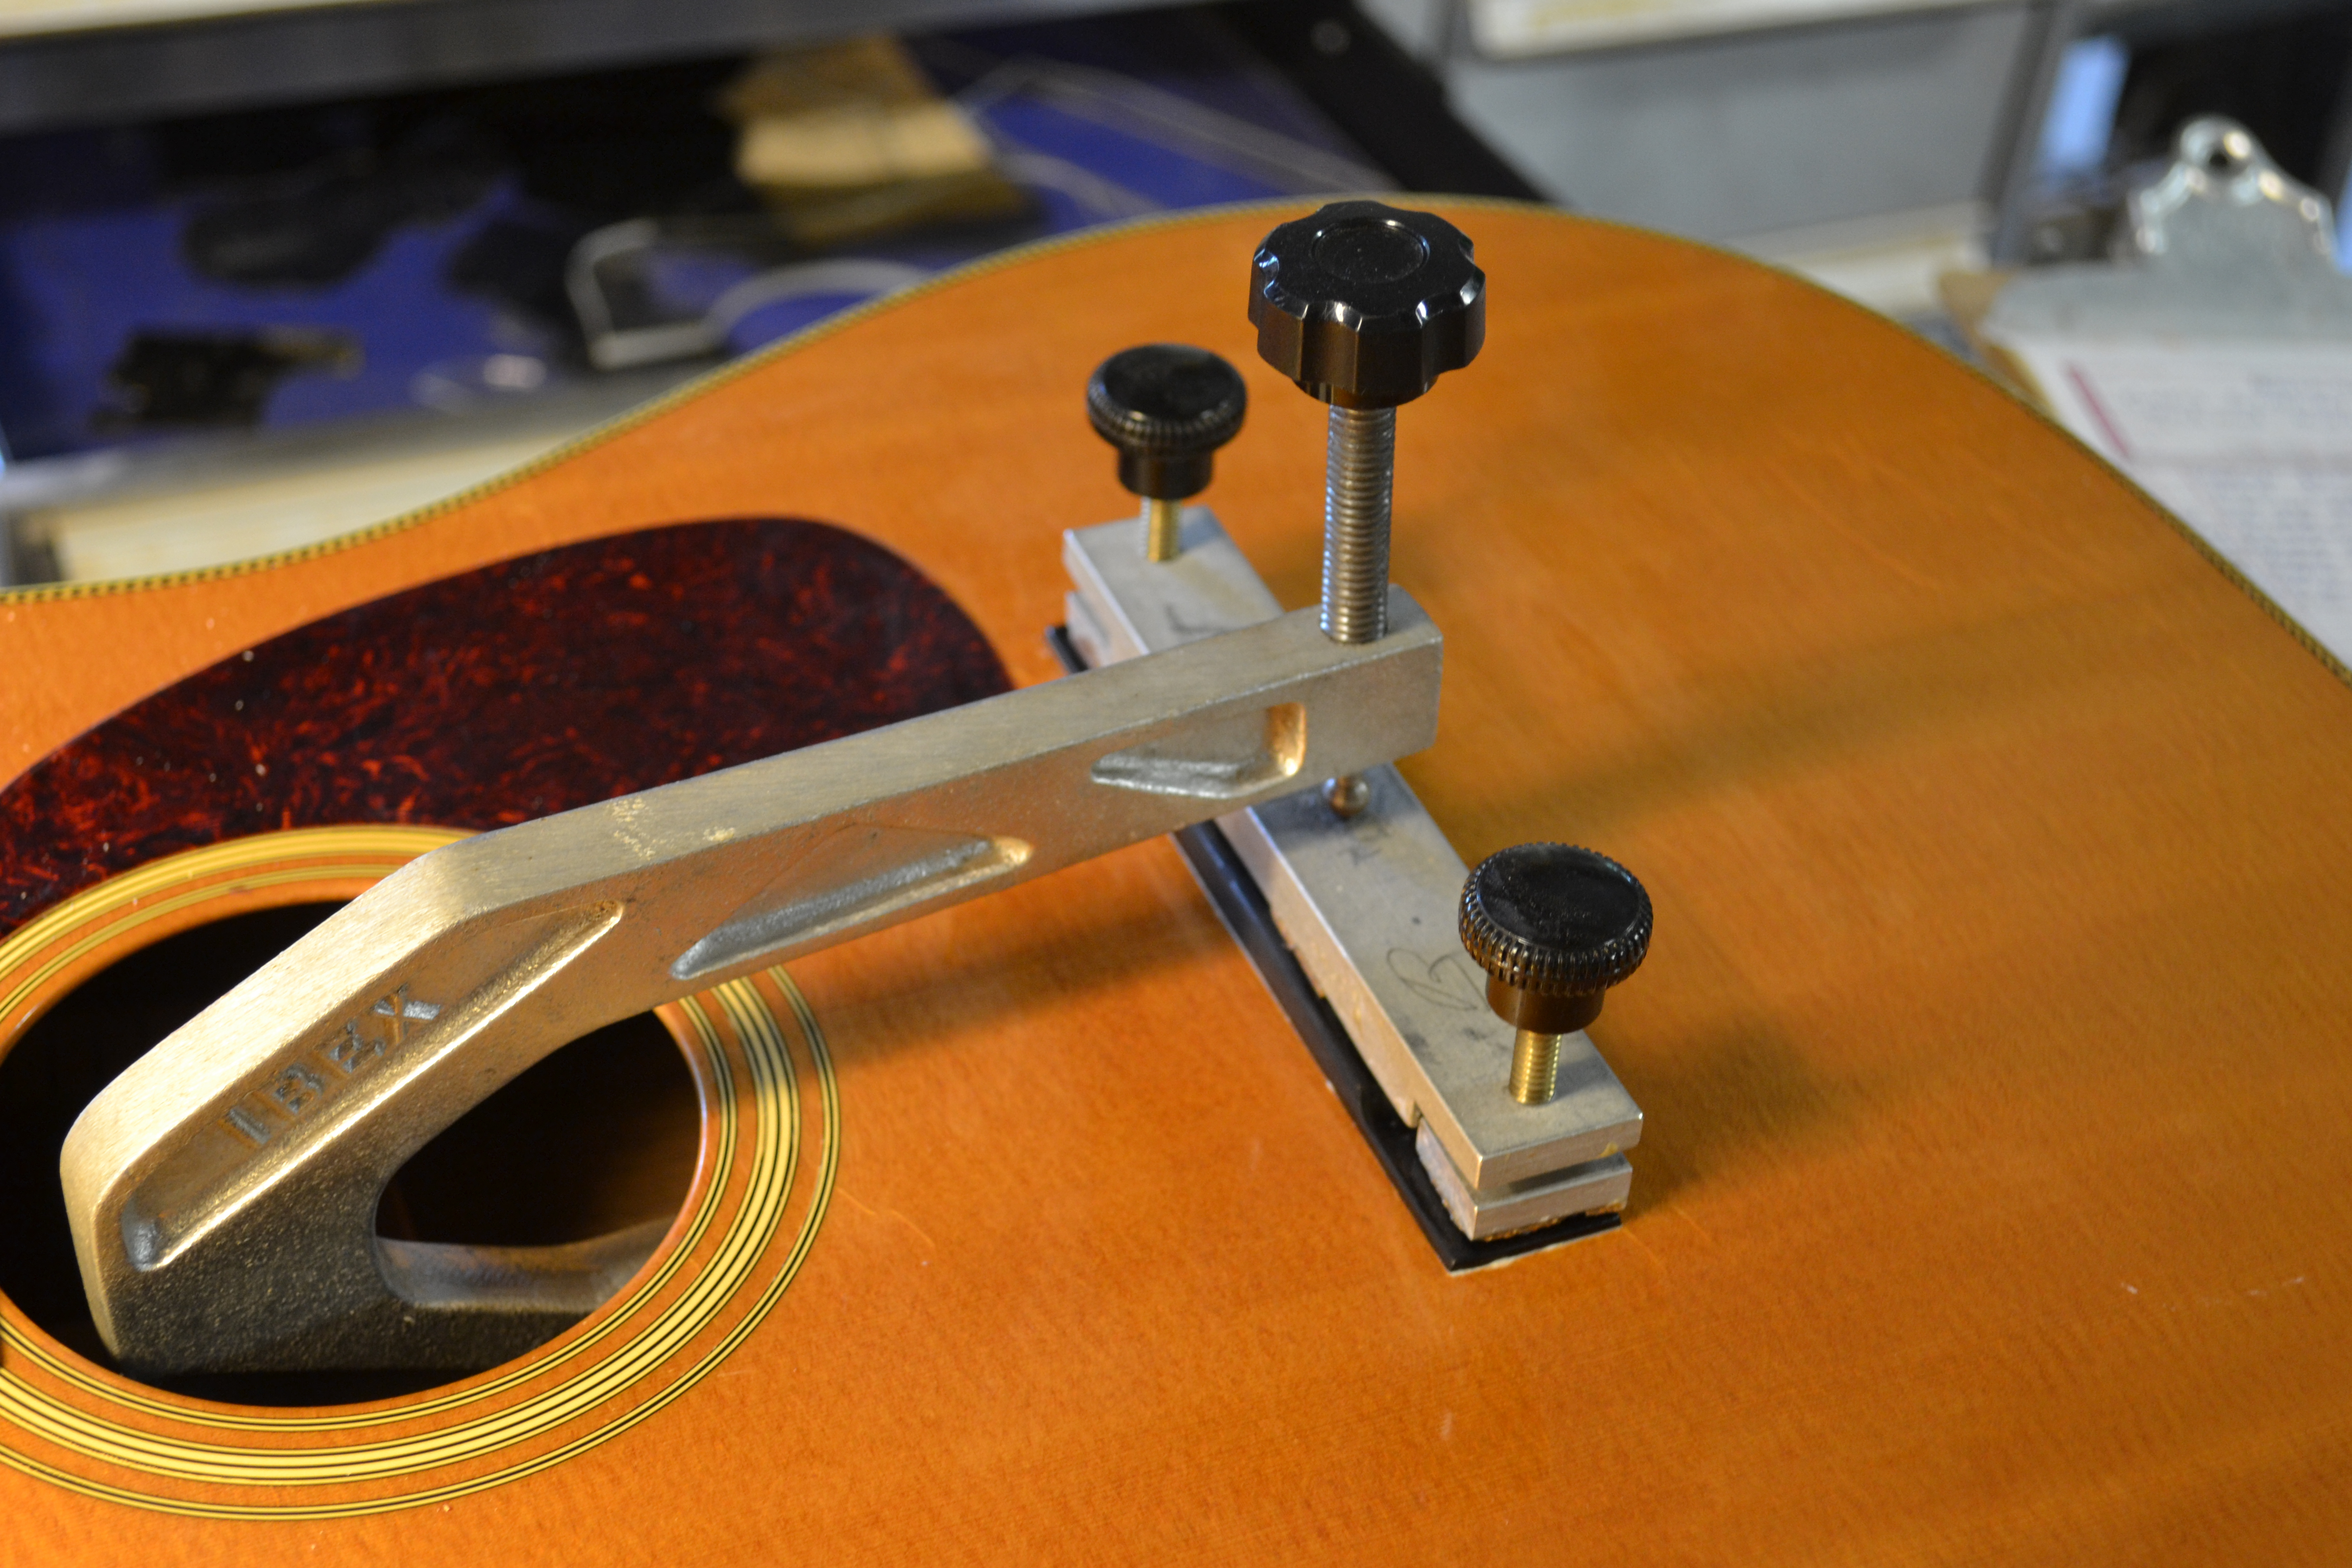 |
I want to show you a bit of old school and new school jig. The newest jig in the shop replaced my home made, 20 year old jig. The original one works but the new Stewart MacDonald saddle slotting jig is so much easier to set up and use plus it is so much easier to tweak in. It is difficult to imagine doing this job with the old rig after I finally got off the money and made room in the tool box for the new one.
 |
 |
 |
 |
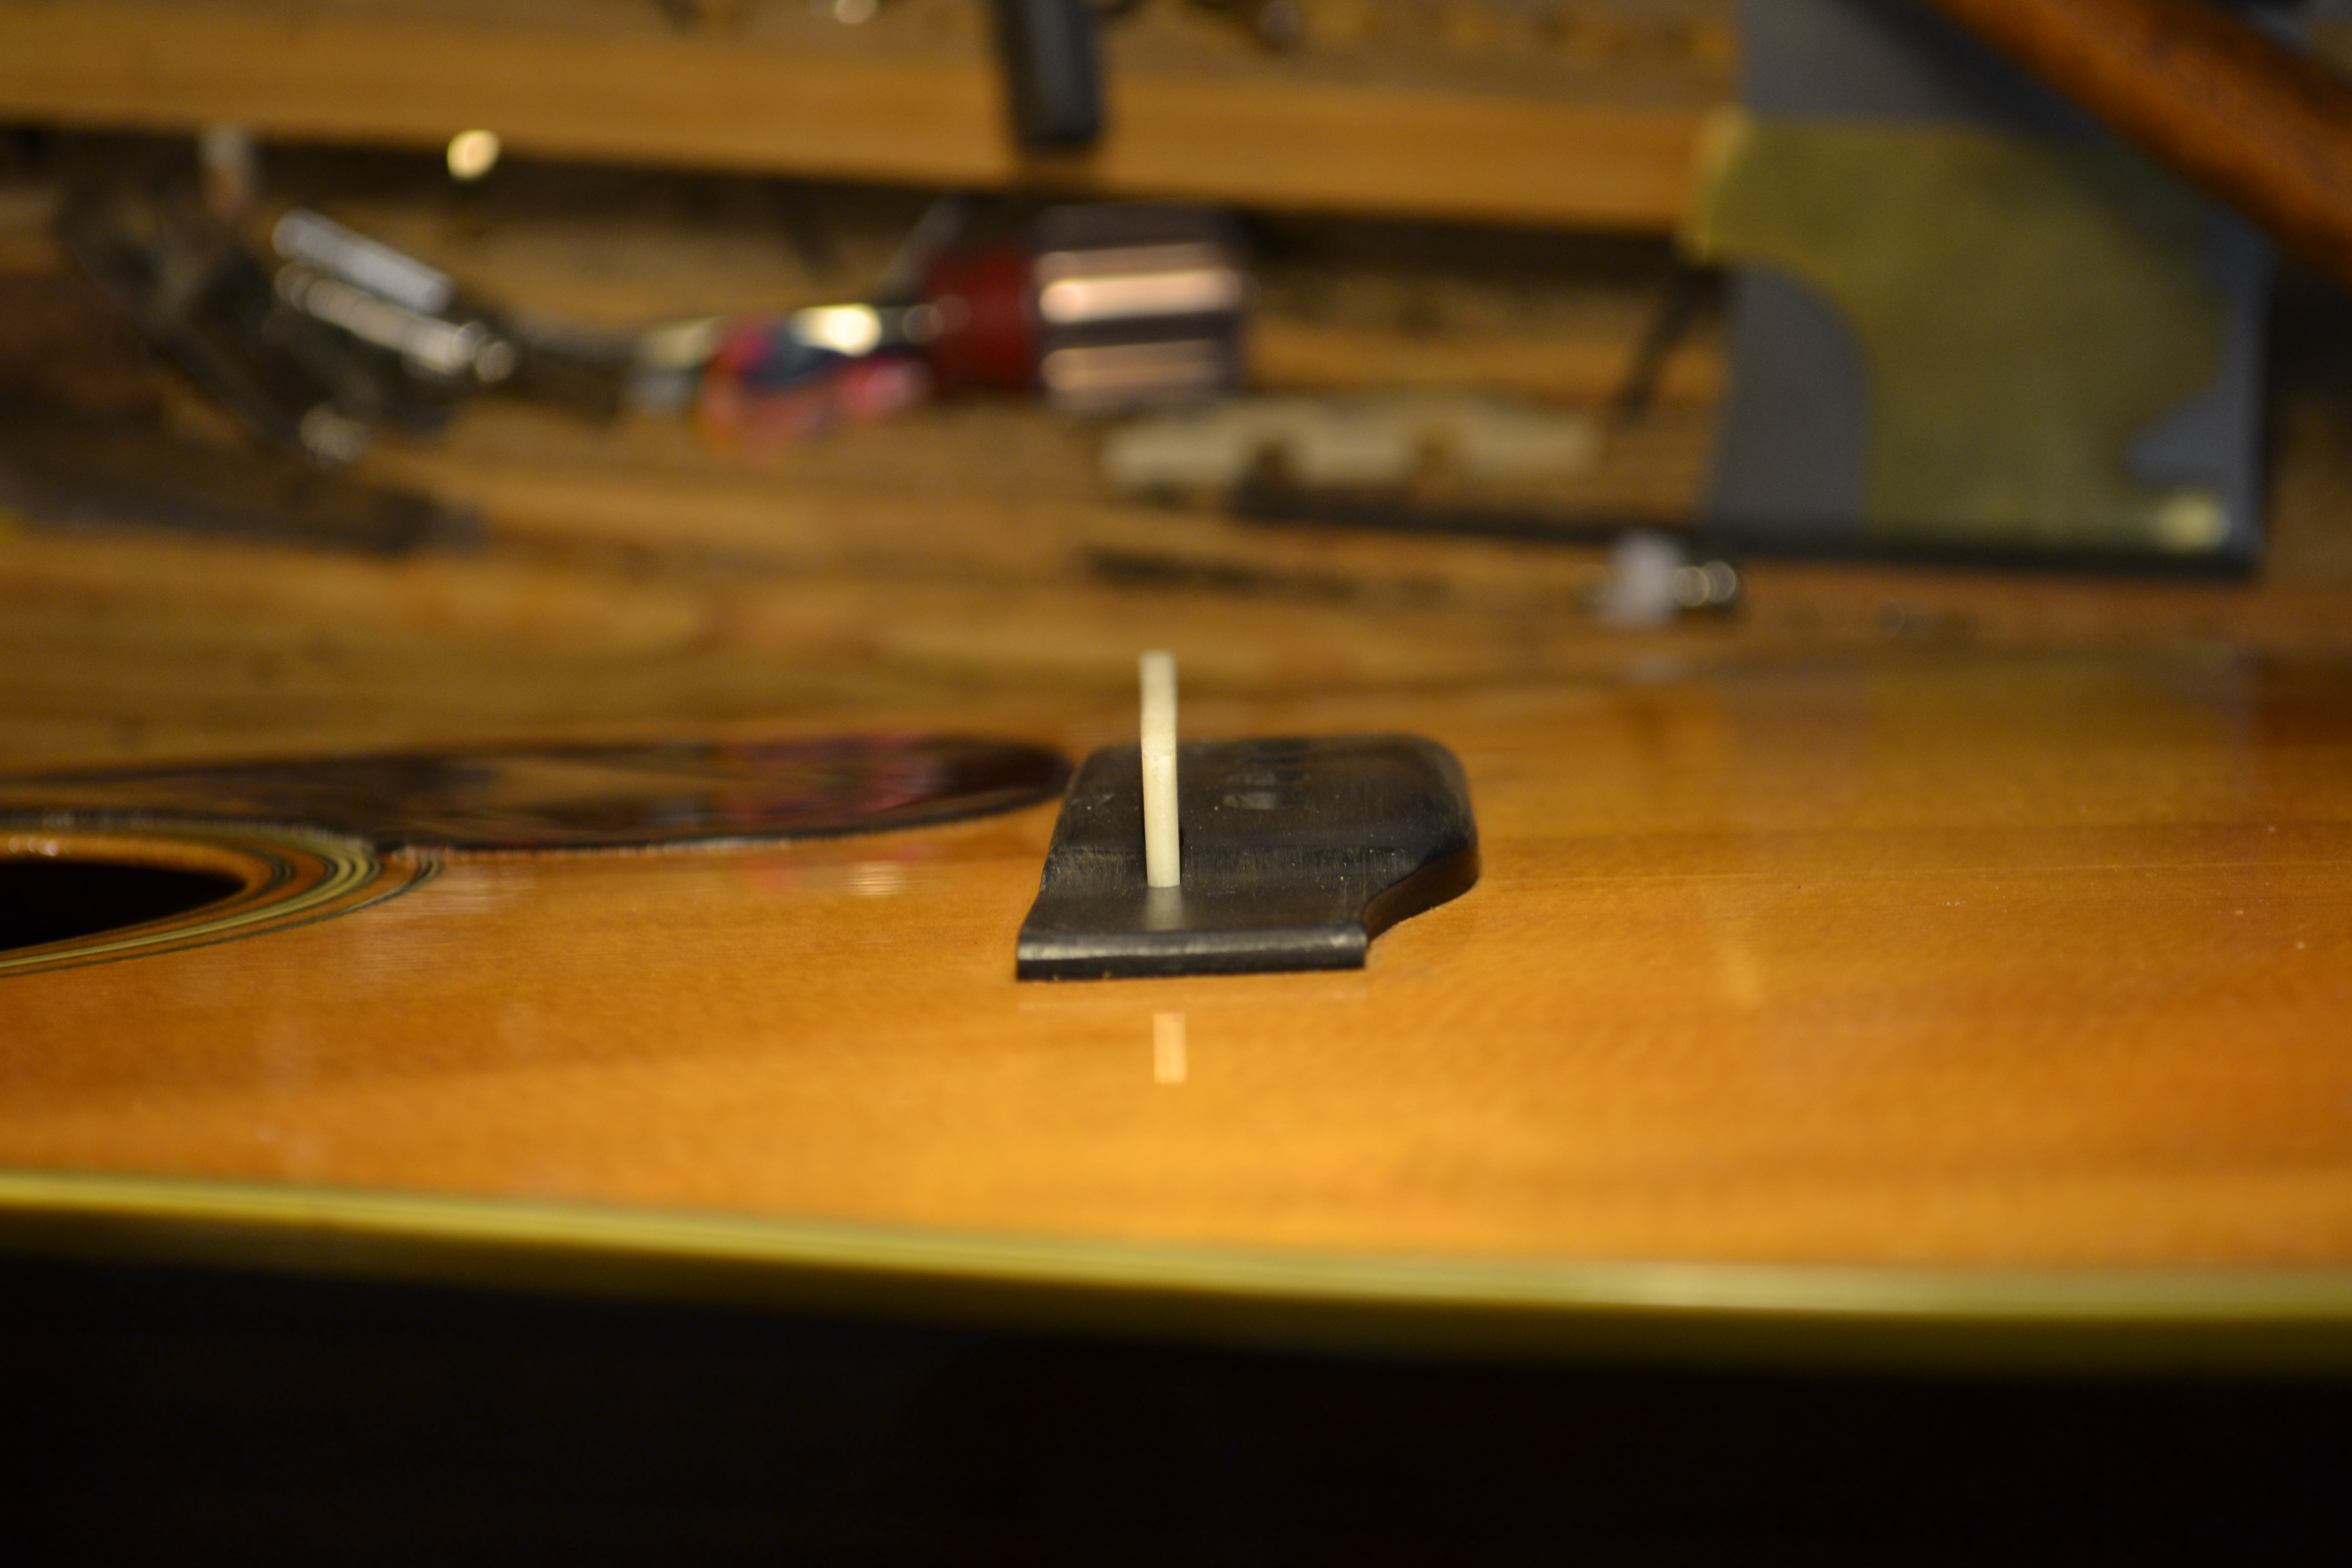
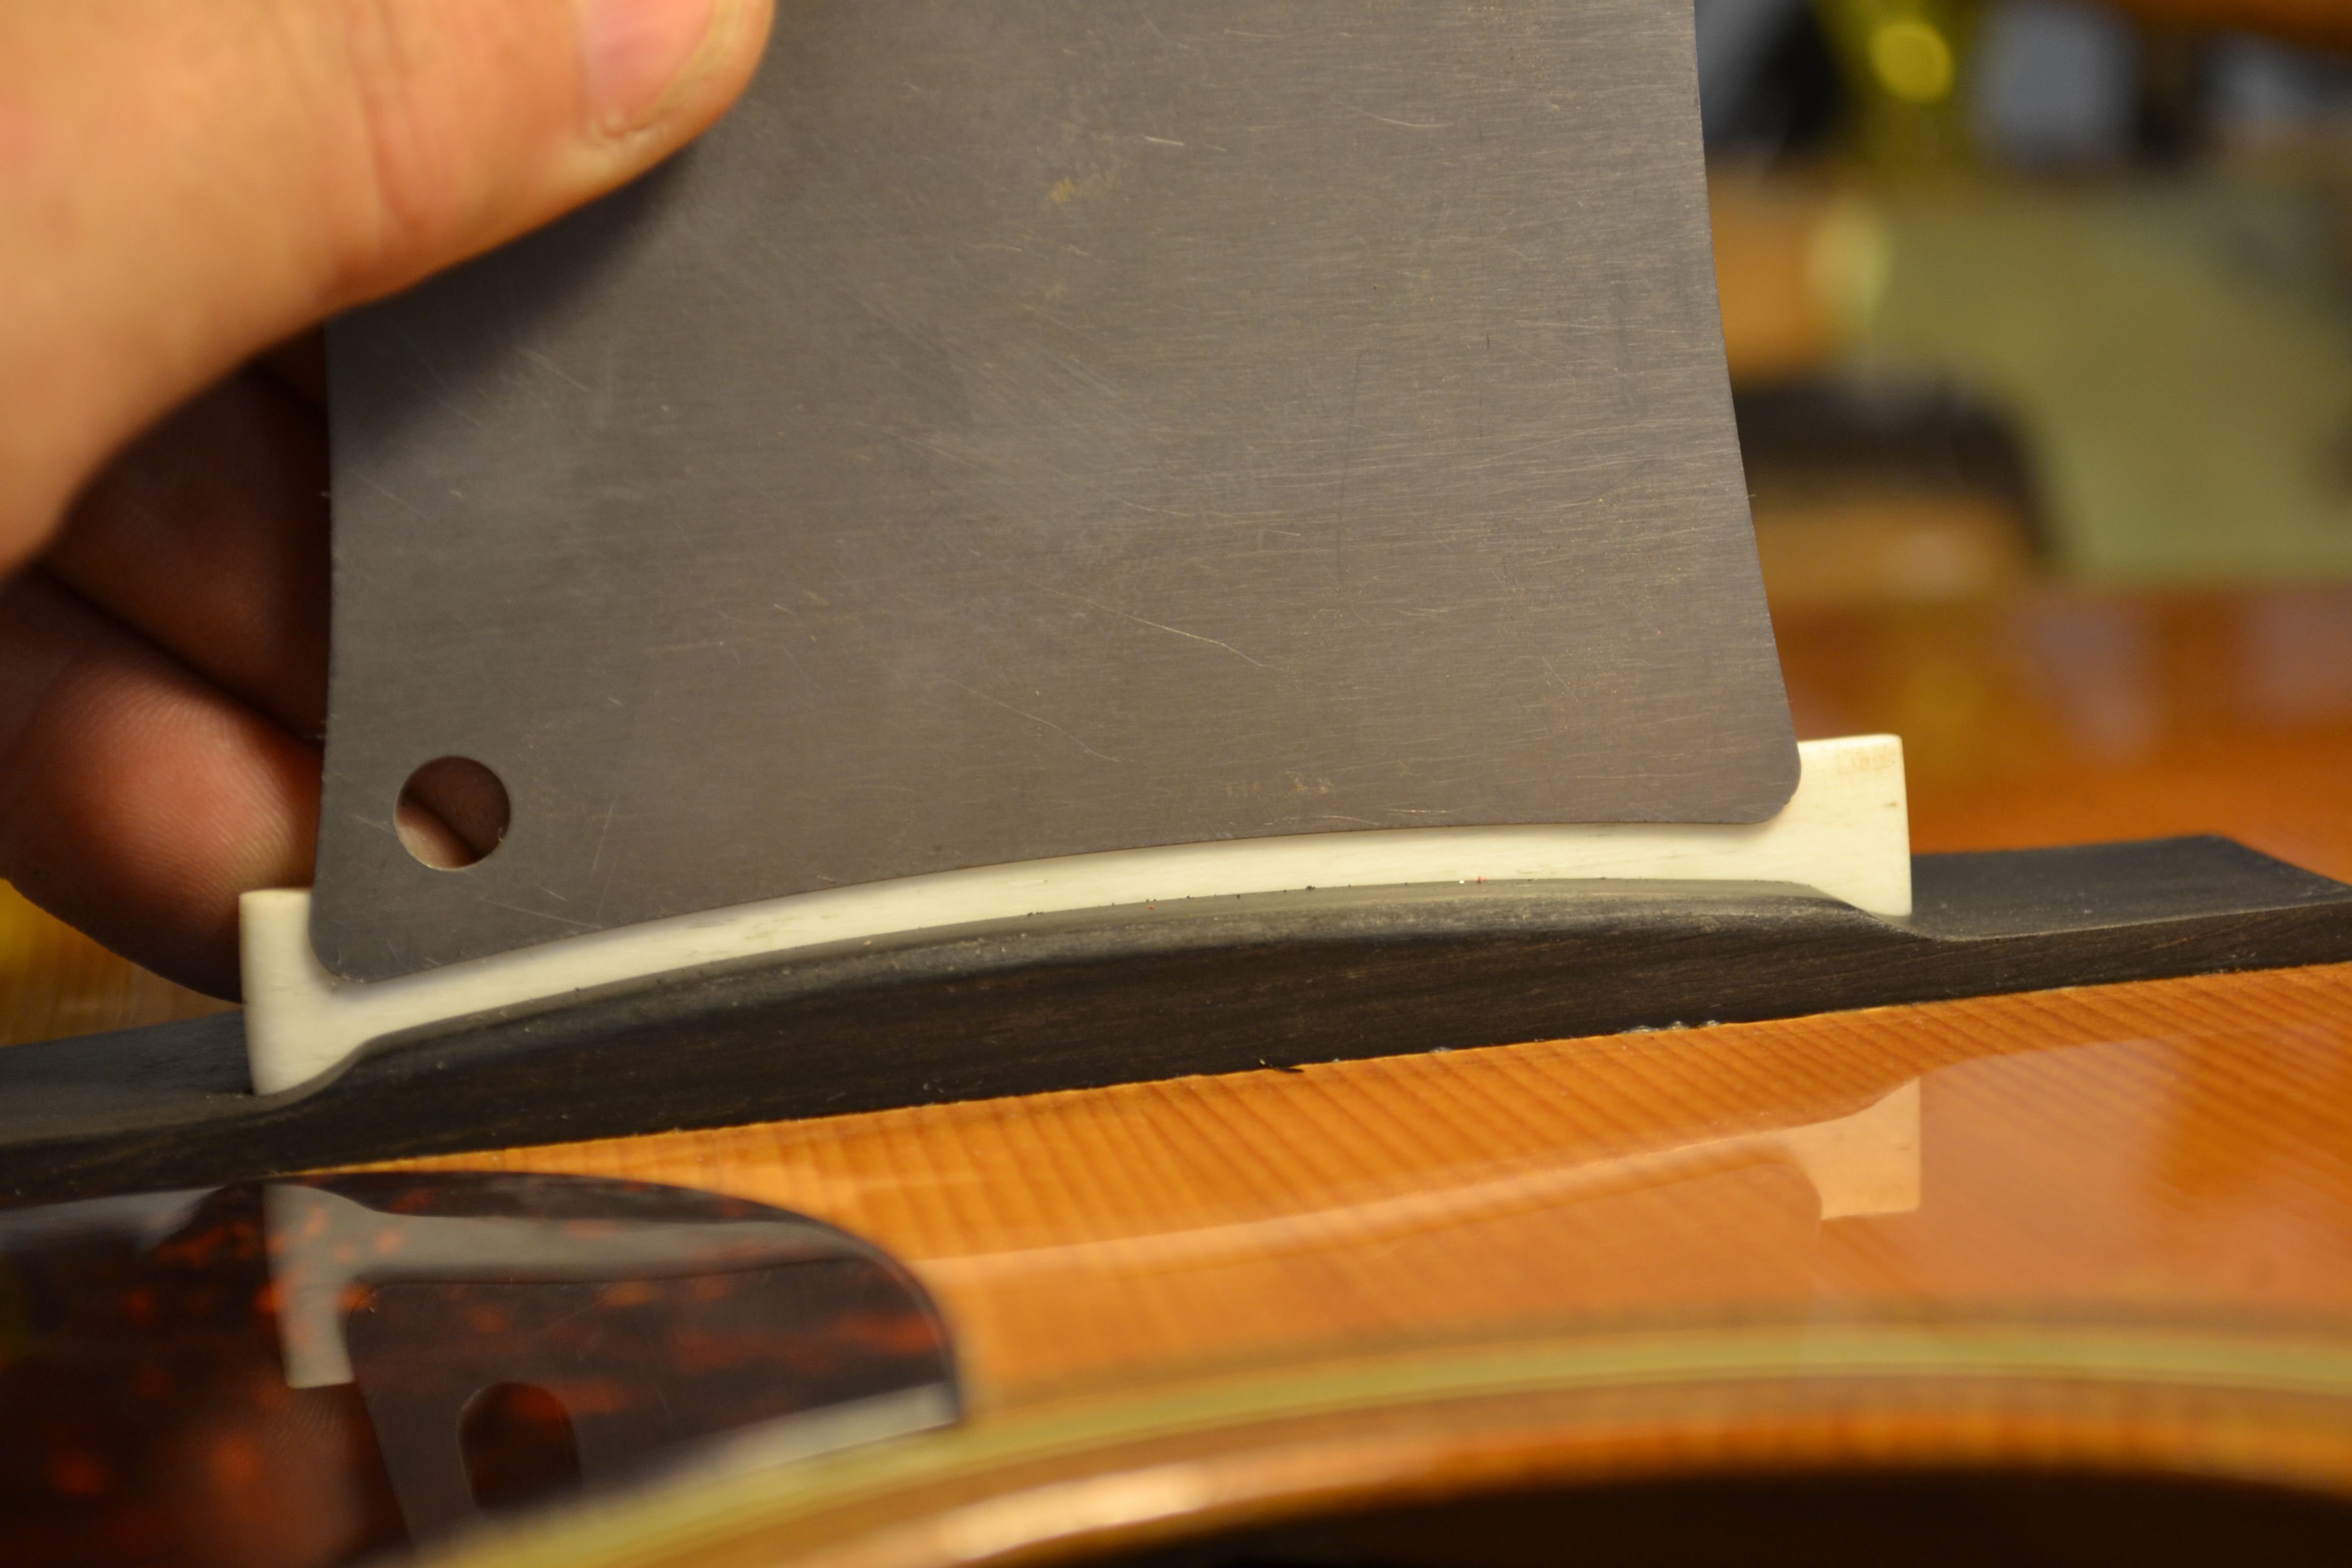
The through saddle on this bridge is actually being recessed into the bridge by 1/8″. This is a personal twist on the traditional through saddle that was used with the permission of the guitar owner. It adds stability and looks nice when pulled off properly.
 |
 |
 |
 |
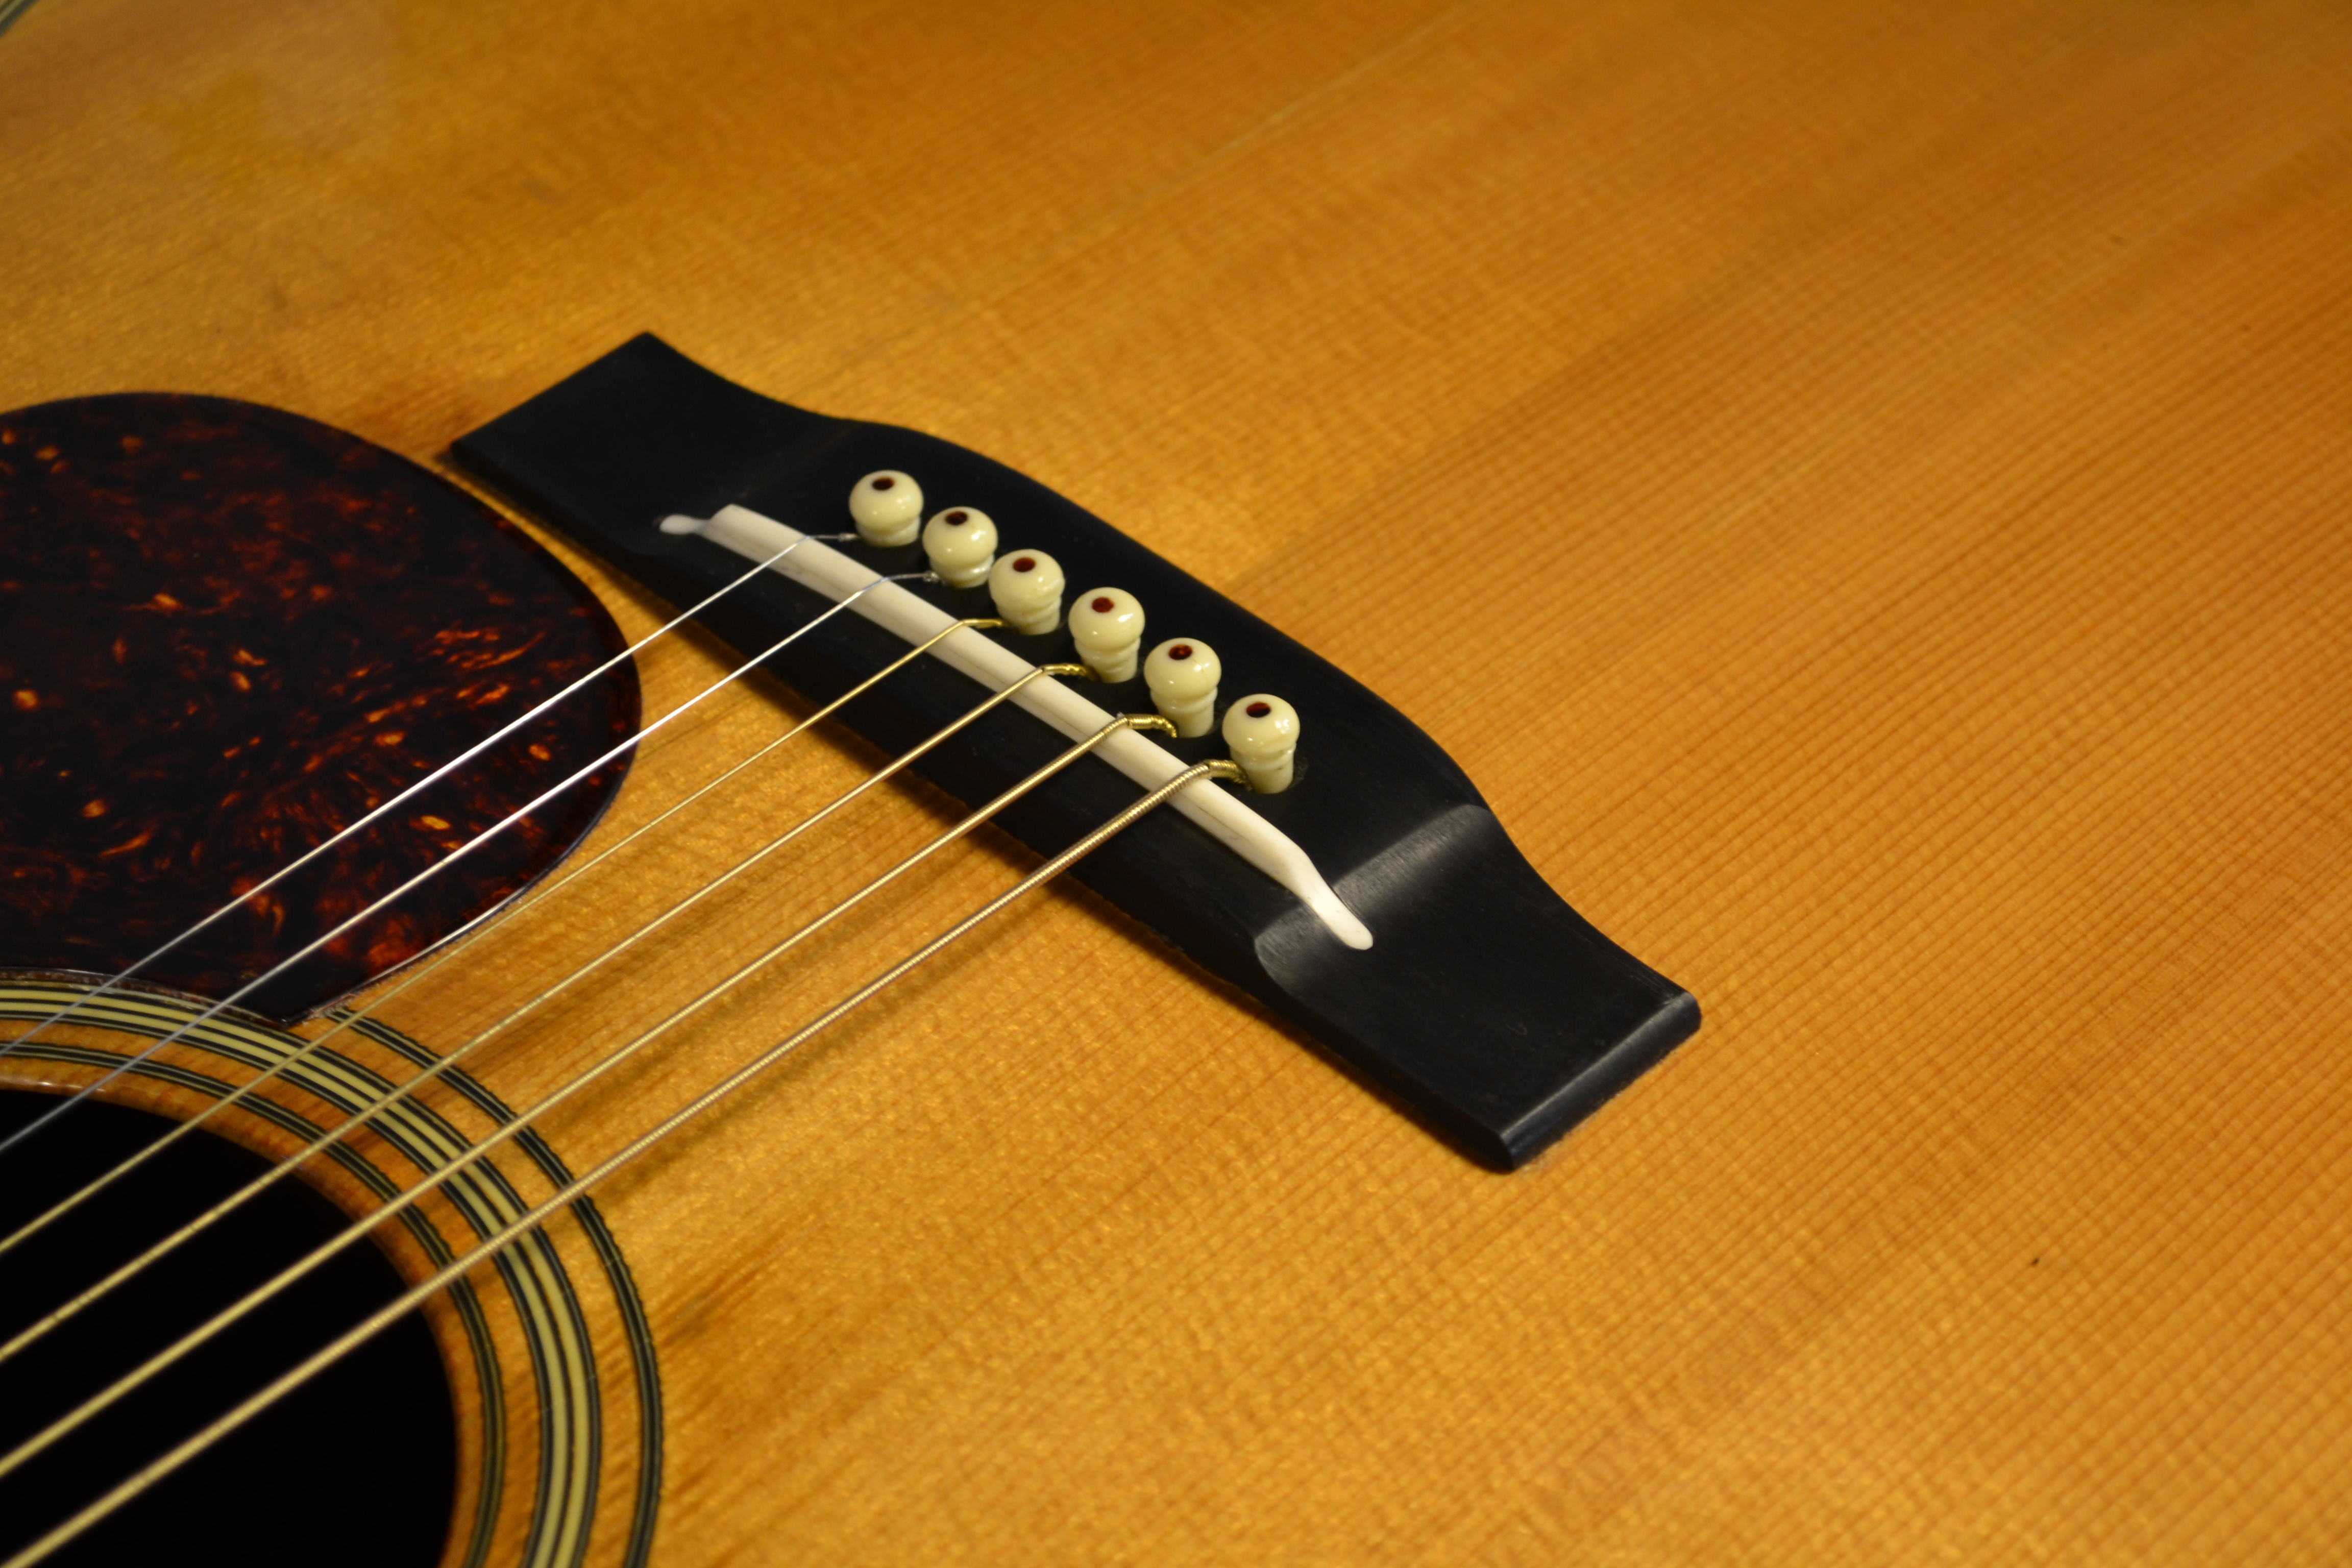
This bridge looks fantastic and sounds killer. It isn’t easy to produce a duplicate bridge on a classic or custom guitar, but it is a skill you should acquire if you are going to do this kind of work. The better you are at being as exacting as possible, the more successful you will be as a luthier.
 |
 |
 |
Thank you for your visit and please feel free to call or e-mail me if I can be of any service.
Richie Dotson