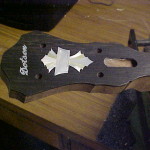
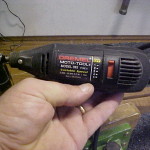
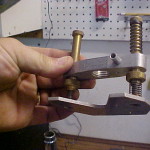
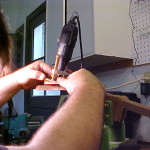
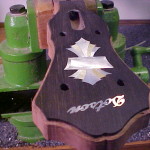
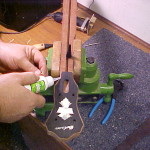
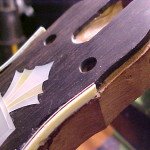
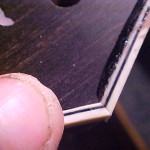
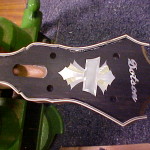
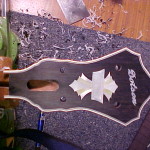
This headstock is shaped and the inlay has been installed. It looks a little plain to me and I think that installing binding will really give it definition and make the art deco style of this piece really pop. I chose a .090″ binding that is layered, for a nice pin-striped look and Stewart MacDonald Guitar Shop Supply makes the perfect set of bits for routing headstock for binding called Piloted Binding Router Bits. They are available for binding that is .060″ and .090″ binding. They are very pricy at over $20.00 each, but worth it if you want to do this kind of work well. Another must is a variable speed Dremel tool and I really like Stew Mac’s adjustable router base that I modified (I own several of these set up for different jobs) so it will cut at a 15 degree angle, keeping the binding in line with the lines of the headstock that run perpendicular to the plane of the neck. Setting the bit’s depth correctly will ensure that when you start your routing you don’t go too deep. I use the highest setting on my Dremel for this job.
Click on the pictures for a larger view
 |
 |
 |
 |
 |
 |
 |
 |
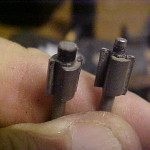
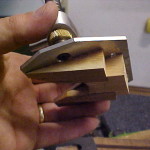
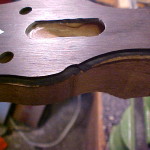
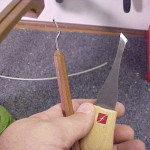
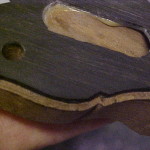
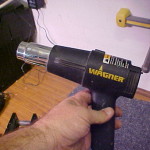
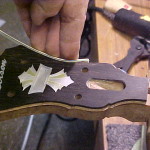
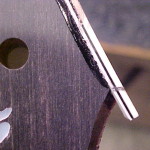
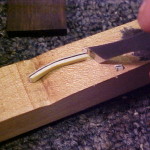
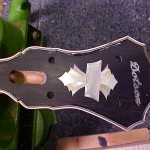
Even after routing the binding channel you will need to do some cleanup using very sharp chisels. I like the angled knife and the dogleg chisel for this. If you take you time you can do a really nice job. In the corners where the bit wouldn’t reach and in the points, I have to do a little more hand work. This decorative element takes about three hours to properly execute, adding approximately $150.00 to the cost of an instrument. To proceed with the rest of the binding job I need a heat gun (not a hair dryer as it will not produce temperatures hot enough to soften the binding. ** Extreme caution should be used when softening celluloid binding as it can catch fire easily**
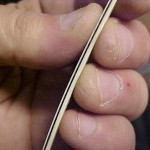
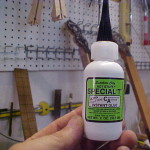
The new binding that is available as a substitute for celluloid binding is ultra crap, in my opinion, and celluloid should be sought out for binding jobs if at all possible. It is tough, very wear resistant and there is a really good reason we didn’t use soft plastic before now … IT IS JUNK!!!!! Back to the job at hand: I also use a medium viscosity cyanacrolate (super glue) and a spray accelerator to help the so-called instant-set glue set instantly. Better living through chemistry! Make sure that the binding is a little taller than the channel that is being routed. I cut mine on a band saw and made sure that at least one of the edges was square.
 |
 |
 |
 |
 |
 |
 |
 |
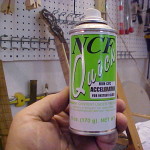 |
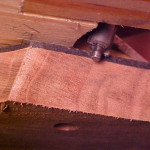
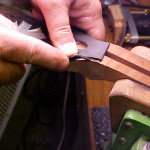
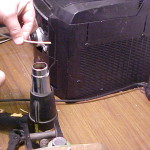
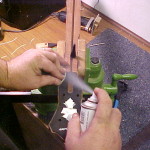
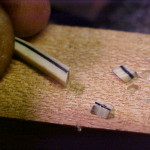
With your heat gun on the lowest setting and the binding constantly moving to avoid setting the binding on fire, I hold the binding over the gun until the binding is soft enough to mold to the area it will be glued to and hold it there until it cools. It only takes a few seconds. I then start gluing every other piece in place. this will differ depending on the shape and complexity of the headstock to be bound. An F-style mandolin headstock will be a little different, but they all present their own unique challenges. Only a brief blast of the accelerator is needed and after a few seconds it is set. Marking and cutting perfectly matching pieces to fill in the pieces in between is my next challenge.
 |
 |
 |
 |
 |
 |
 |
 |
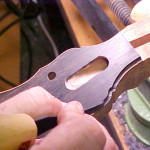
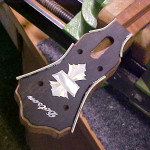
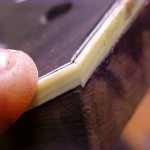
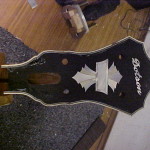
Razor sharp tools are required to do this properly. A good eye and lots of patience is also a must. You will get it wrong a few times, and that’s okay, as long as you don’t settle. Getting the layers of binding to match from one piece to another looks nice and says volumes about your craftsmanship. After everything fits perfectly and is glued into place, a cabinet scraper brings all the binding flush with the peghead’s ebony veneer.
 |
 |
 |
 |
 |
 |
 |
 |
Thank you for your visit.