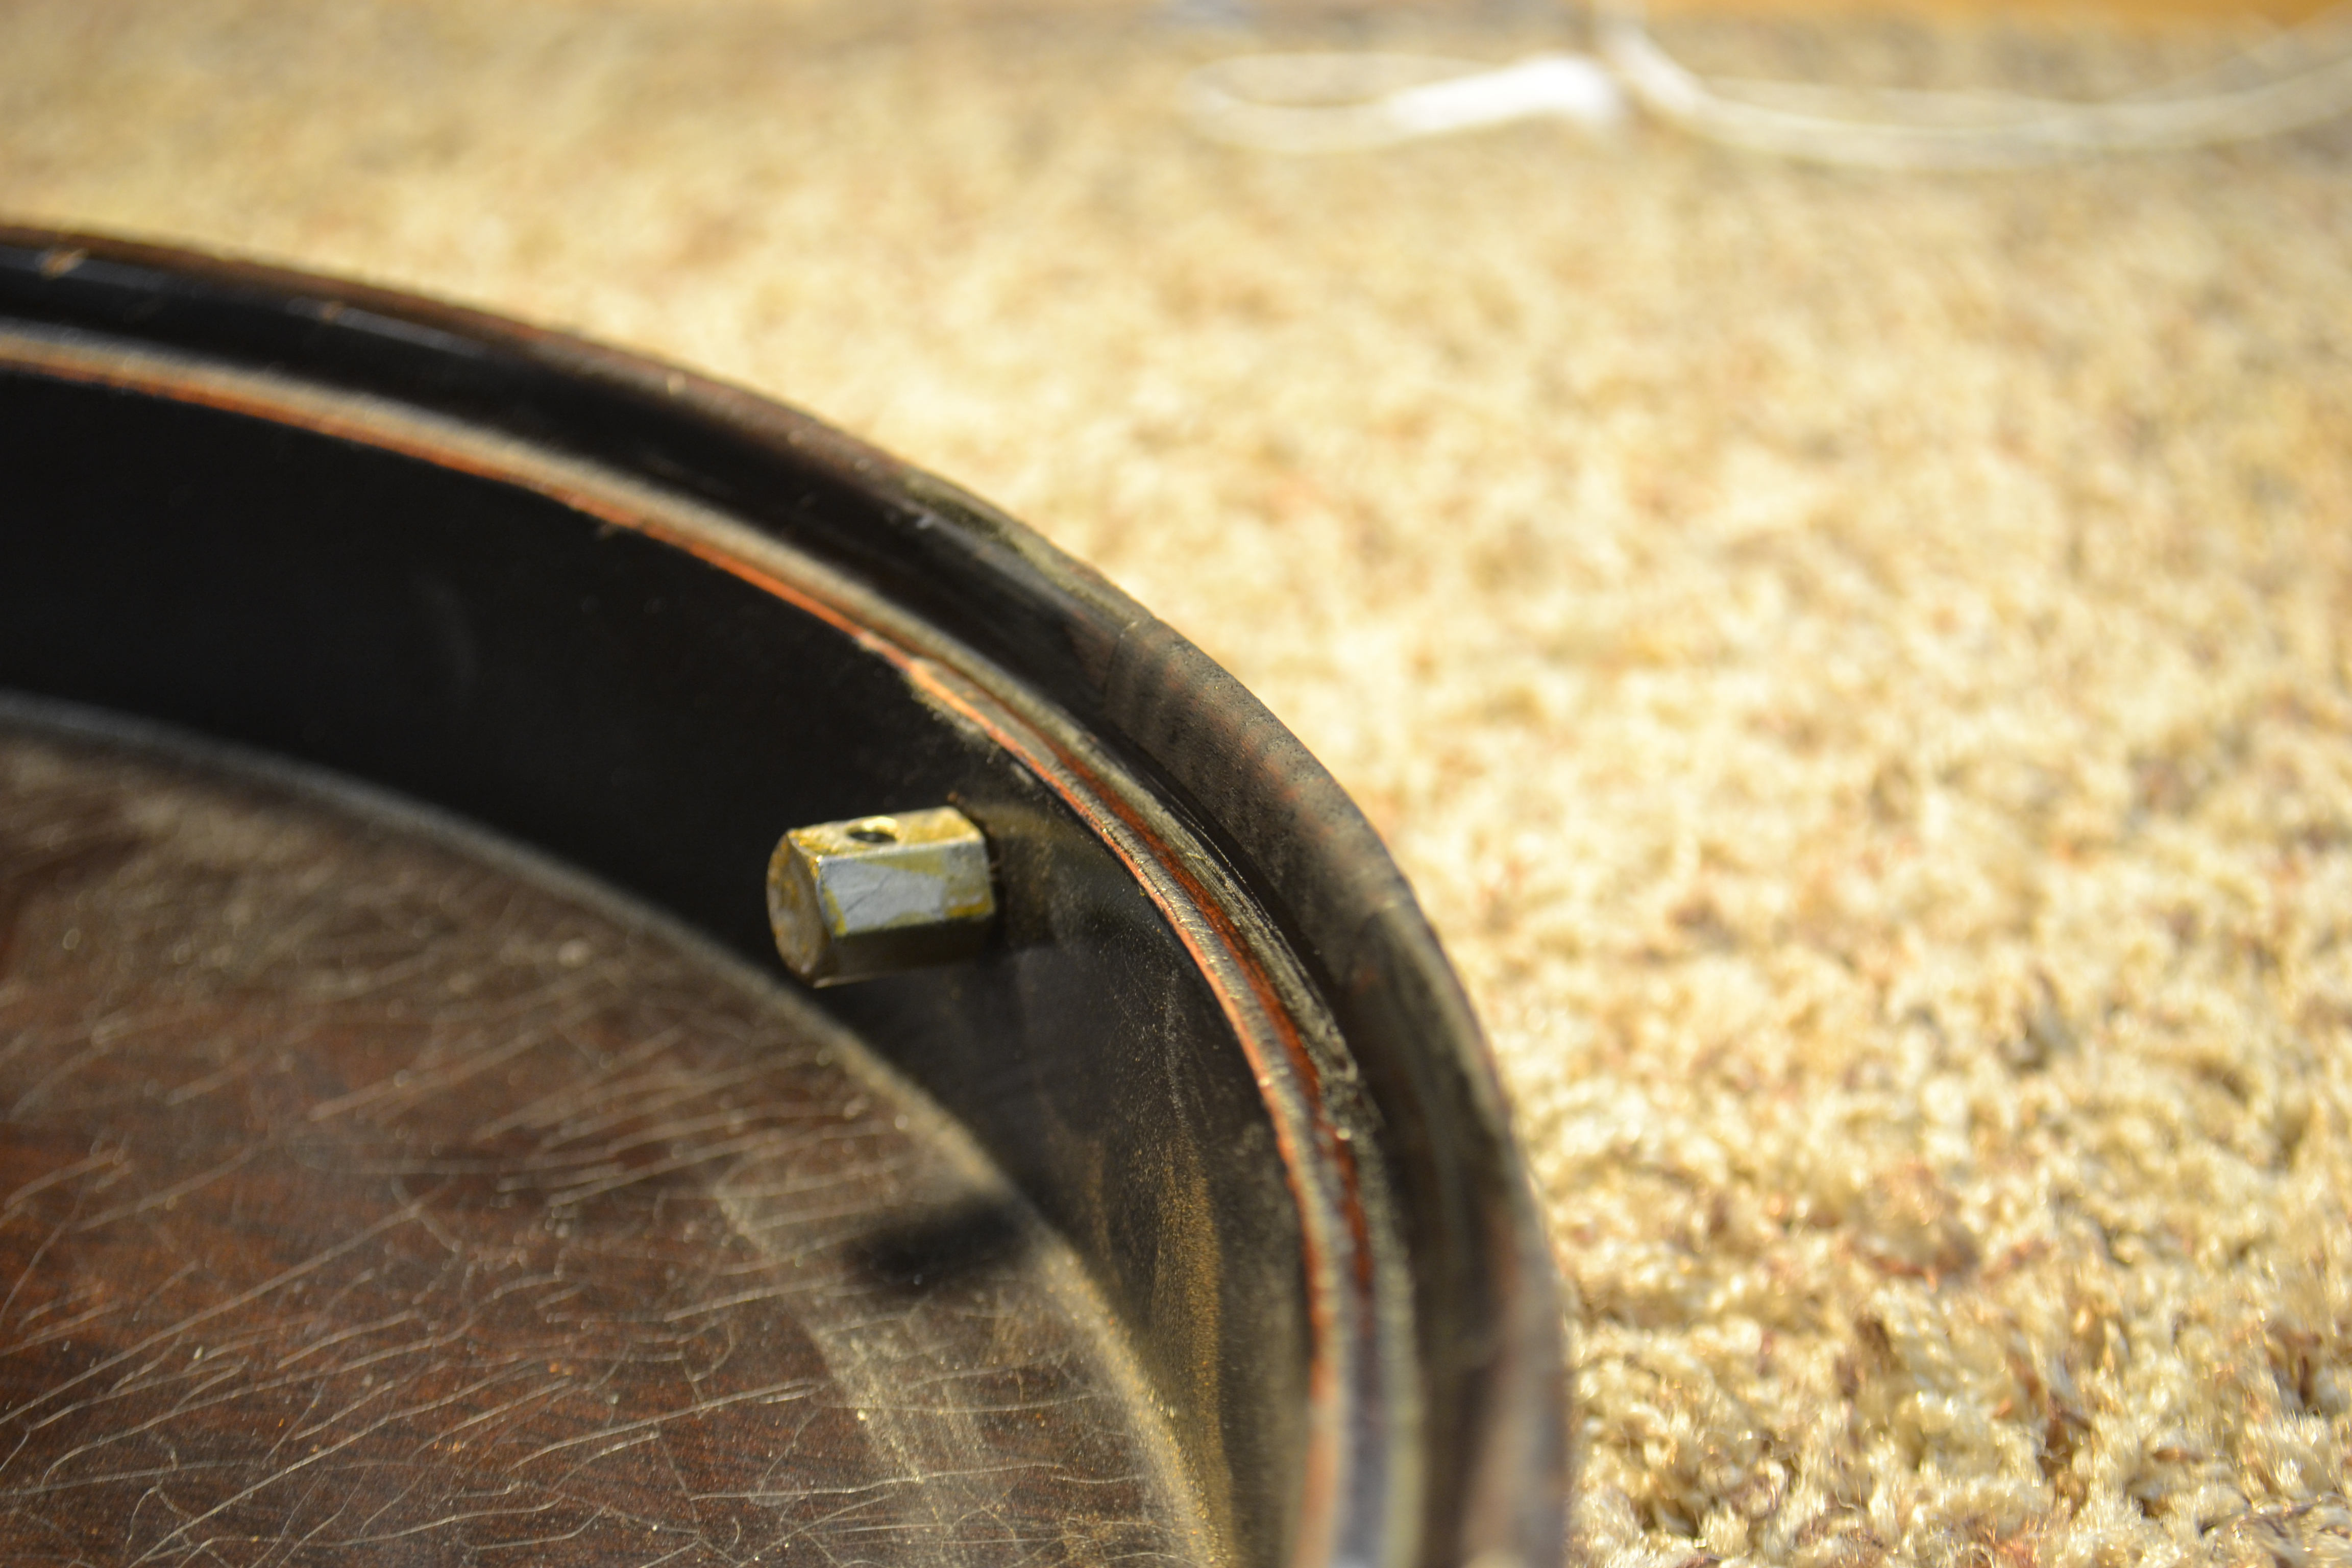
This is a mid 1970’s Gibson Banjo Resonator. I know that this was the peak of the bad years for Gibson, but this is a good representation for resonator repair and binding replacement on a resonator.
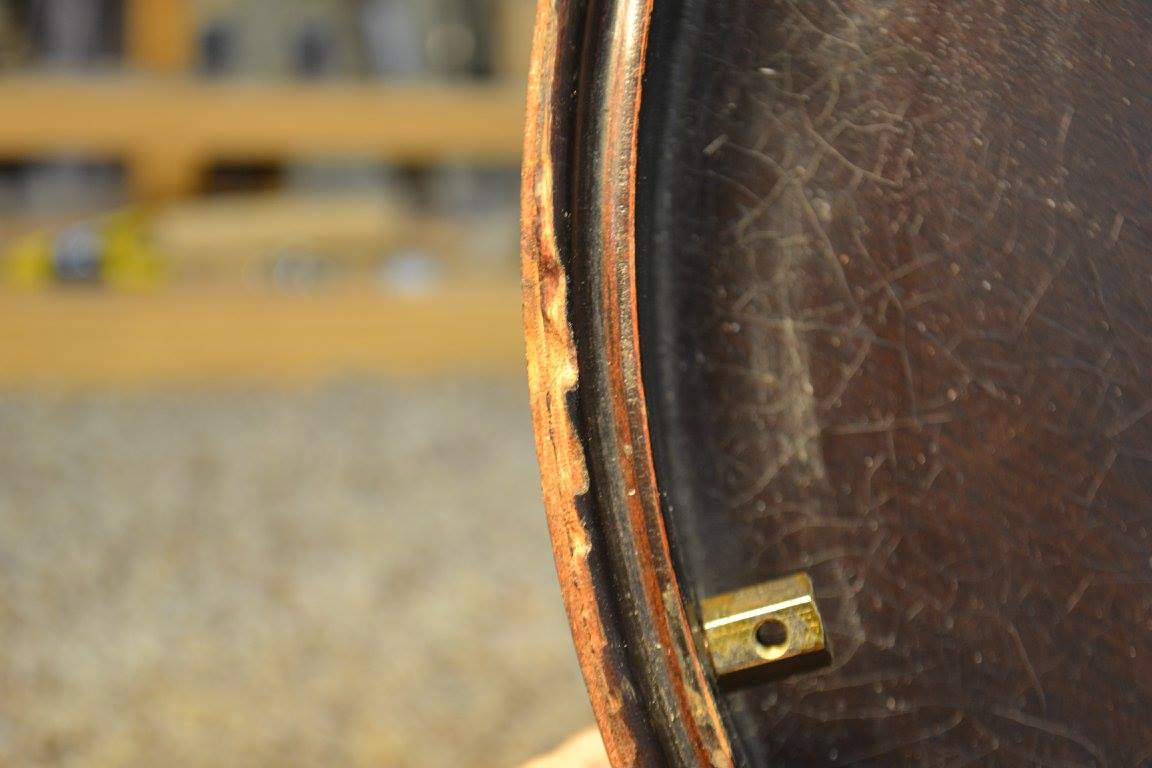
The binding on this resonator was suffering from celluloid rot, a condition where the VOCs in the binding start to evaporate or gas off. Likely, the beginning of that condition was brought about by a breach in the finish. That breach on the top side of this resonator was helped along by a metal clip-on (think dog collar clip) banjo strap. In fact, the binding and even the routed lip of the resonator was very badly damaged by that strap clip… so don’t use them… on anything… ever!
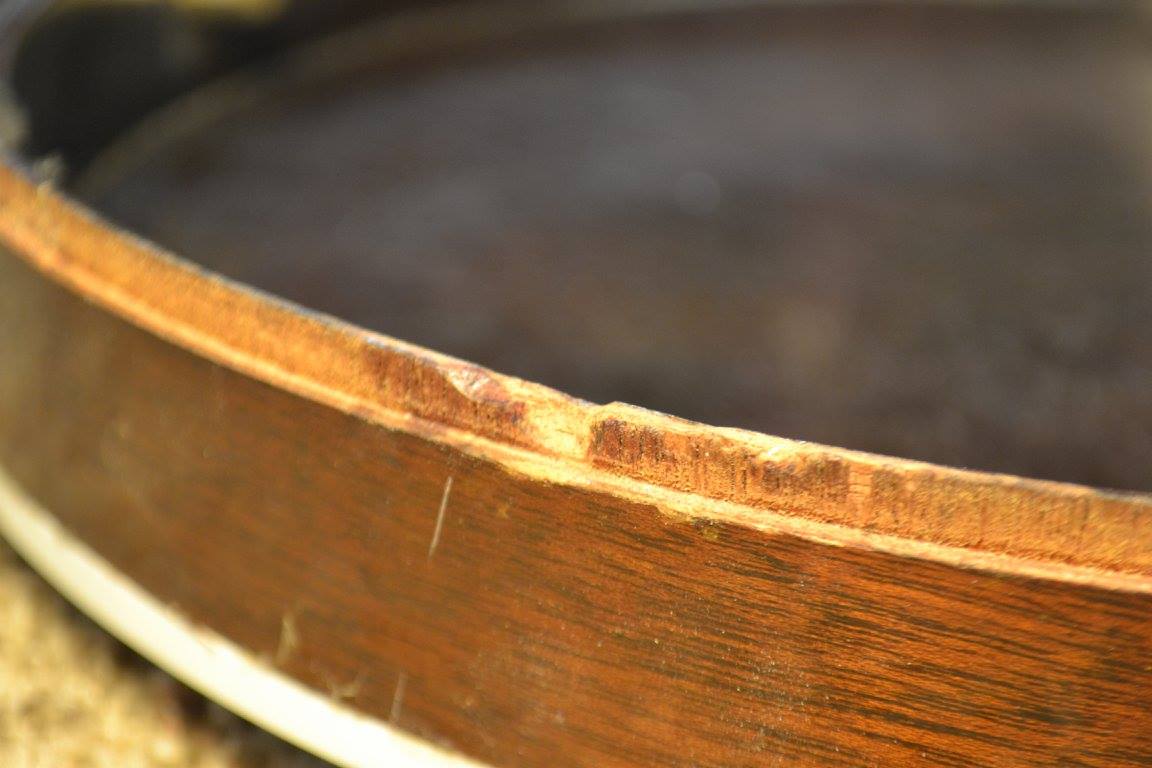
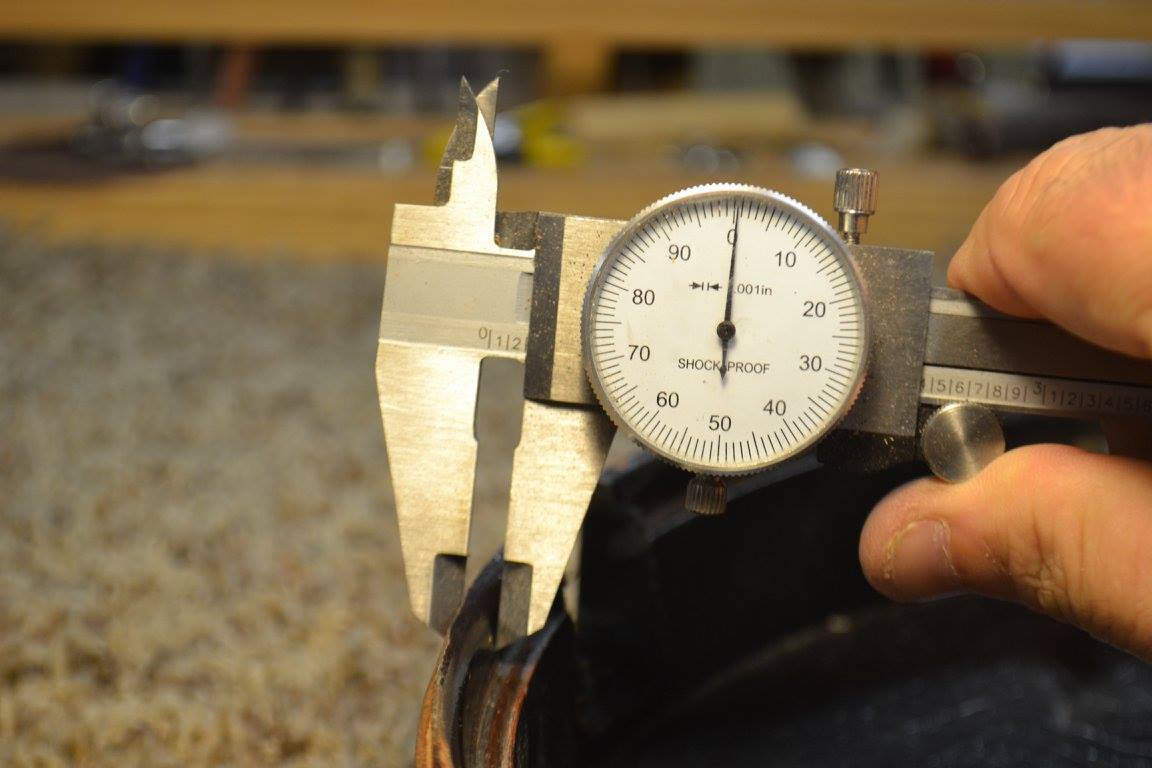
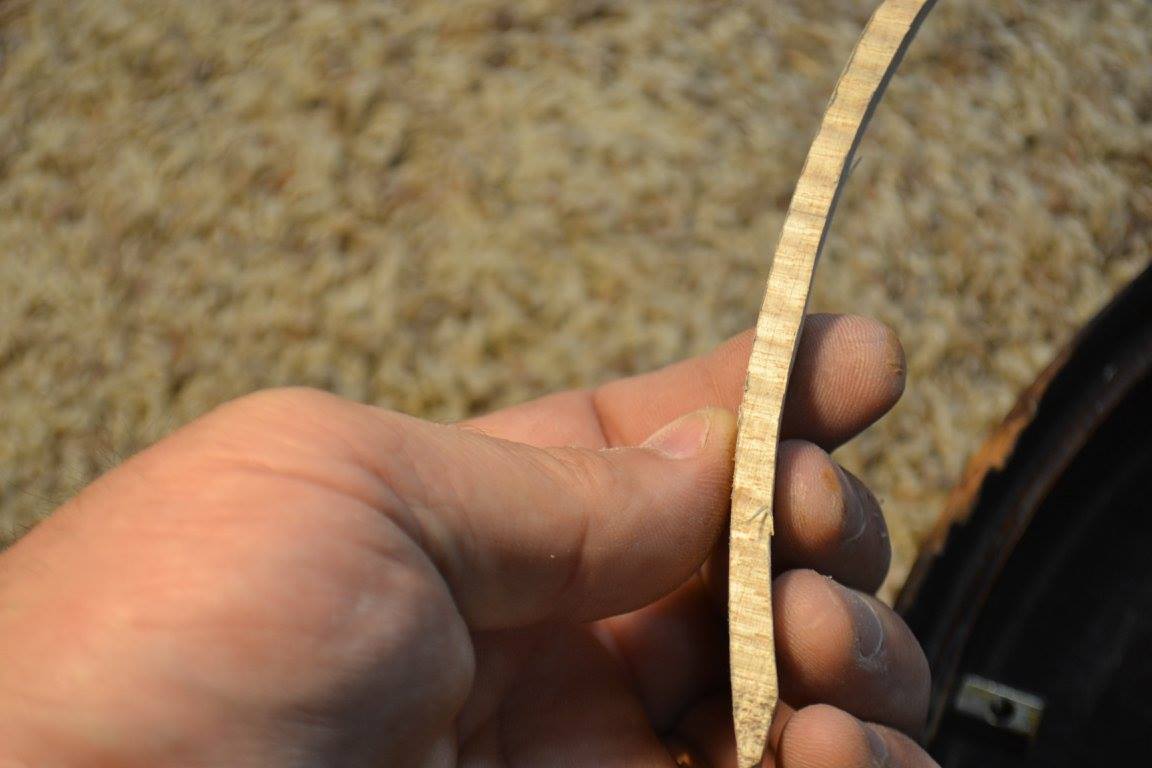
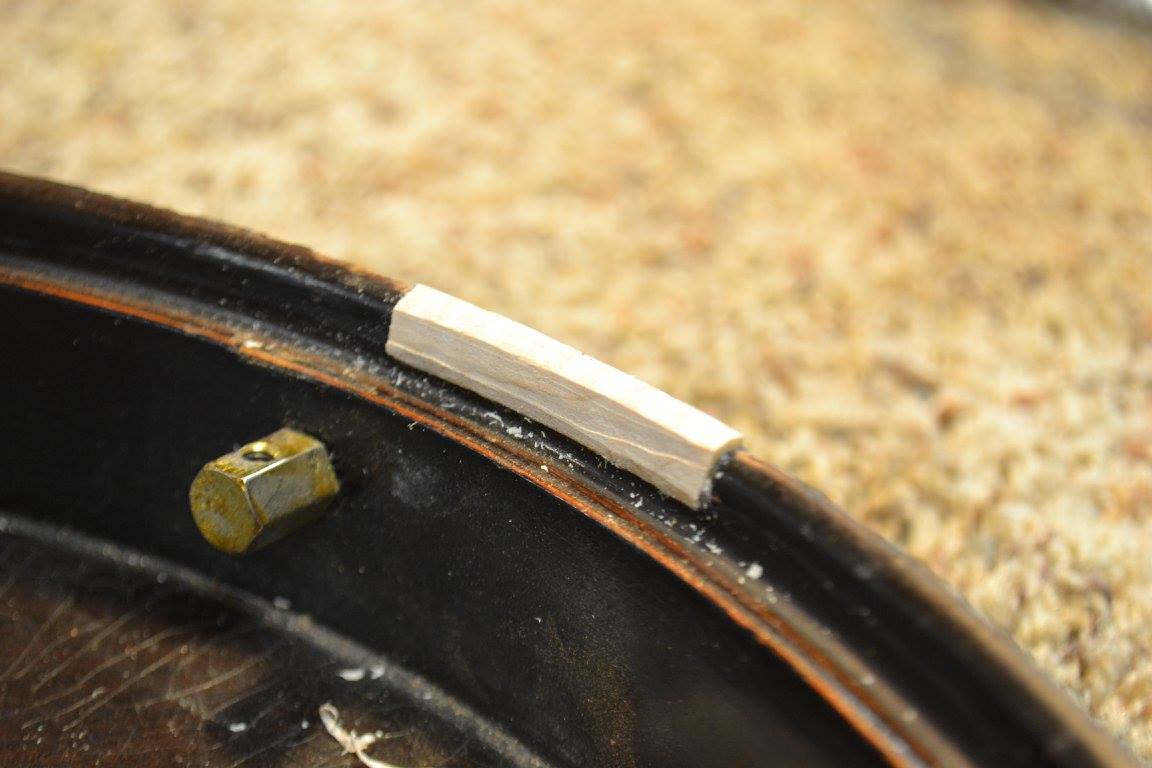
I don’t think that I have to provide a lot of narrative here, but it is important to have scrap wood like mahogany and maple for these repairs. Never use pine or plywood for this and make sure that your measurements and jigs, fixtures, sanders and the other tools you use are of the best quality as you can afford and it will make a big difference.
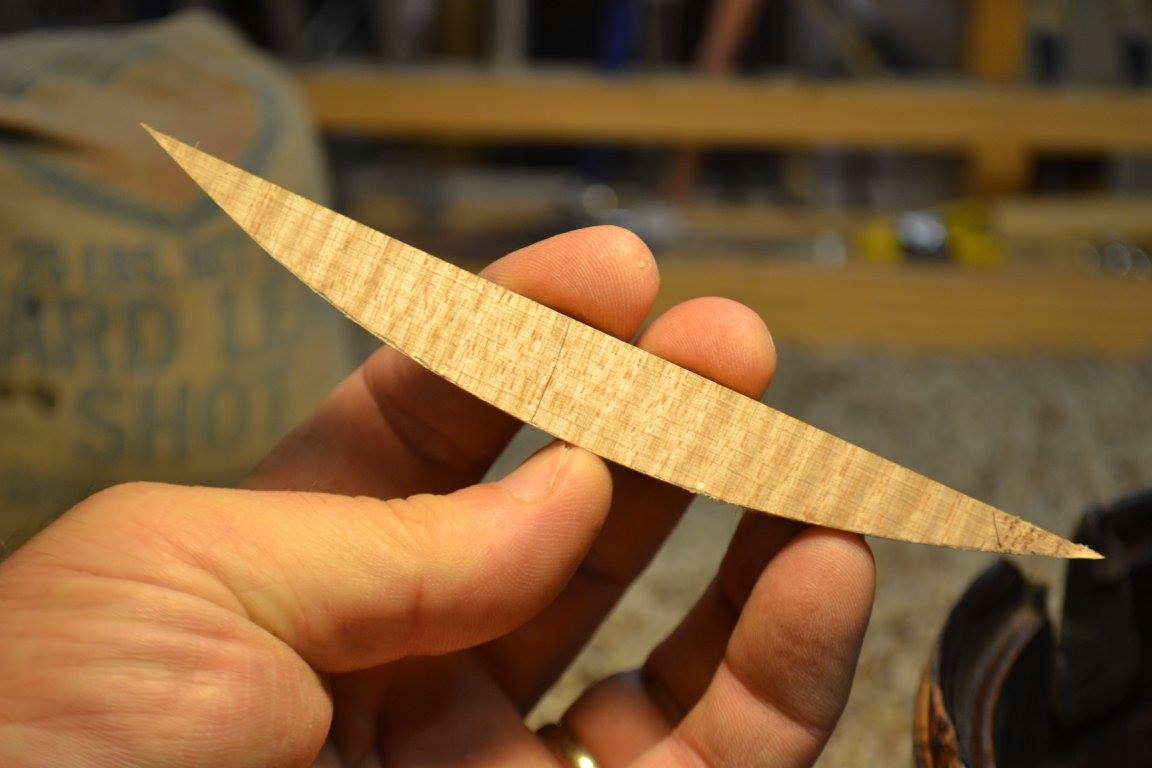

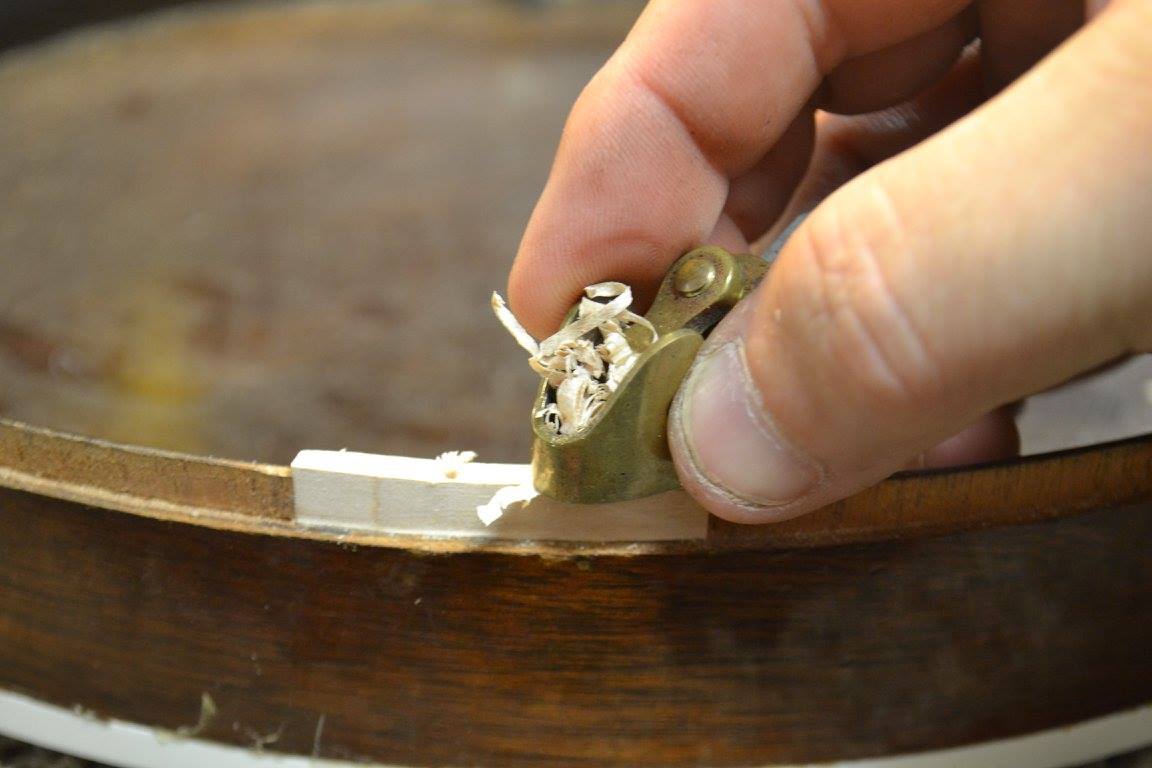
Overlapping joints are better, but there isn’t much room to work here. I know the binding will overlap this repair and help it structurally as well, but this ins’t likely to move once the glue dries unless it is dropped again.


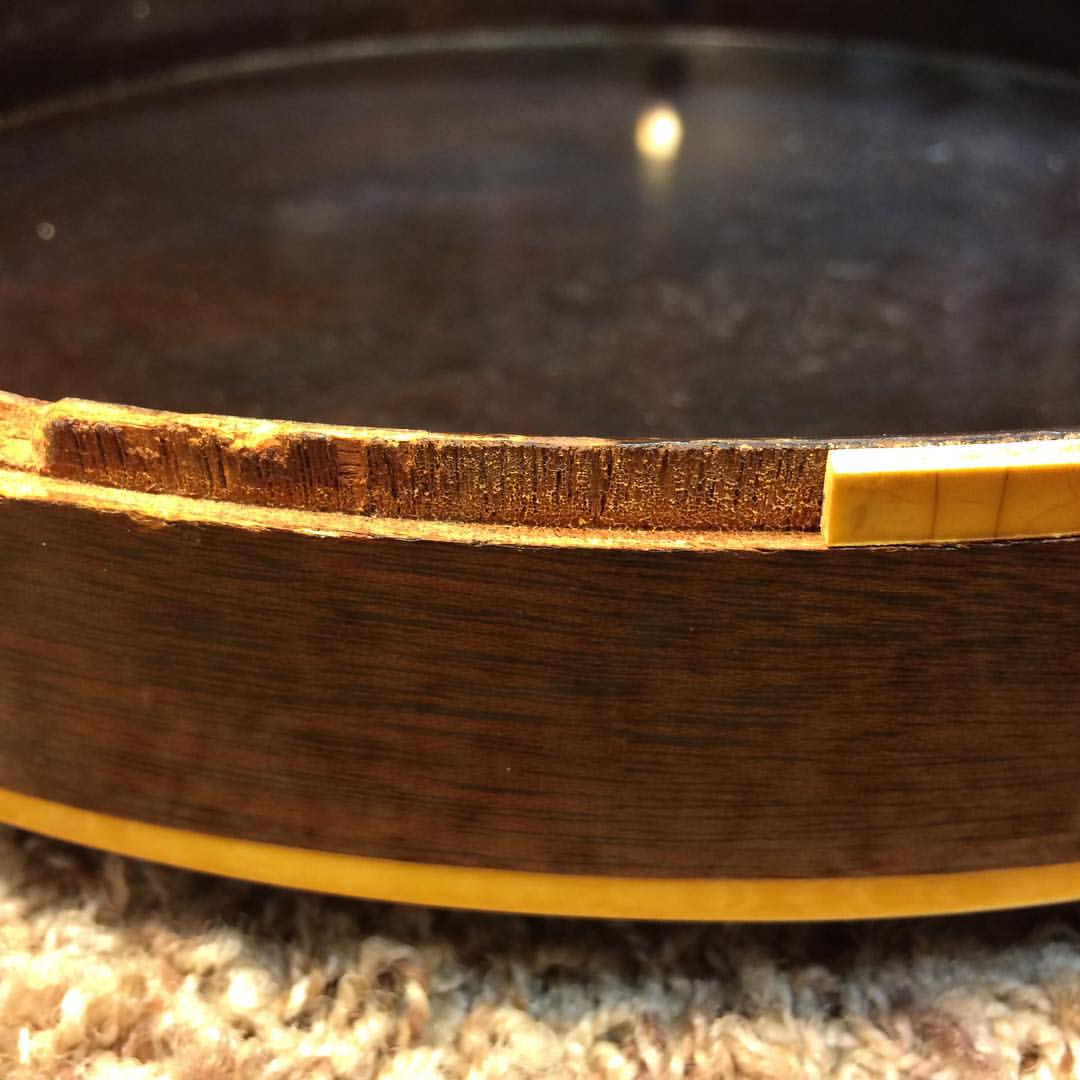
Getting the patch installed is only part of the solution. It then must be shaped, stained and then sealed with lacquer (multiple coats) after the binding is installed.


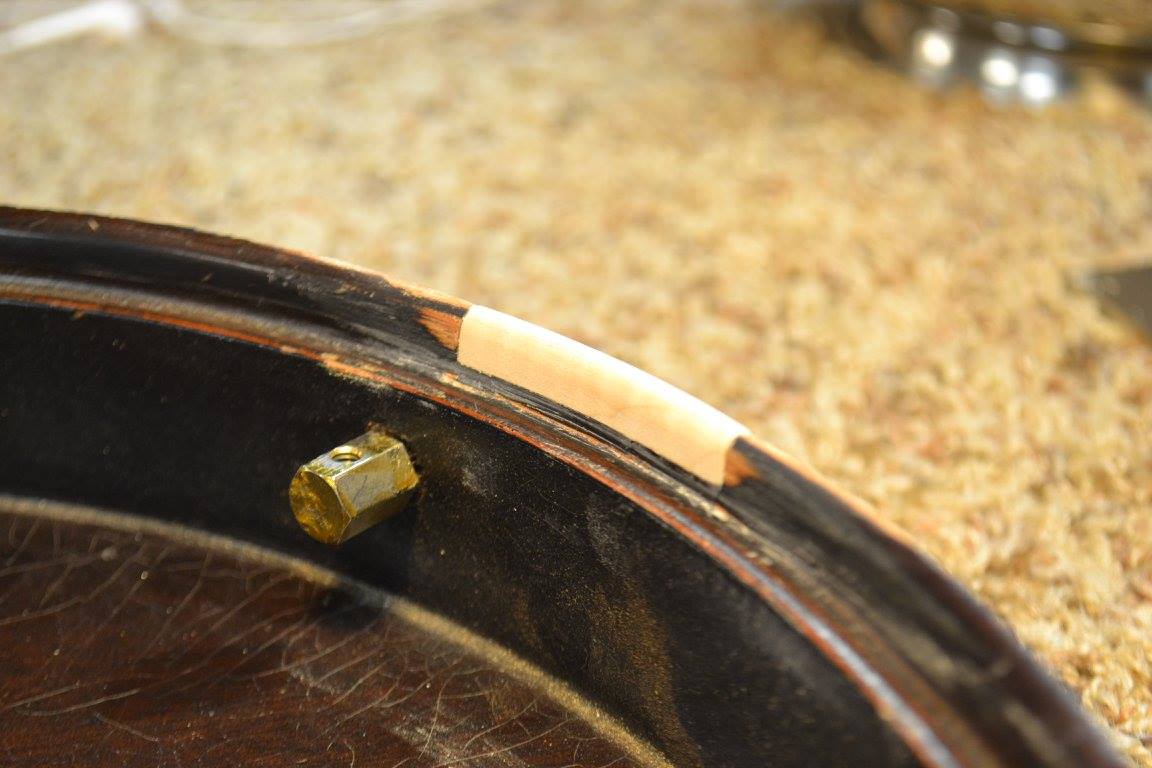

I never go to a home improvement store and buy a can of ready made stain. That doesn’t work so well on most musical instrument builds and it never works on repairs. I use concentrated stains that are solvent neutral and usually use either denatured alcohol or I lacquer thinner, especially if I am spraying stain onto a repair in an airbrush or jam gun. Mixing a little bit of nitrocellulose lacquer works well to fit it a “tooth” when spraying it. I will be brushing this on before I feather the color in with an air-brush.


Thank you for joining me for this tutorial.
Be sure to follow me on Facebook.
Acoustic Box LLC
11000 Long Branch Drive
Chesterfield, VA 23832