
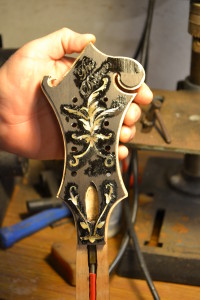
Inlaying a Mandolin Headstock
by Luthier, Richie Dotson
This can be a real challenge and takes a lot of time … a LOT of time, especially if you take the time to make each and every piece of binding and inlay as perfect as you can so that it looks as professional as a factory or a reputable luthier would make it. This means that making each piece fit as exacting as possible and making sure that you have everything laid out before you make the attempted fit is critical.
For me, having the right tools for the job is a must. Years ago I figured out that attempting to make my own tools, although rewarding, was a foolish if I was going to do this type of work for a living. If a tool isn’t available then I’m all for it. If this were a hobby and this was therapy for me, then OK, but I have to keep up with an ever changing workload and time for me is money. Every specialty tool I have purchased over the past years has been worth every penny.
Click on the pictures below for a larger view
 This kind of detail starts with really good patterns or even pre-cut inlay if you would like to use something that is readily available. I encourage you to create your own patterns and even experiment with different or atypical materials like wood, stone and metal as well as the traditional inlay material like mother-of-pearl, abalone and other sea shell material. I highly recommend that you work in a well ventilated area with a filtered vacuum system so as not to inhale the dust created by this material.
The pattern should be something that you have multiple copies of, you should know that it will fit in the are it is intended to decorate and looks tasteful as well as something that you are pretty sure that you can actually cut out without having to change game plans in mid stream or cut over and over and thus waste a very expensive raw material. The finer the detail the finder the blade you will need and you should prepare yourself to break some inlay while you get the hang of it. Even the best among us can break a piece of inlay no matter how carefully we plan each saw stroke. Pearl and abalone are natural materials that have grain and tiny flaws that don’t always show themselves to us. Patience and extra material will be needed.
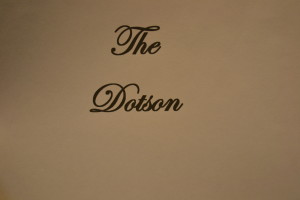
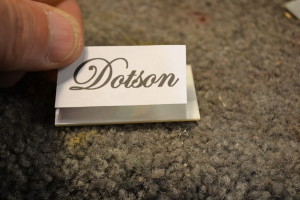
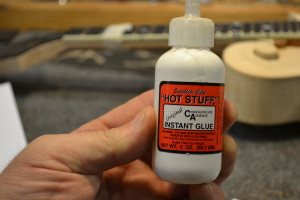
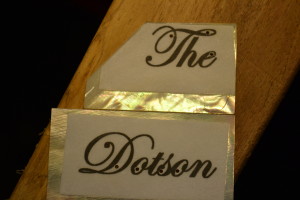
I started with a 5 copies of my paper pattern. for my name I used white mother of pearl pieces that were large enough to accommodate my last name, Dotson. I use water thin cyanoacrylate (AKA Crazy or Super) glue. This type of glue will adhere to the shell material and will wick into the paper making a good bond. Medium viscosity cyanoacrylate such as that found at hardware and department stores will work, but not quite as well in my opinion.
I like to cut the paper pattern out larger than I need and glue it onto the inlay medium. There isn’t any need to use accelerator for the glue in this case. It sets up with 5 minutes and is ready to work with. You can be more conservative with the material than I have been here on patterns that are not as delicate, but I having more material than I need allows more material to hold onto while rendering the tiny, very fragile pieces of inlay.
 |
 |
 |
 |
 |
 |
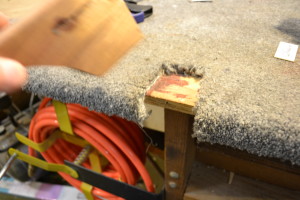
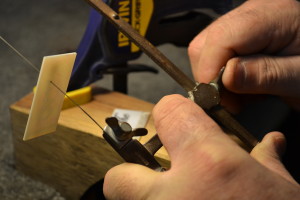
Now that the pattern is secured to the pearl it needs to be placed onto something that will hold it from vibrating and moving around, but will still allow the blade of the jewelers saw to pass through the mother of pearl without the support being in the way. This is the support I use most often. It has 2 “V” notches in it. The main notch is in the front and serves me for almost all of my inlay cutting. The small notch on the side is great for some cutting but it works best for using tiny files to smooth out cuts and saw marks, but the main notch will also work for that. The small notch on the right (because I am right handed) just gives me some additional options. This support was made from a piece of scrap of walnut and since my work bench is padded with carpet for the protection of the musical instruments that I work on, a patch of carpet is cut away where the support is attached so that the support is solid. If the support isn’t mounted onto a solid surface it will move and if it moves the risk of breaking pearl. Abalone shell is a lot more fragile than pearl, so the foundation on which you cut is important.
 |
 |
 |
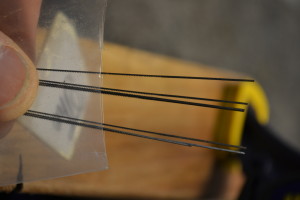
The general rule of thumb is the more delicate the inlay work you are doing the thinner the blade needs to be in order to control the cut and get as much of the detail out of it as possible. Thinner blades take more skill to control on the part of the operator. They break more often and you need to work more slowly with them. Medium sizes of blades are great general purpose blades and the thicker blades make quick work of chunkier, more vague shapes with less sharp turns and acute angles. Stewart MacDonald Guitar Shop Supply or a good Lapidary supply company can supply you with everything you will need to cut inlay material.
 |
 |
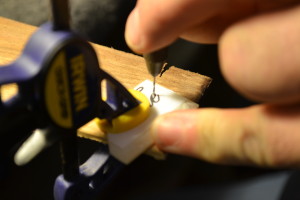 |
Before mounting the blade into the lapidary hand saw (the teeth of the blades need to be pointed down when it is) I will need to drill a hole somewhere on the inside of the letters in my name and cut those pieces out first because I don’t want to make these pieces even more fragile by cutting into these areas (think Gibson script inlay on banjos and mandolins) an besides, I like the way it looks to take the extra time and make this detail part of my work. The tiny drill bit that I use is a micro drill bit and the size may vary depending on the are to be drilled. The drill is a very small hobby drill.
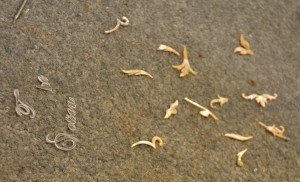
For each of the holes in the inlay below the blade must be threaded into the frame and the area carefully cut out. I do this for each piece before moving on to the outside cuts.
 |
 |
 |
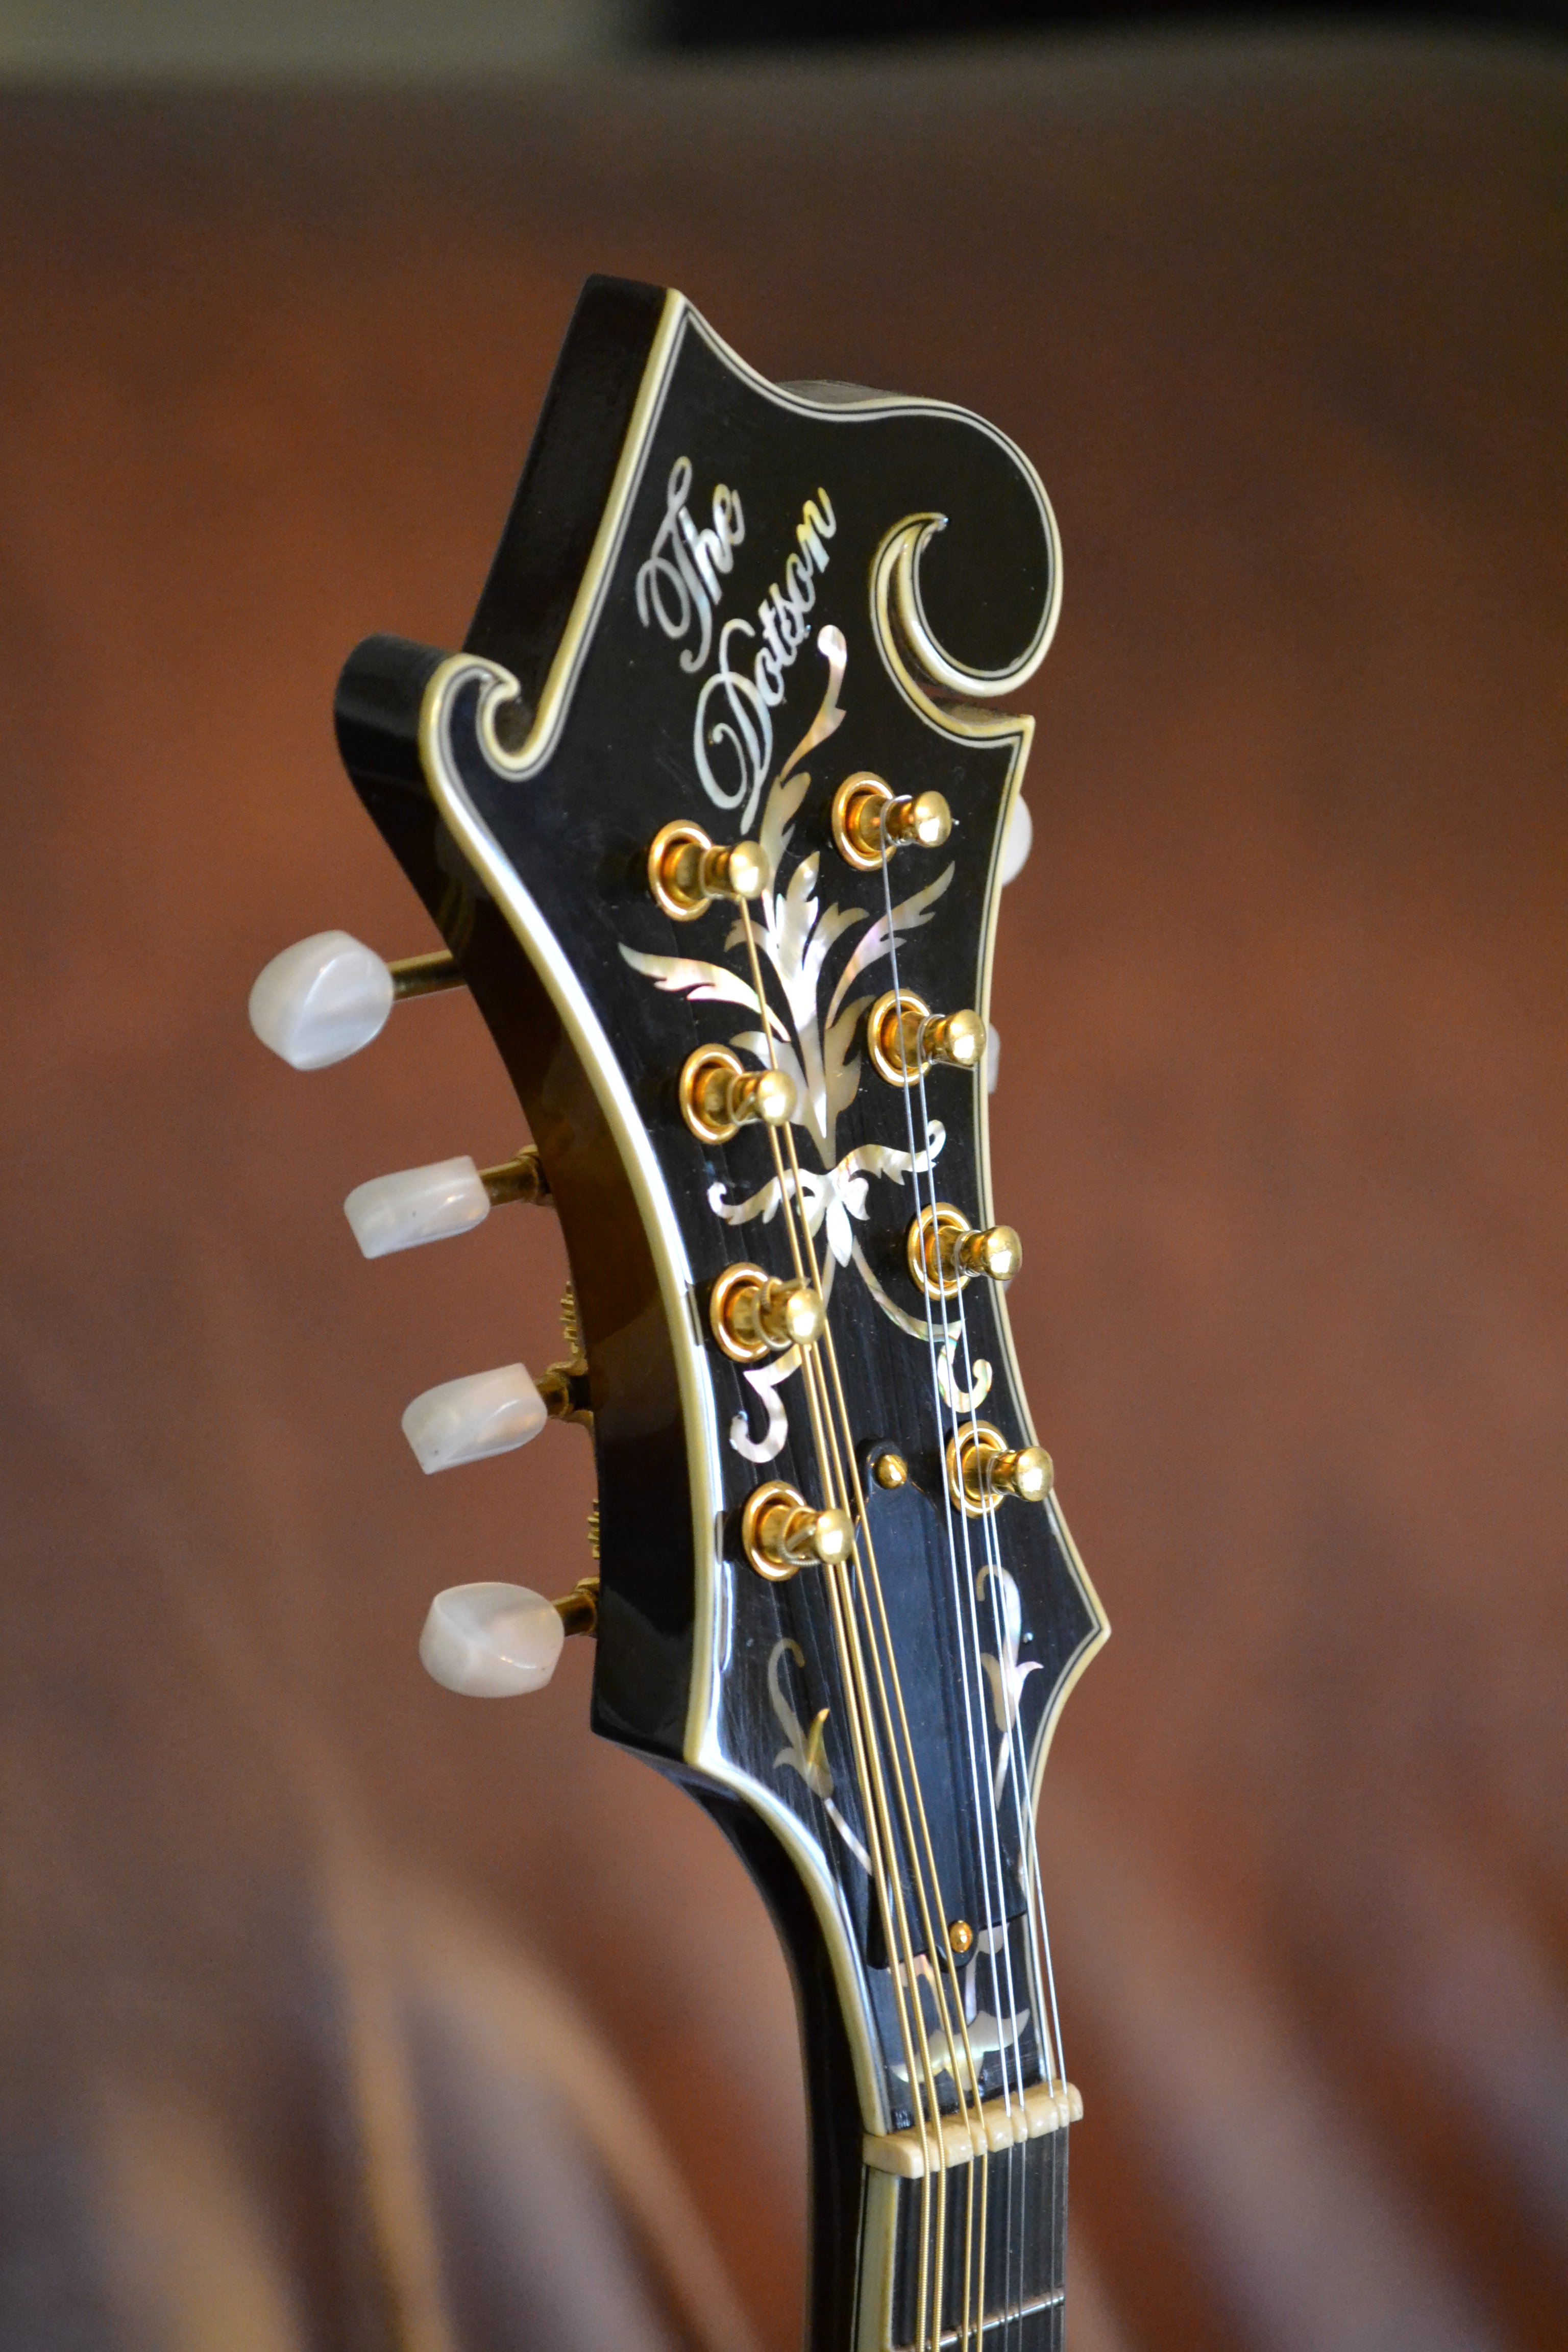
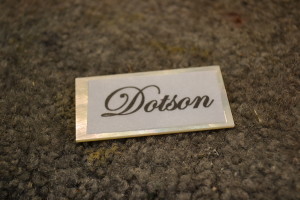
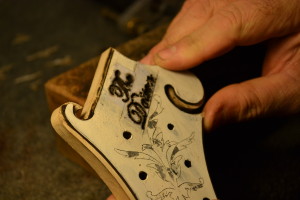
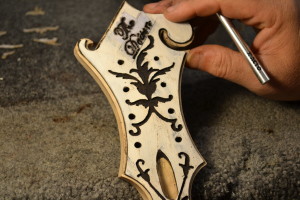
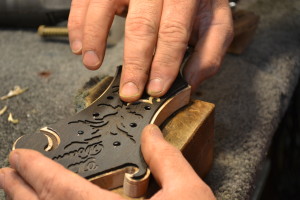
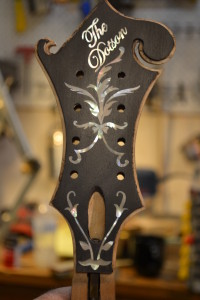
Now that all of the inlay pieces are cut out they need to be placed in order or marked so that they can be managed and so that I know exactly where each of them go when the time comes to fit them into the mandolin’s headstock overlay. The way I like to inlay is to lightly paint the overlay with white, water-based craft paint. This will not inhibit the addition of the finish later and will provide a nice contrast on which to scribe around the inlay pieces that are lightly glued onto the surface and very carefully scribed around. The surface of the finger paint also holds the glue lightly which allows me to carefully remove the inlay once it has been scribed around. I use one of the spare patterns for the name as it is by far the most delicate piece to be installed into the headstock. The routing for the cavity in which the inlay will be installed is then cut using a Dremel tool with a special base attached coupled with a down-cut spiral bit.
 |
 |
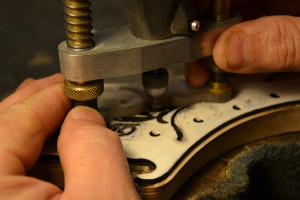 |
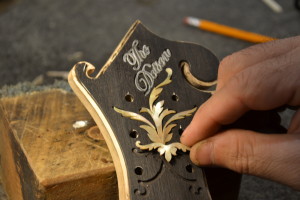
After the cavities are completed and everything fits properly I carefully I sand the white finger-paint off the face of the mandolin headstock. If the inlay is glued in with the paint on its surface there is a good chance that some of it will be trapped and show after all is said and done. Once paint has been removed and you are sure that the pieces fit properly they can be carefully placed in their respective cavity.
 |
 |
 |
Use extreme caution when fitting the pieces. They can and will break and even on a good day you may still break one. If that happens, please consider taking the time to cut another one. The devil may be in the details but so is all the pride and beauty in a piece.
 |
 |
 |
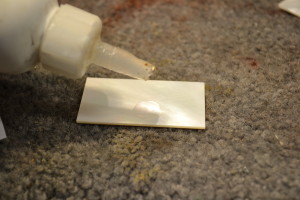
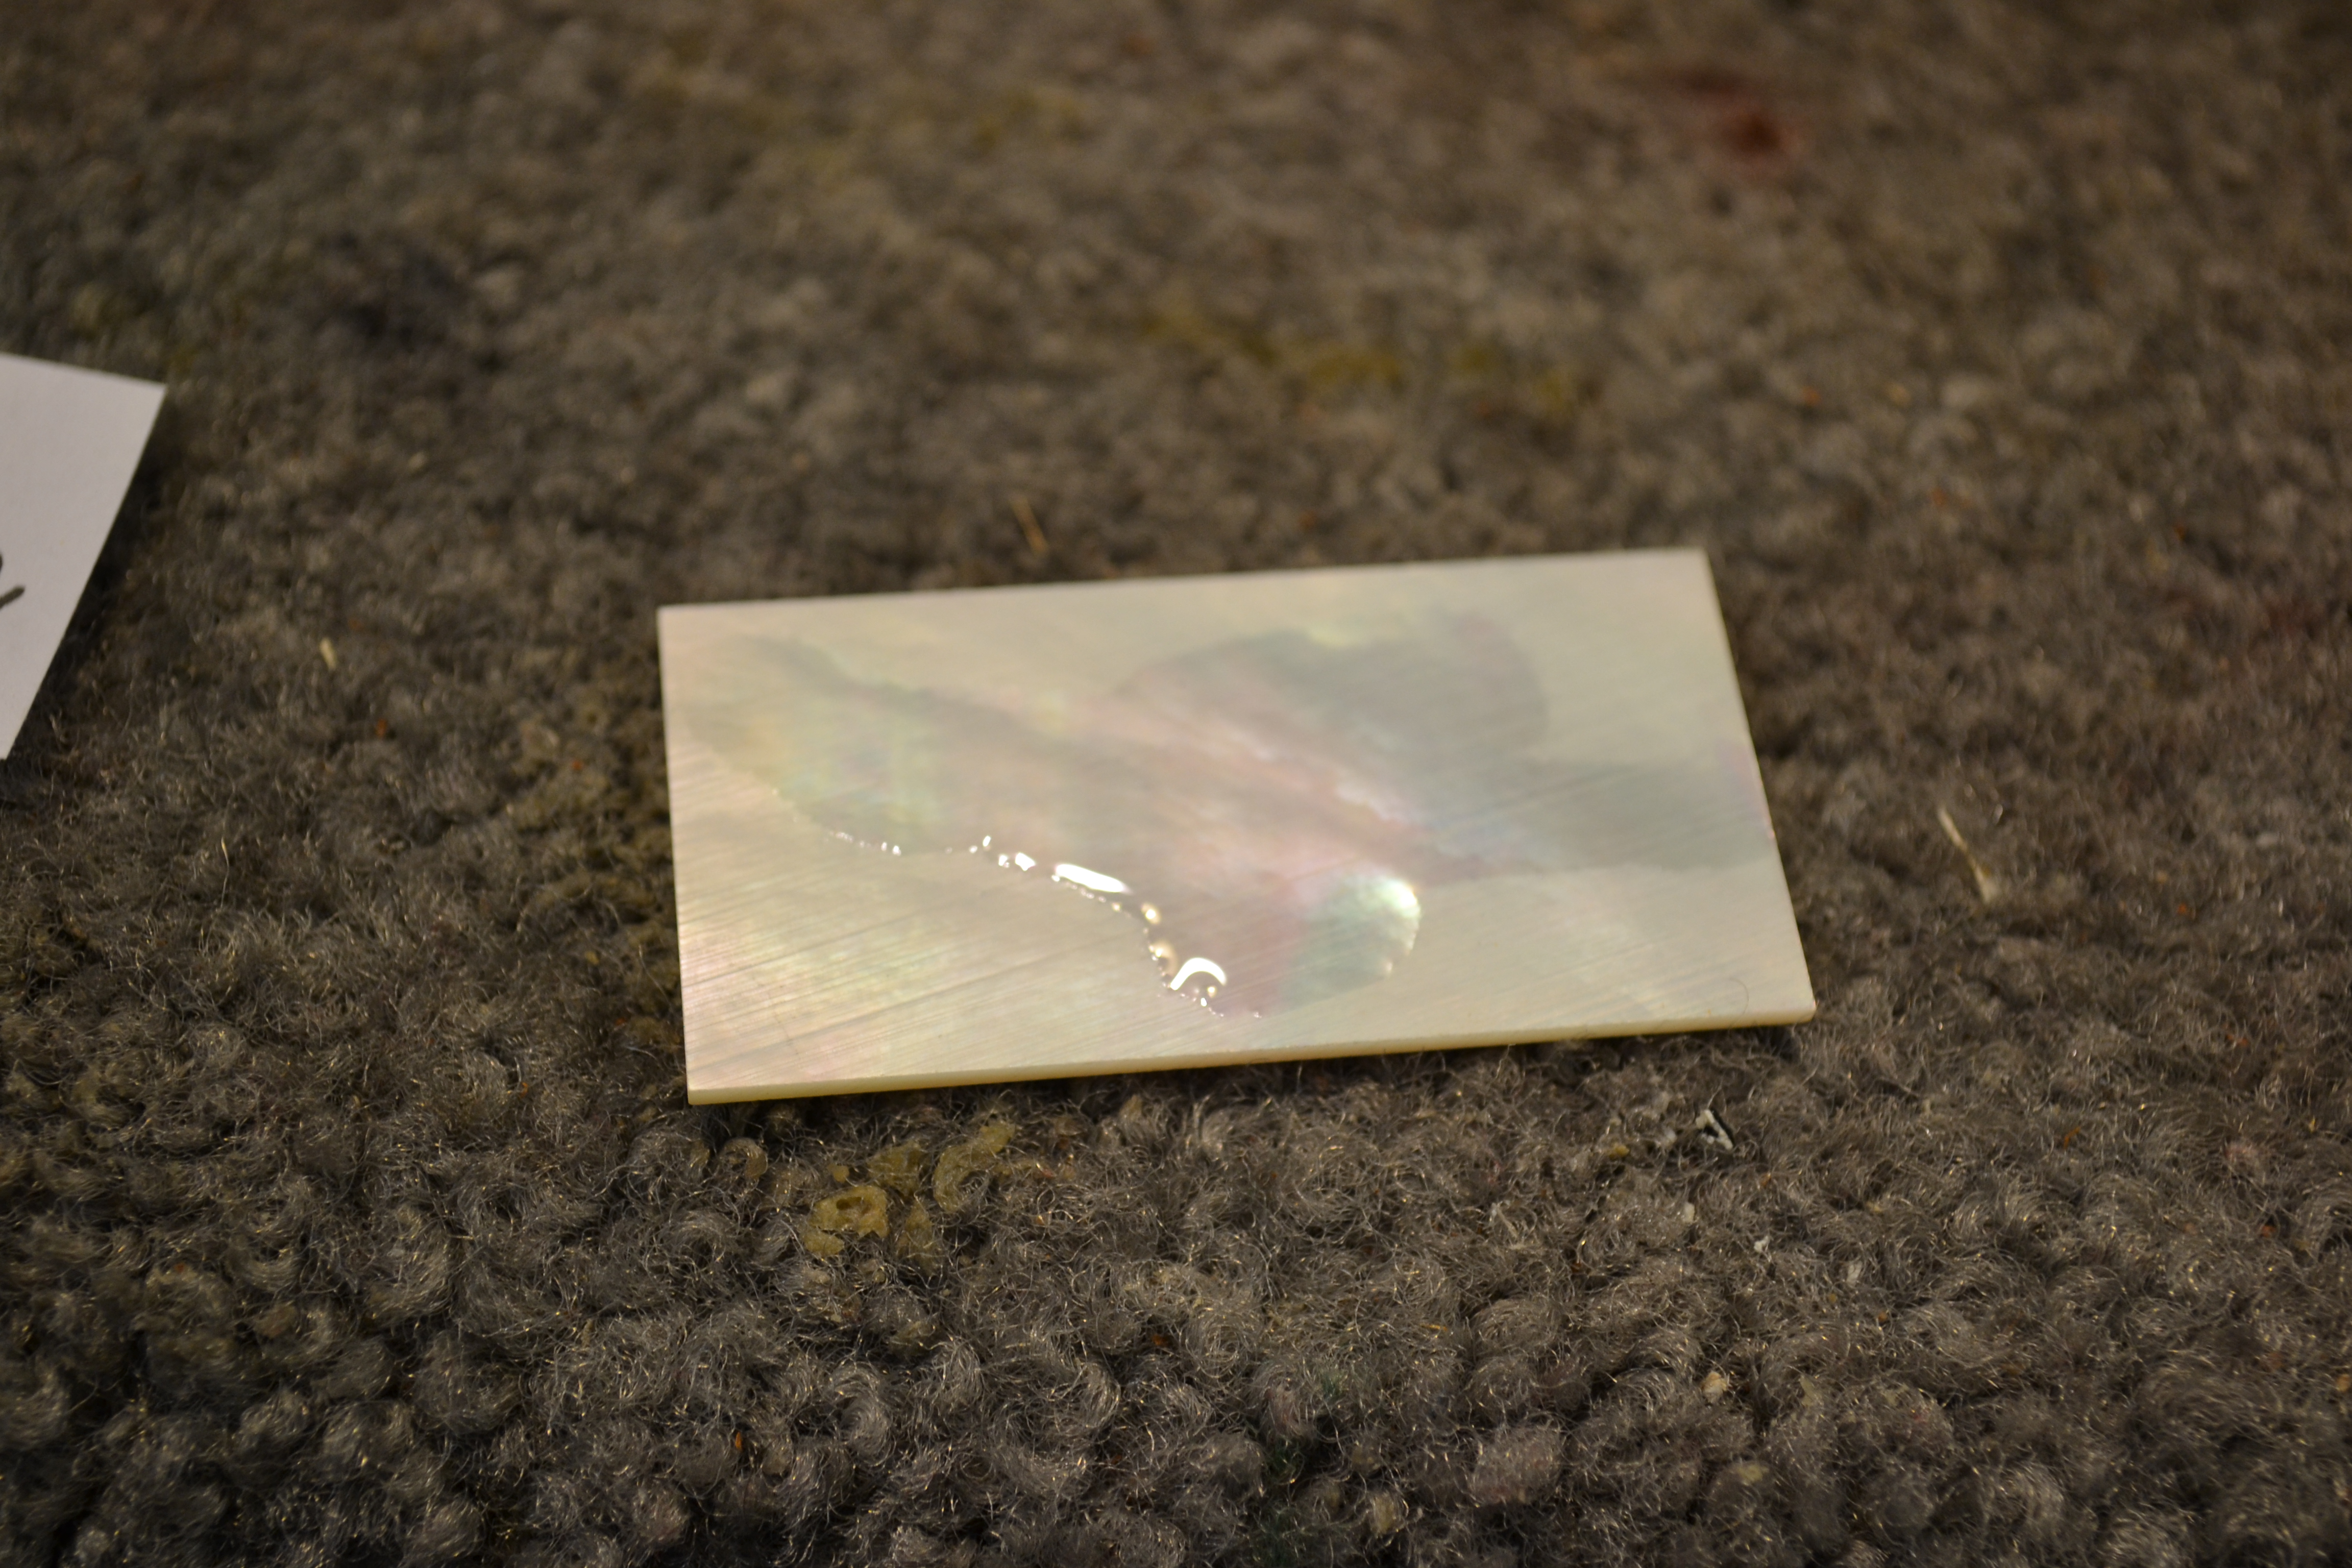
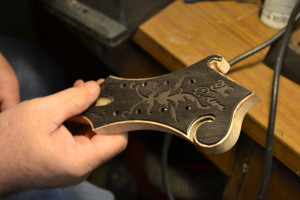
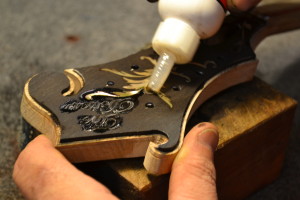
Now that everything is in place and fitted correctly you will find small gaps around the inlay that will need to be filled. This is a method I use quite a bit on ebony. I use good, clean ebony dust and pick the dust around the inlay then I use water-thin cyanoacrylate applied onto the dust. This wicks into the dust and under the inlay and makes everything good and secure.
 |
 |
 |
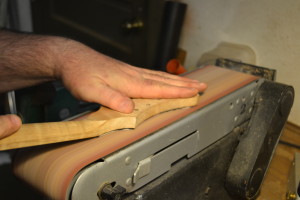
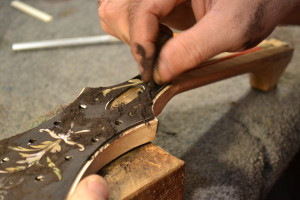
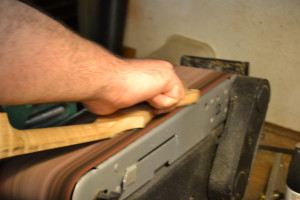
I carefully sand the inlay flush to the surface then use a fine grit paper to smooth out the sanding marks from the sander.
 |
 |
 |
I hope this article was of some help and inspiration to you.
Thank you,
Richie Dotson